Output size planning
Review the model’s available size controls in the workspace before generating. Choose an output that fits the intended use without assuming every model exposes the same resolution options.
AI IMAGE UPSCALER
Use ImageAny V3 or V2 to create a revised image at an available output size. Plan the framing and inspect generated detail before using the result in a larger VideoAny visual.
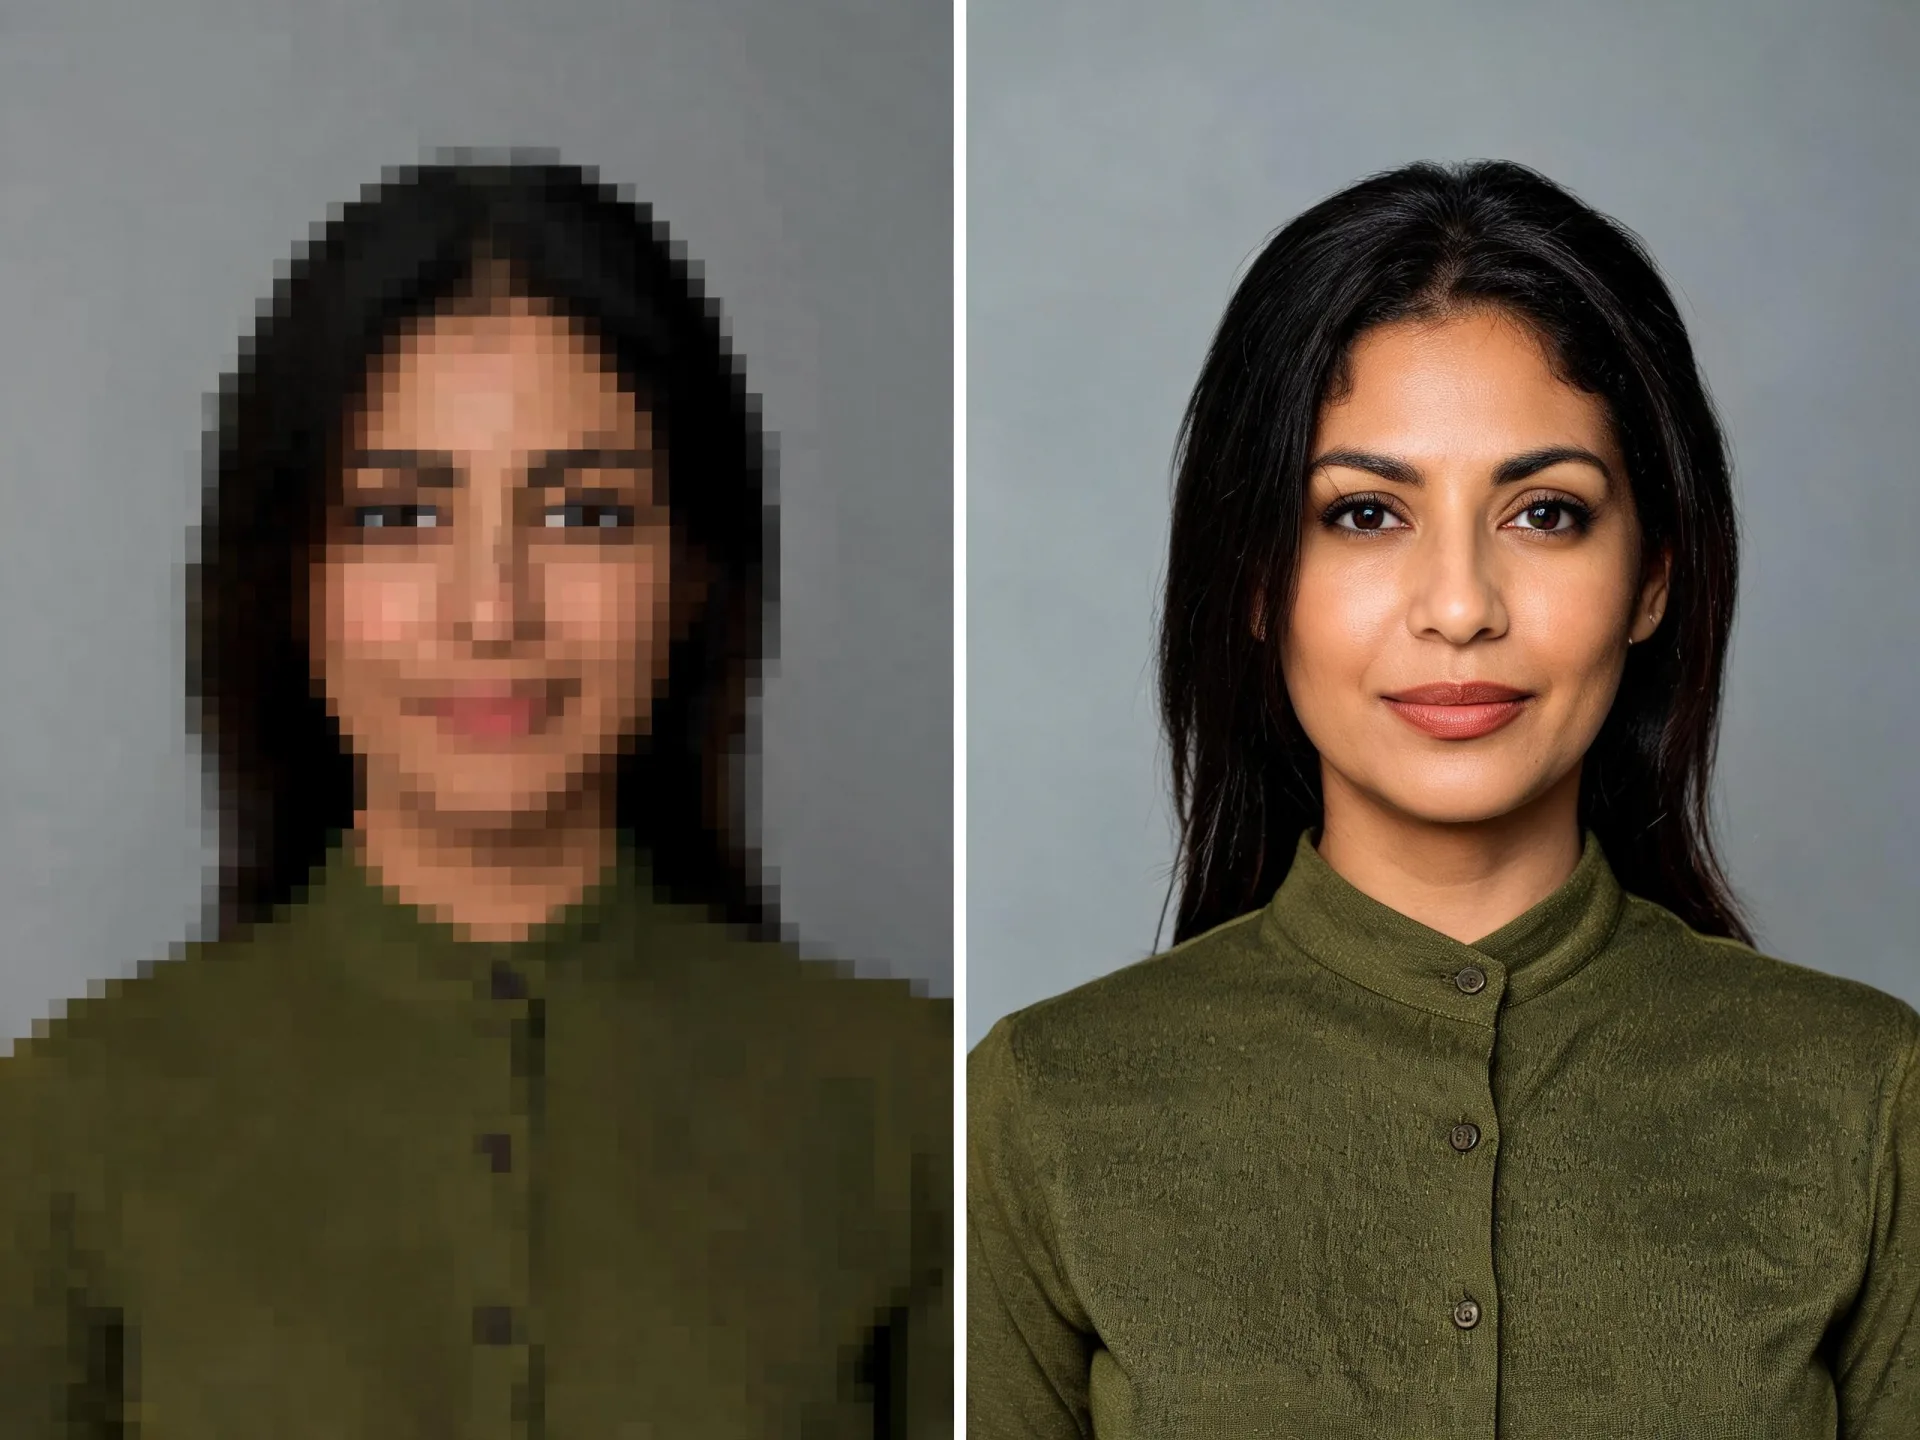
More pixels can make an image easier to place in a layout, but they do not prove that the source information has become more accurate.
First check where the image will appear. A wide video frame, a portrait post, and a square product concept have different composition needs. Open the image workspace to review the sizes and aspect ratios available for your selected ImageAny model. Give the prompt a clear instruction to retain the subject, layout, and visual treatment while producing a revised image for that use.
This route uses generative image editing rather than a dedicated lossless enlargement service. The model can redraw fine texture, lettering, and facial details, and output dimensions depend on the chosen settings. If the original pixels must remain exact, use a conventional resizing or specialist upscaling workflow. For a creative revision, compare the larger result with the source and judge both its appearance and its faithfulness.
Treat dimensions, composition, and detail as separate decisions.
Review the model’s available size controls in the workspace before generating. Choose an output that fits the intended use without assuming every model exposes the same resolution options.
A larger output is useful only if the framing works. State which edges, subject positions, and surrounding space should remain when you prepare the revision.
Ask for coherent line work and texture when revising a drawing or stylized image. Inspect the treatment so a larger version does not lose the character of the original.
Keep facial structure, expression, and natural skin texture explicit in the prompt. Compare important identity cues before accepting a result that merely looks more detailed.
Review edges, proportions, packaging, and lettering at the size you plan to use. Added detail should not hide changes to the actual product represented.
Select a clean still with a suitable composition before animation. Upload the downloaded image in image to video and review the motion separately from the enlargement decision.
Source reference examples for planning your brief; these are not presented as ImageAny-generated outputs.
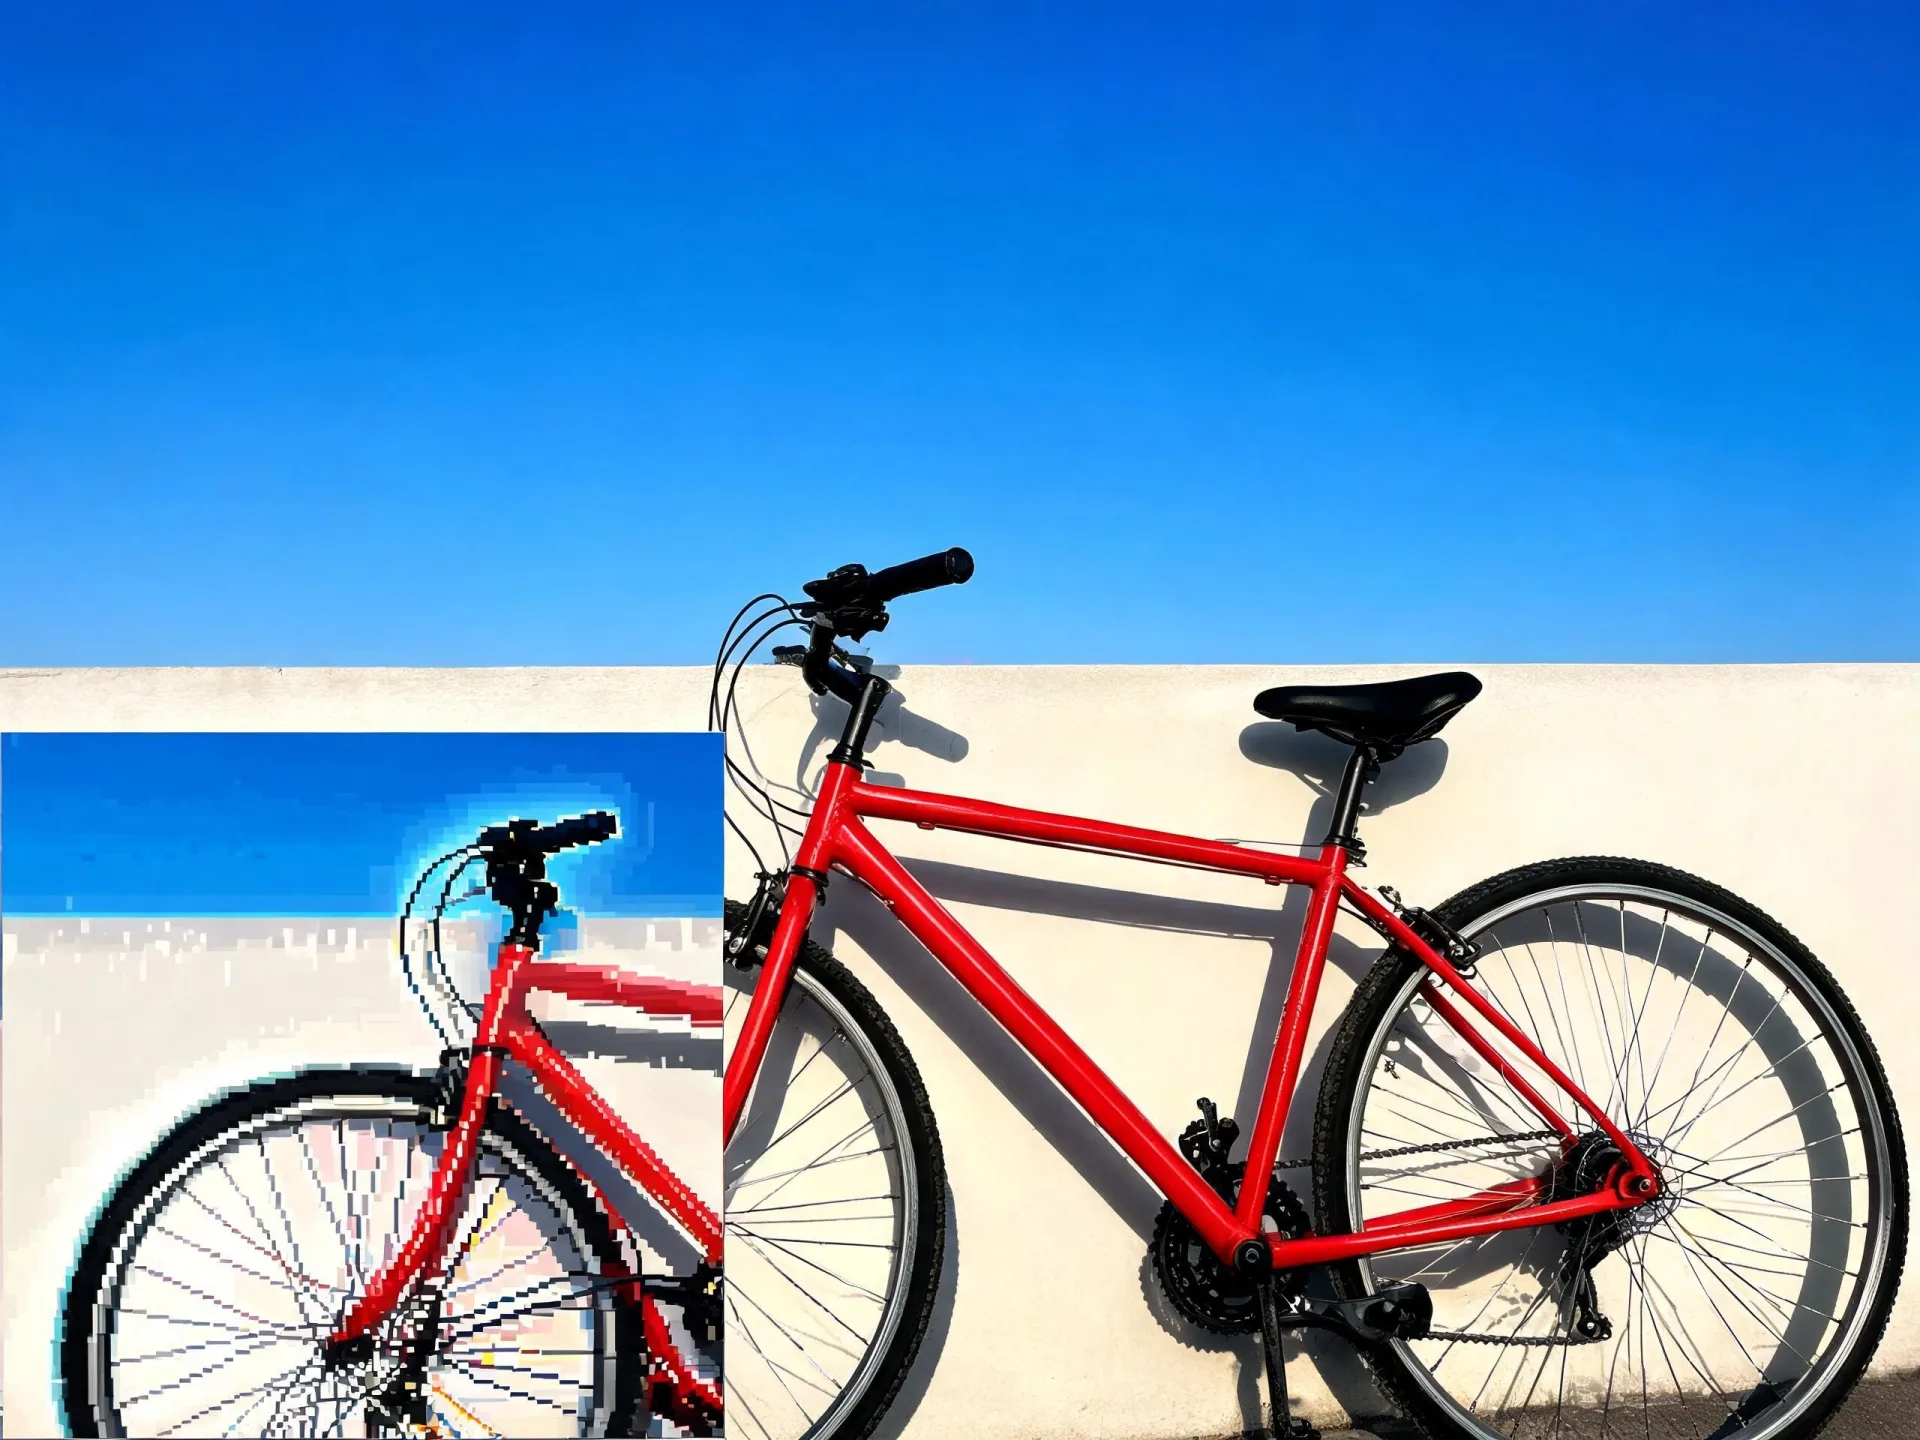
The bicycle example draws attention to a pixelated inset. Compare important edges at the intended viewing size instead of judging only the overall impression.
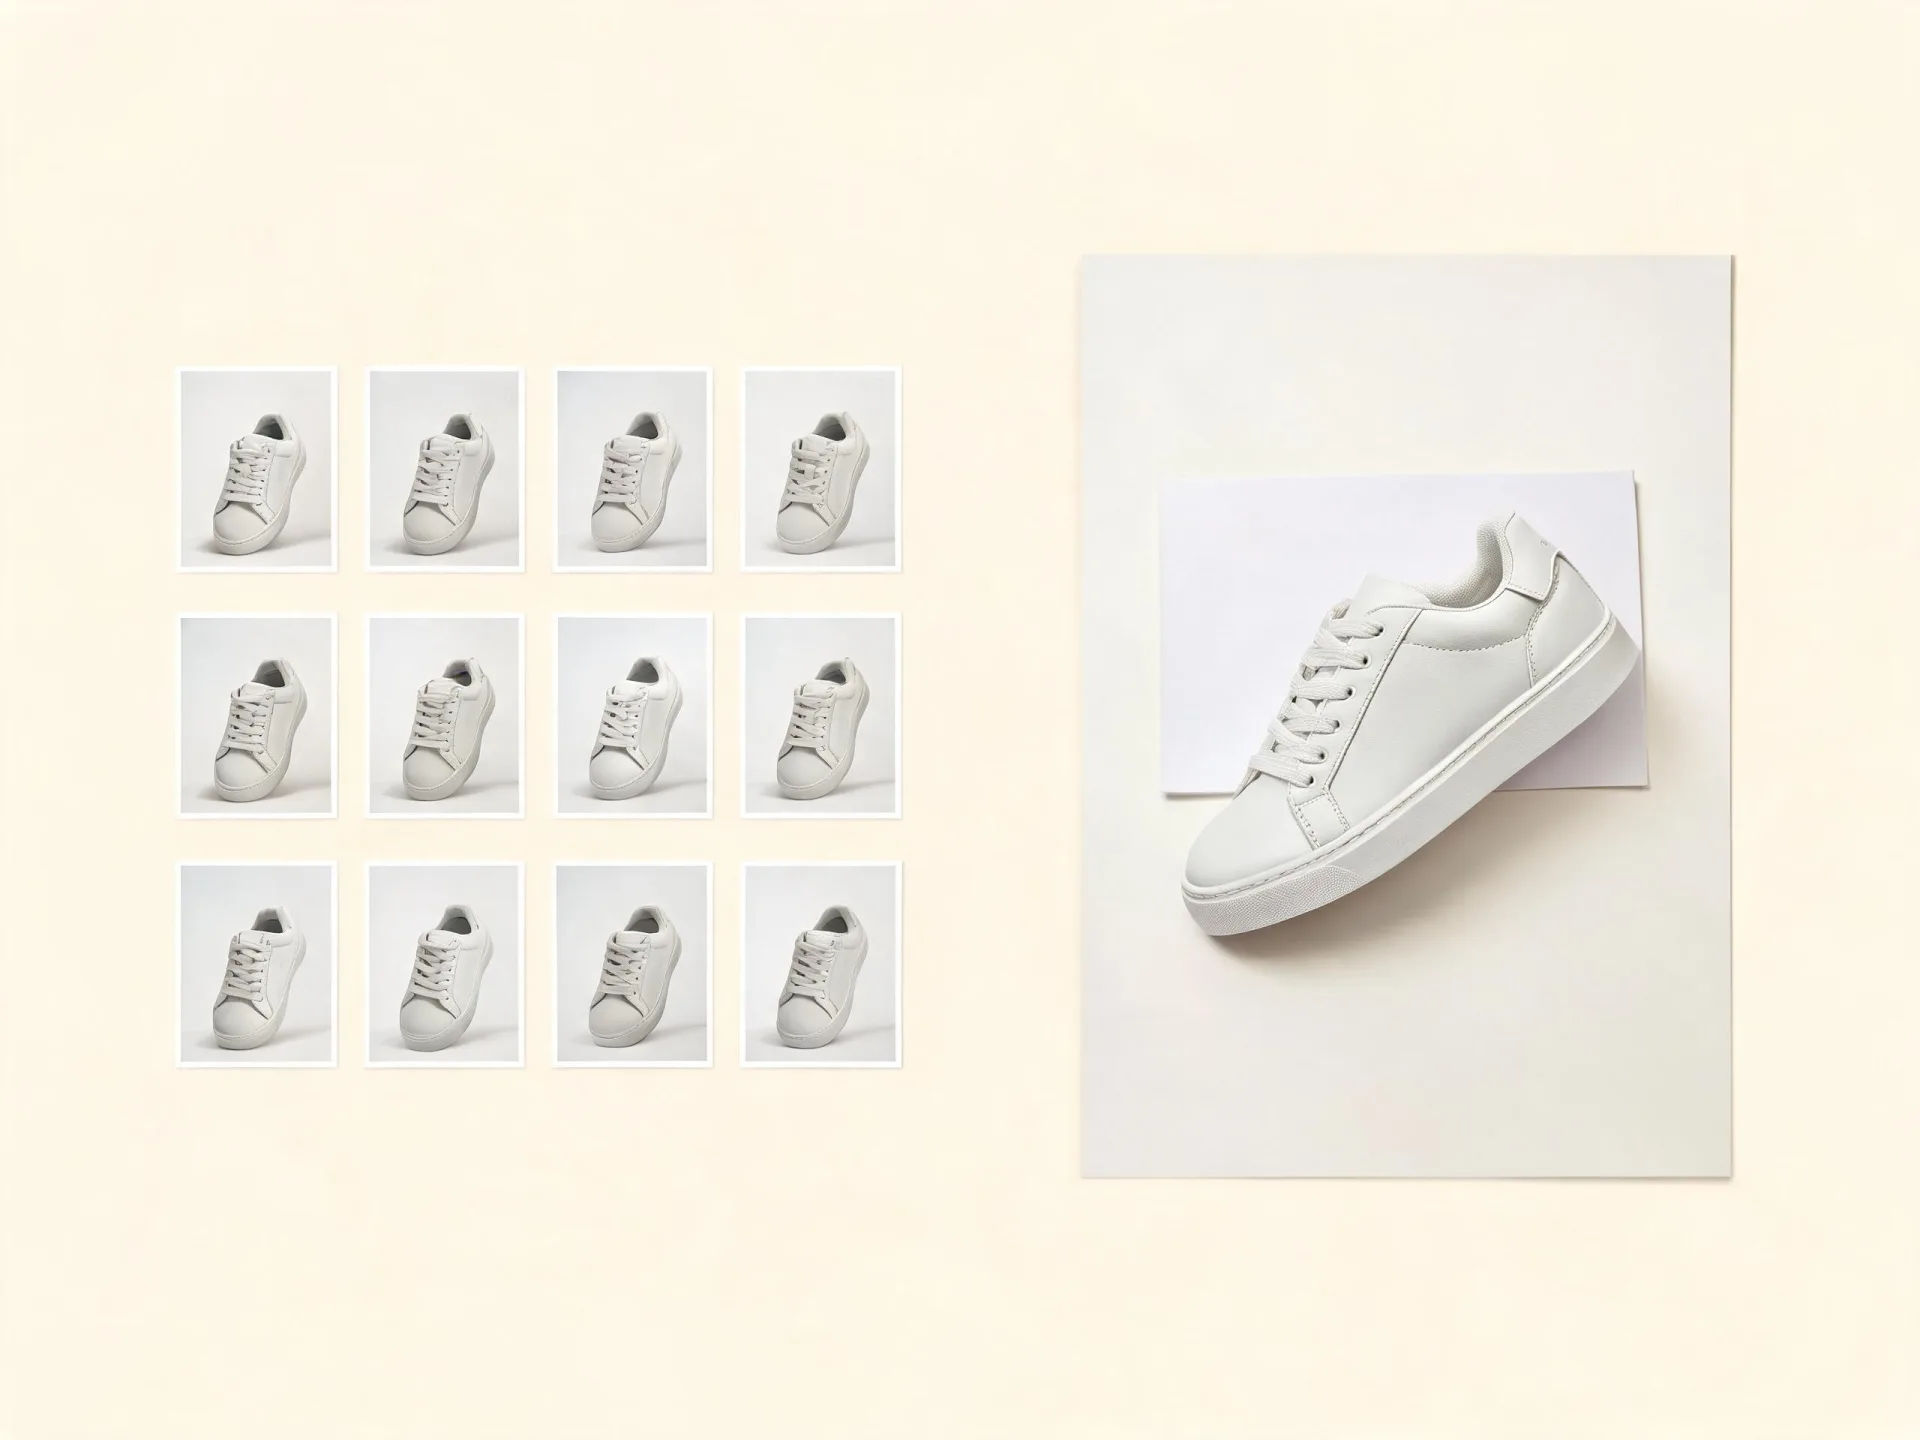
Small sneaker thumbnails beside a larger image illustrate a placement problem. A larger generated revision still needs product-detail checks before use.
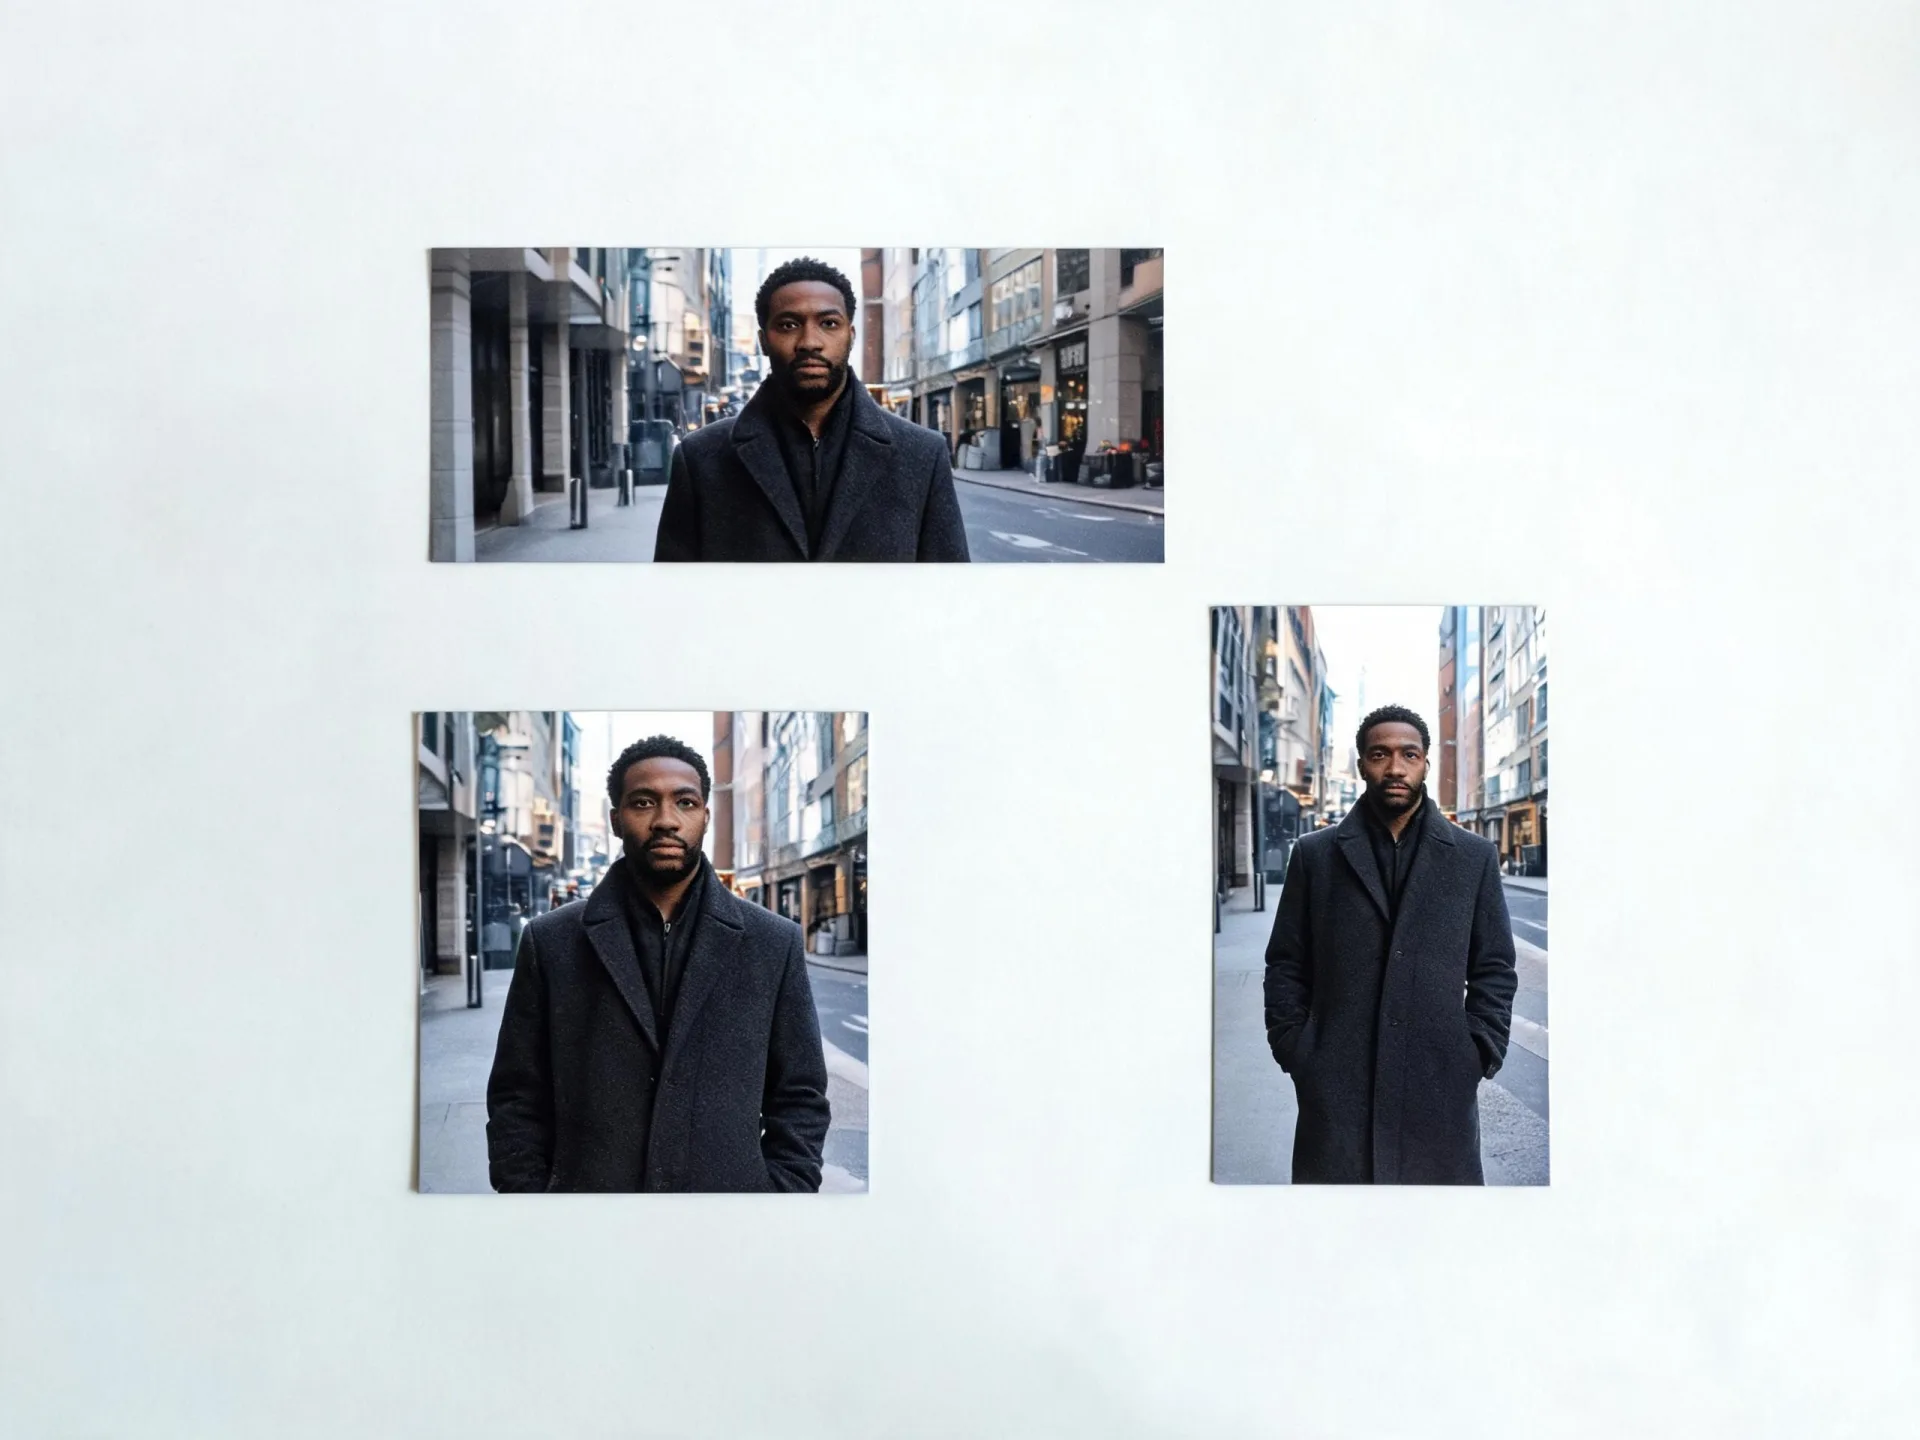
Wide, square, and tall portrait layouts show why aspect ratio matters separately from resolution. Choose framing that serves the destination before generating.
Prepare your direction, then continue in the workspace.
Decide the aspect ratio and viewing size your project needs. Find the largest available original and keep it for comparison.
Choose ImageAny V3 or V2 and identify the subject, composition, palette, and details that should remain recognizable.
Open image to image, upload the source, choose among the settings actually offered by the model, and check the credit amount.
Download the revision, confirm it suits the intended layout, and compare faces, edges, and lettering against the source before replacing the asset.
Prepare a preservation-focused prompt. Choose the available output size in the image workspace; the prompt itself does not set a guaranteed pixel count.
Match the workflow to your source and final requirements.
| Your goal | Suggested workflow | What to expect |
|---|---|---|
| A creative revision at an available size | ImageAny image editing | Generate new pixels from the reference and preservation prompt. |
| Exact pixel-preserving enlargement | Conventional resizing | Increase dimensions while maintaining direct control of source content. |
| Specialist restoration or super-resolution | A dedicated specialist workflow | Use a tool designed for that processing task and inspect its output. |
| A completely different composition | A new image brief | Treat the work as a new visual rather than only an enlargement. |
Adapt these directions to your image and intended use.
Use the prompt for appearance and the workspace controls for output dimensions.
Preserve the scene layout and material texture without adding new objects.
Small distinctive features deserve explicit attention and close review.
Keep the cap shape, bottle proportions, and plain unmarked surface.
A larger revision should still look like the type of image you started with.
Keep the original ink line character and flat-color illustration treatment.
This solution directs you to ImageAny’s image-to-image workspace for a generative revision using the available output settings. It does not claim to be a separate super-resolution algorithm or a lossless enlargement service. Choose a specialist tool when that processing method is required.
Use the settings exposed by the selected model in the workspace. A phrase such as 4× in a prompt does not guarantee a precise scaling factor. Inspect the returned image dimensions and compare them with the requirements of your project.
Not with certainty. New texture can be inferred or invented, especially in faces, tiny writing, and compressed areas. More pixels can make the result appear richer without making it a more accurate record of the original scene.
Only when the new framing is part of the goal. A different ratio can require the model to reinterpret or extend the scene. If you want to compare detail more directly, begin with a similar composition and make framing changes separately.
Check the actual downloaded dimensions, final crop, and required accuracy for that use. Review labels, logos, and product geometry closely. A generated revision should not be treated as an exact representation simply because it is large enough for the layout.
Prepare and review the still in ImageAny before bringing it into image to video. The still establishes the subject and composition; a separate motion prompt directs the shot. Download and upload the selected image between those stages so you control which version continues.
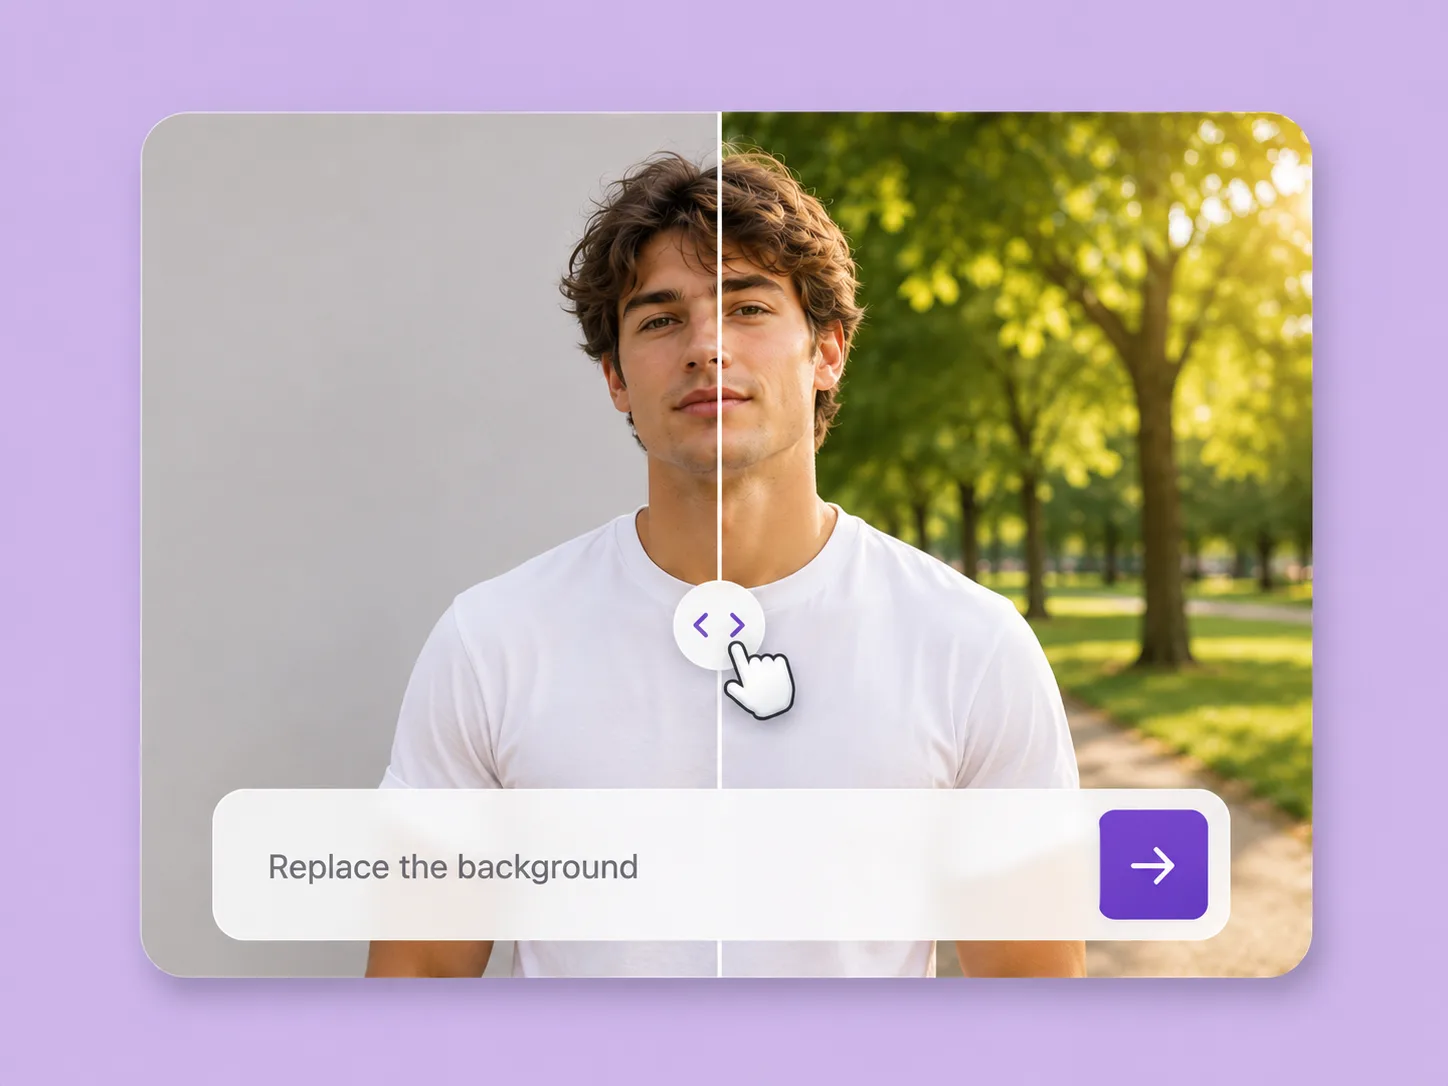
Make an existing image fit the next idea. Direct backgrounds, styling, objects, and light with ImageAny V3 or V2.
Explore solution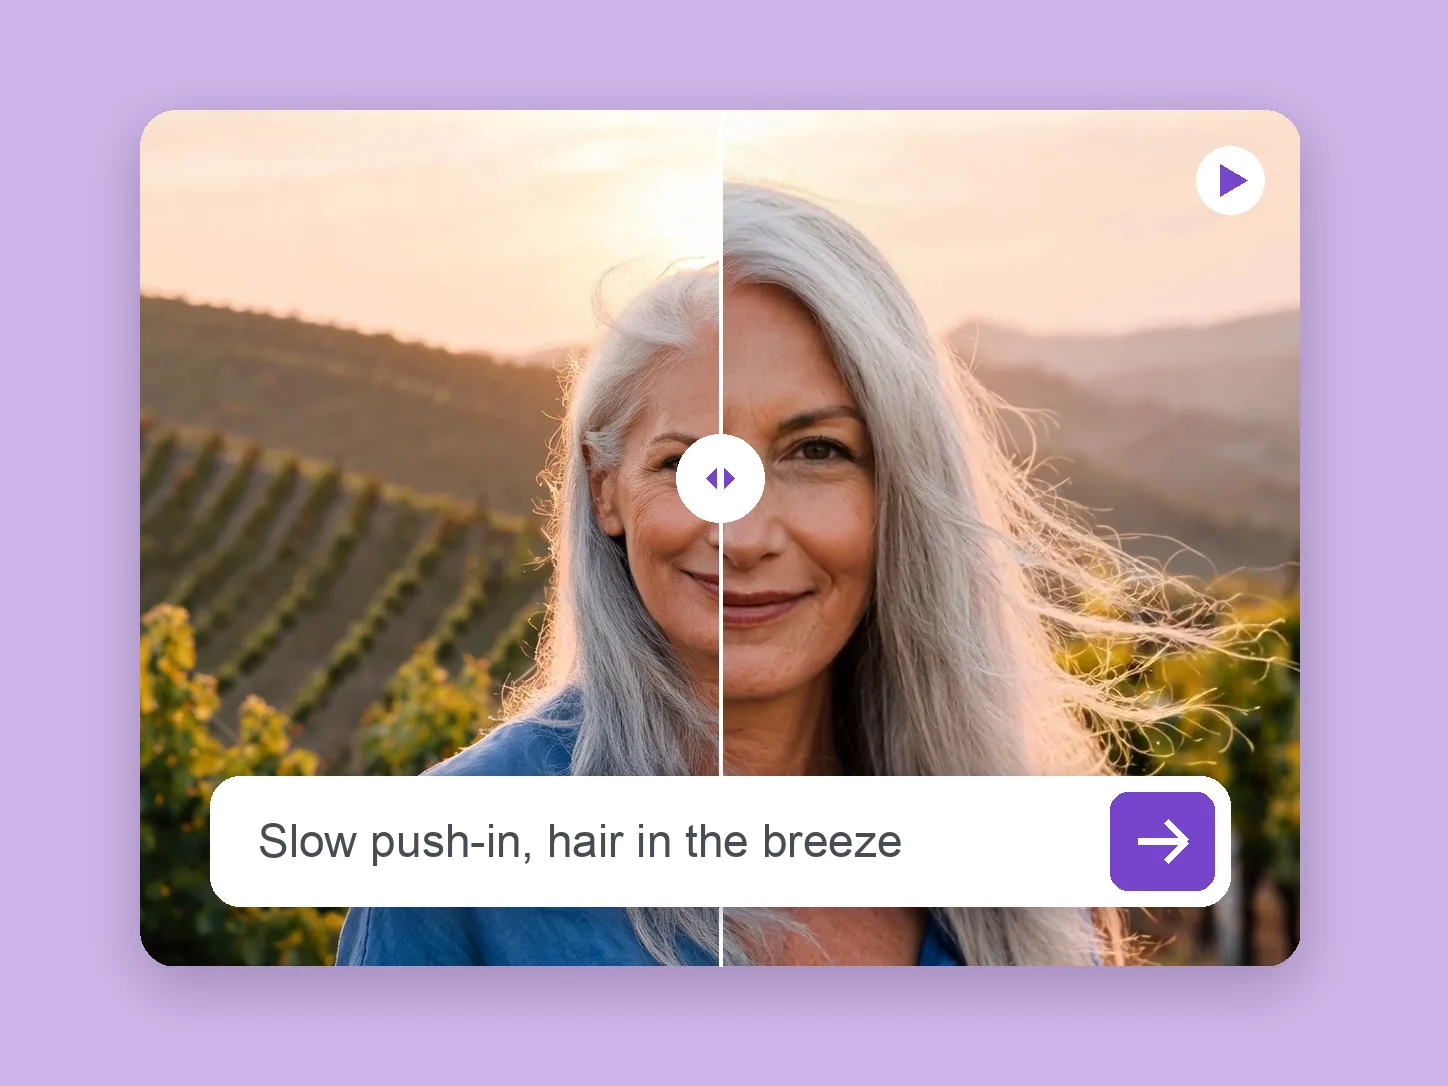
Bring a chosen still into motion. Direct the subject and camera with VideoAny V5, V4, V3, or V2.
Explore solution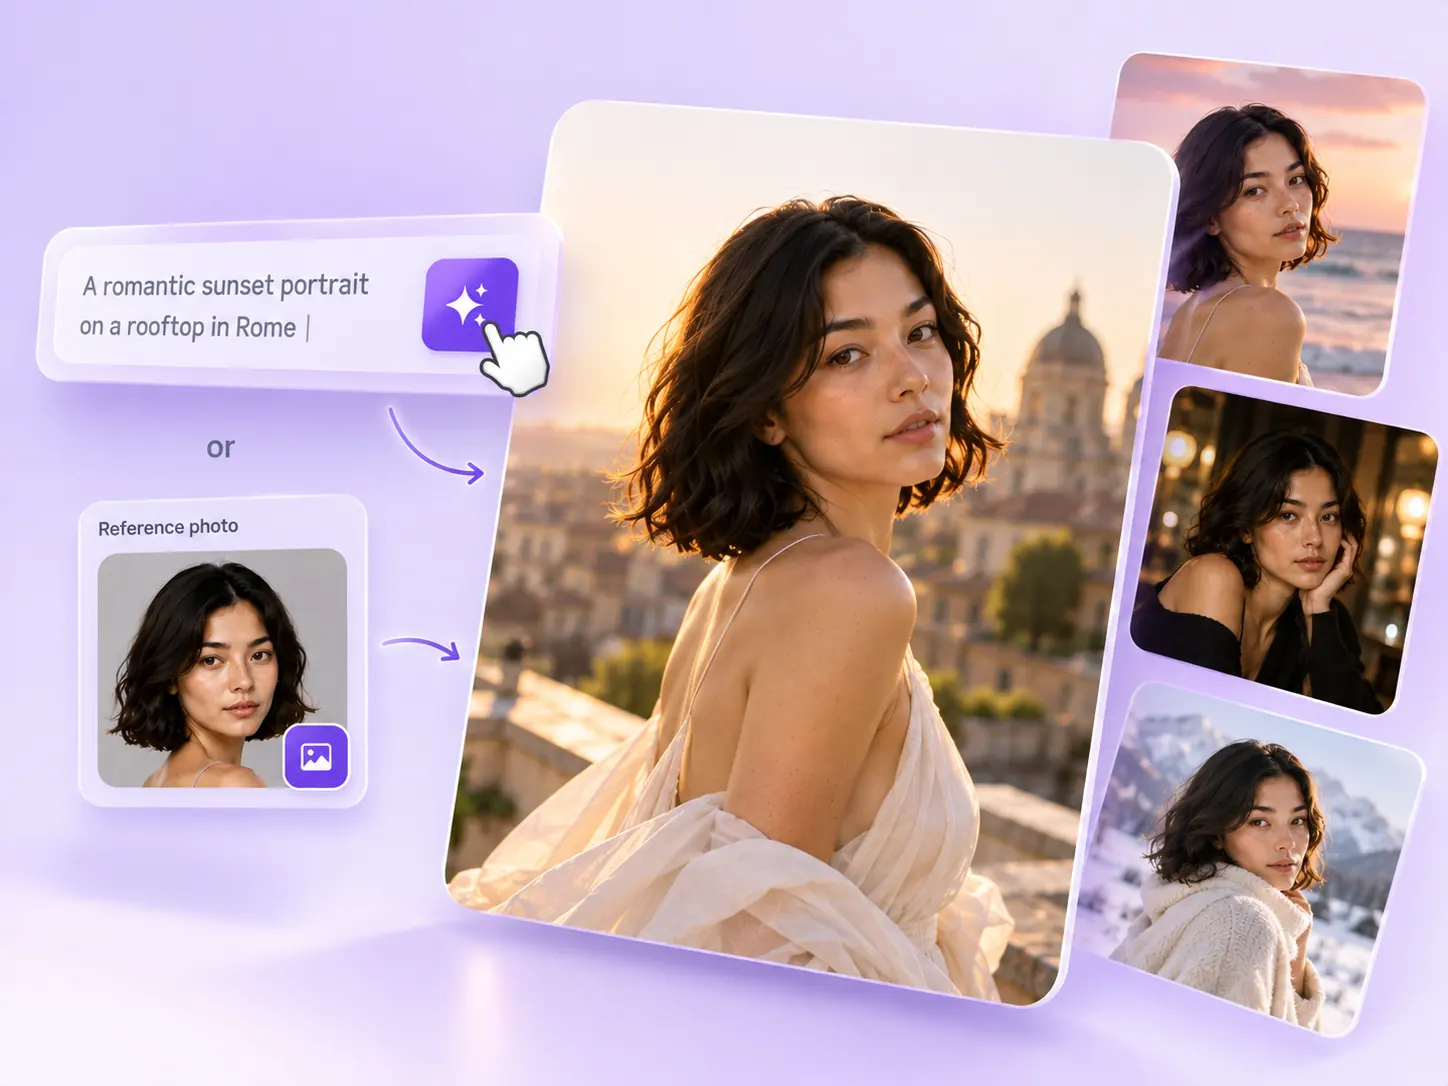
Create the still that starts the story: product concepts, portraits, and campaign photos from a written ImageAny brief.
Explore solutionChoose a model, write what should remain, and review the available size controls before generating a larger creative revision.
Prepare my edit