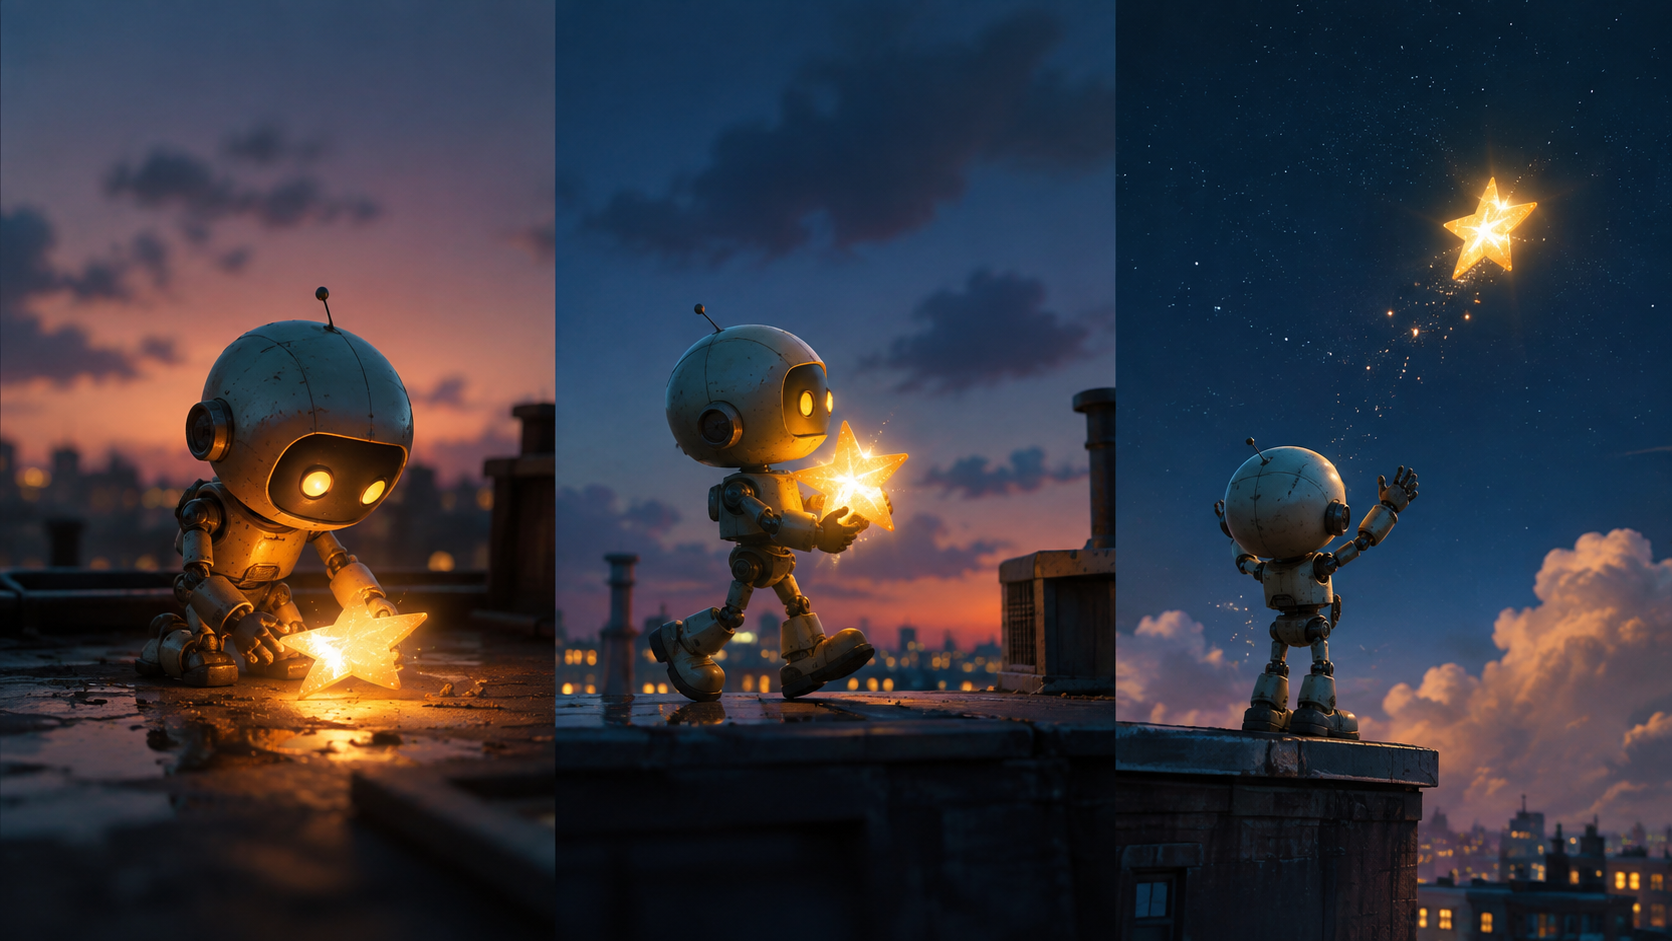
Crafting your first AI-animated short film benefits significantly from a focused, achievable story rather than an overly ambitious concept. Begin by limiting the scope of the action, establishing a consistent visual style, and making critical narrative decisions early in the process, ideally during the sketching phase.
While AI tools can generate images and motion sequences, the essential creative roles of direction, selection, sound design, and editing remain human-driven. The following seven stages outline a production workflow using an original miniature story: a wind-up toy ferry that carries a stranded leaf across a puddle. This process serves as a practical exercise in production planning, not a guarantee that any specific tool will complete a film within a predetermined timeframe.
1. Develop a Story with a Clear Arc
A compelling short story, even a brief one, requires a discernible change or transformation. Consider this example: initially, a toy ferry attempts to cross a puddle alone. A leaf snags on its bow, which the ferry shakes off. However, it then observes rainwater pushing the leaf toward a drain. The ferry turns back, rescues the leaf, and transports it to a dry stone.
The core change here is simple: the ferry evolves from viewing the leaf as an obstruction to actively protecting it. This shift imbues the ending with meaning beyond a mere object moving through water.
When outlining your story, prioritize visual action over dialogue. If a narrator is needed to explain every decision, it often indicates that the visual storytelling could be clearer. A deliberate pause as the ferry faces the drain, a distinct turn, and a final gesture of carrying the leaf can effectively convey the ferry's change of heart.
To maintain focus and manage complexity for a first project, establish a concise list of exclusions. For instance: no crowds, no new locations, no elaborate storms, and no character transformations. These constraints help keep the initial film manageable. Once you successfully complete a small story, you can then consider expanding its world.
2. Design Consistent Characters and Settings
For the toy ferry, establish a clear and repeatable design: a rounded cream hull, a green cabin, two square windows, and a single brass winding key at the stern. Prepare reference views such as a side profile, a front three-quarter view, and a rear view. Detailing the winding key's attachment point is important, as the ferry's turn toward the leaf might reveal it.
Consider how the ferry expresses intent. Perhaps a slight tilt of its cabin indicates attention, while the hull and windows remain static. Avoid creating new facial features for each shot; instead, ensure the design has a consistent visual vocabulary for conveying emotion or action.
Similarly, define a restrained environment. A shallow puddle between two paving stones, with a drain at one end, provides a simple backdrop. Create a basic overhead map showing the dry landing spot and the ferry's intended path. Keep all character and setting references organized together, even if your generation tools maintain their own history.
3. Create a Watchable Storyboard (Animatic)
Sketch rough storyboard panels for key events: the ferry's departure, the leaf snag, the rejection of the leaf, the moment danger is noticed, the return, and the safe landing. Include enough detail to convey framing and action. A simple rectangle with an arrow can suffice for an initial panel.
Arrange these still images in an editing program and adjust their duration to create a readable sequence. This rough, timed sequence is known as an animatic. It allows you to identify any missing reactions or unclear transitions before investing time in generating polished motion. For instance, adding a temporary ticking sound for the ferry can enhance the timing.
Pay close attention to the rejection and return sequences. If the ferry merely changes direction without a clear pause or indication of a decision, viewers might miss the narrative beat. Holding the shot on the drain, followed by a distinct turn, can make the ferry's choice more apparent. Sometimes, a moment of attention is more impactful than additional action.
4. Generate Shots with Specific Goals
When selecting video generation models, consider options like Kling, Seedance, and Veo. These are candidates to explore, not guaranteed solutions. Consult their official documentation for details on inputs and controls: the Kling VIDEO 3.0 guide, ByteDance's Seedance 2.0 overview, and Google's Veo documentation. Note that while Seedance and Veo document audio-video capabilities, the specific mode and application will determine their suitability for your project.
Begin with the most challenging or uncertain shot: the ferry turning back toward the leaf. First, approve its starting image. Then, use a focused motion brief. Here's an example:
The referenced toy ferry rests in the shallow puddle, its green cabin tilted toward the drifting leaf. It makes a small, deliberate turn toward the leaf while remaining between the same two paving stones. Preserve the cream hull, two square cabin windows, and brass stern key. Keep the camera still and the water movement gentle. No new passengers, text, or facial features.
Review the generated clip against your design. If the boat rotates acceptably but the leaf disappears, consider separating the leaf's insertion from the boat's turn. An editor can then connect these events. Avoid repeatedly requesting an entire complex scene when only one element is failing.
An image-to-video workflow in VideoAny can be utilized for this shot-generation stage. Remember to keep storyboarding and final assembly as distinct parts of your own workflow; do not assume automatic series management or consistent identity across all models.
5. Craft Sound to Enhance the Narrative
The ferry's winding mechanism offers a useful sound motif for the film. Start with an orderly ticking sound, interrupt it when the leaf snags, and let it resume when the boat turns back. Incorporate a subtle water movement sound during the rescue and a softer, final tick as the ferry lands.
These are proposed sound design choices. You can record your own audio or use licensed material. If a generated video clip includes sound, audition it carefully before incorporating it, as different shots might introduce incompatible ambient noise or unwanted music.
For a silent story, a clear sequence of mechanical, water, and environmental sounds may be sufficient. If you choose to add narration, record a temporary version early in the process and ensure there's ample room for the visuals to convey meaning without constant verbal explanation.
6. Edit for Impact and Clarity
Replace your animatic panels with the approved generated clips. Trim any unstable starts or endings. Hold the ferry's gaze toward the drain long enough for its return to feel intentional, then compare this with a shorter cut. Watch both versions without changing the sound to judge timing objectively, rather than being swayed by novelty.
Use straightforward cuts where the geography is clear. A close-up view of the leaf can effectively bridge a difficult boat rotation. If a landing shot feels disconnected, verify that the ferry approaches from the established side and that the puddle's appearance matches your location reference.
Review the entire film at normal playback speed before scrutinizing individual frames. Prioritize fixing any confusion a viewer actually notices, then address visible construction errors that might undermine the character or setting.
7. Finalize and Document Your Project
Export a review file according to the current requirements of your intended distribution platform. Carefully check the picture framing, sound balance, captions (if used), the final title, and the very last frame after export. A timeline preview is not a substitute for inspecting the delivered file.
Archive all approved references, the script, the animatic, selected outputs, audio permissions, and the final edited film. Document which shots required the most correction. This information will be invaluable for planning future projects with a realistic scope.
Your completed ferry story doesn't need to showcase every advanced AI feature. Its primary goal is for the audience to understand a small choice and care about its outcome. A clear, finished short film provides a much stronger foundation than a collection of spectacular but disconnected clips.