The Essentials
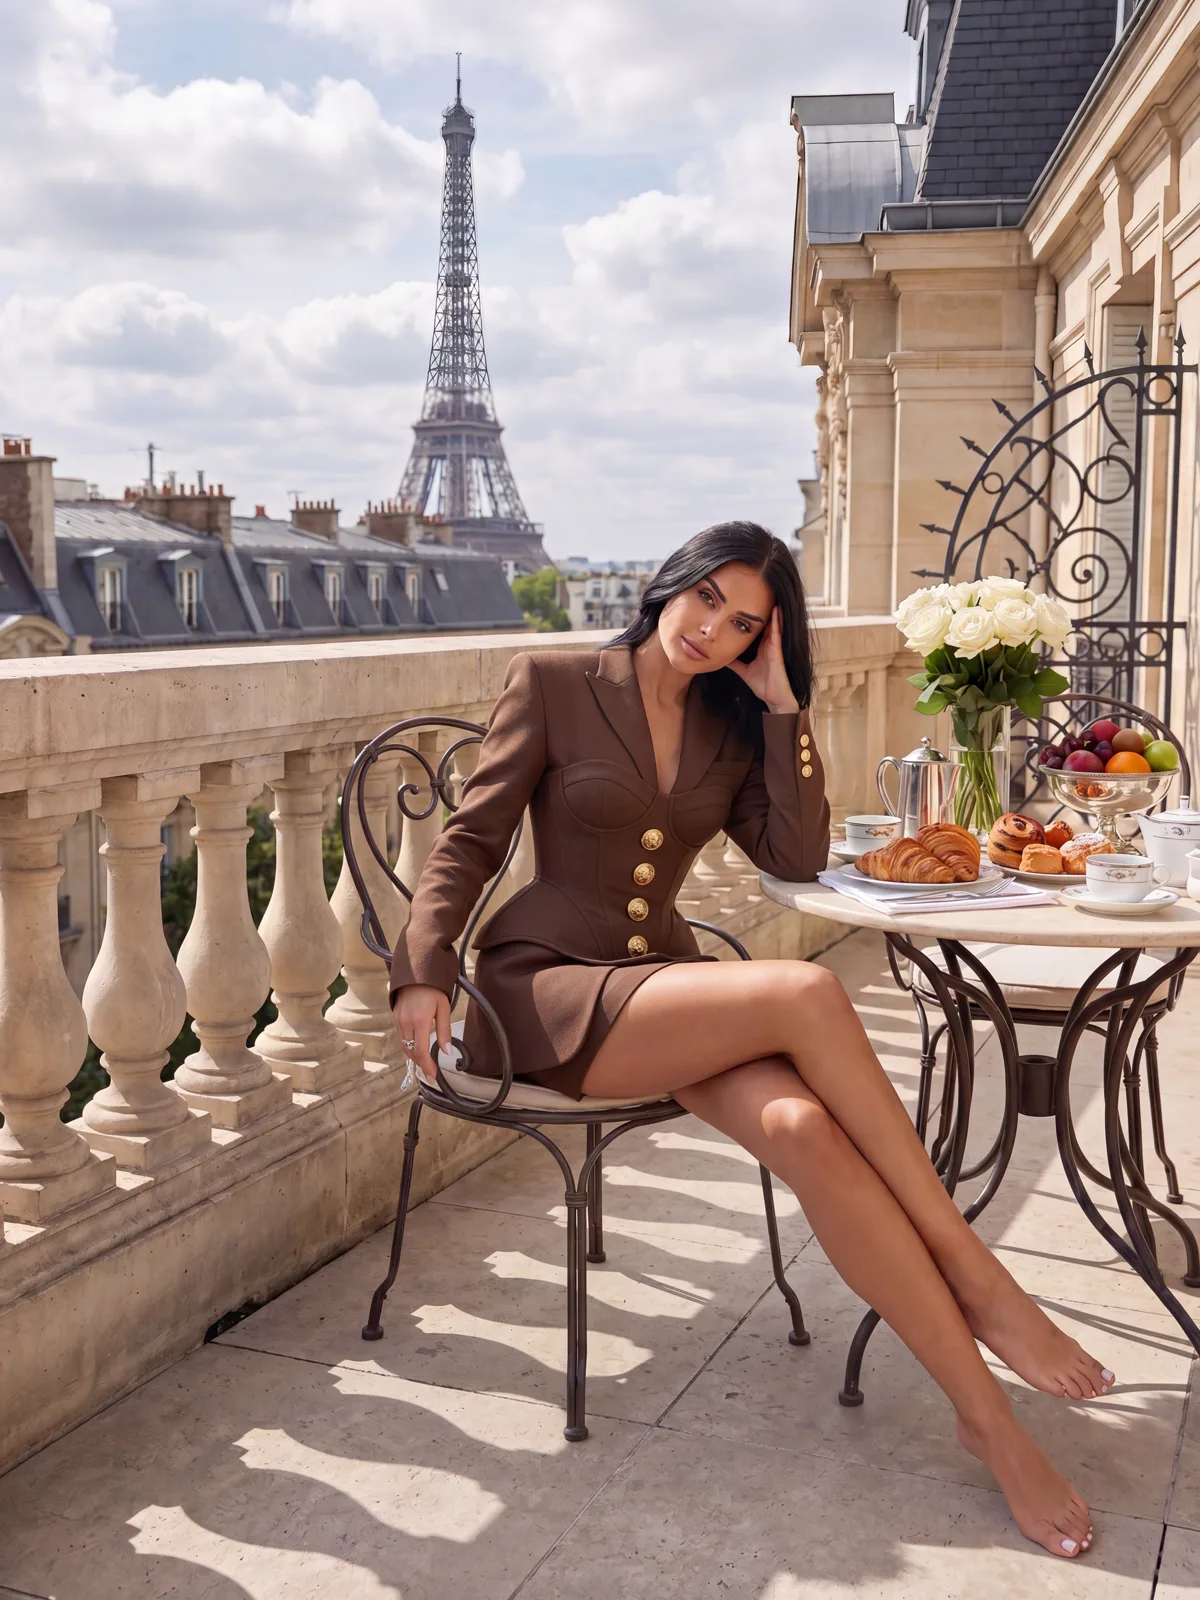
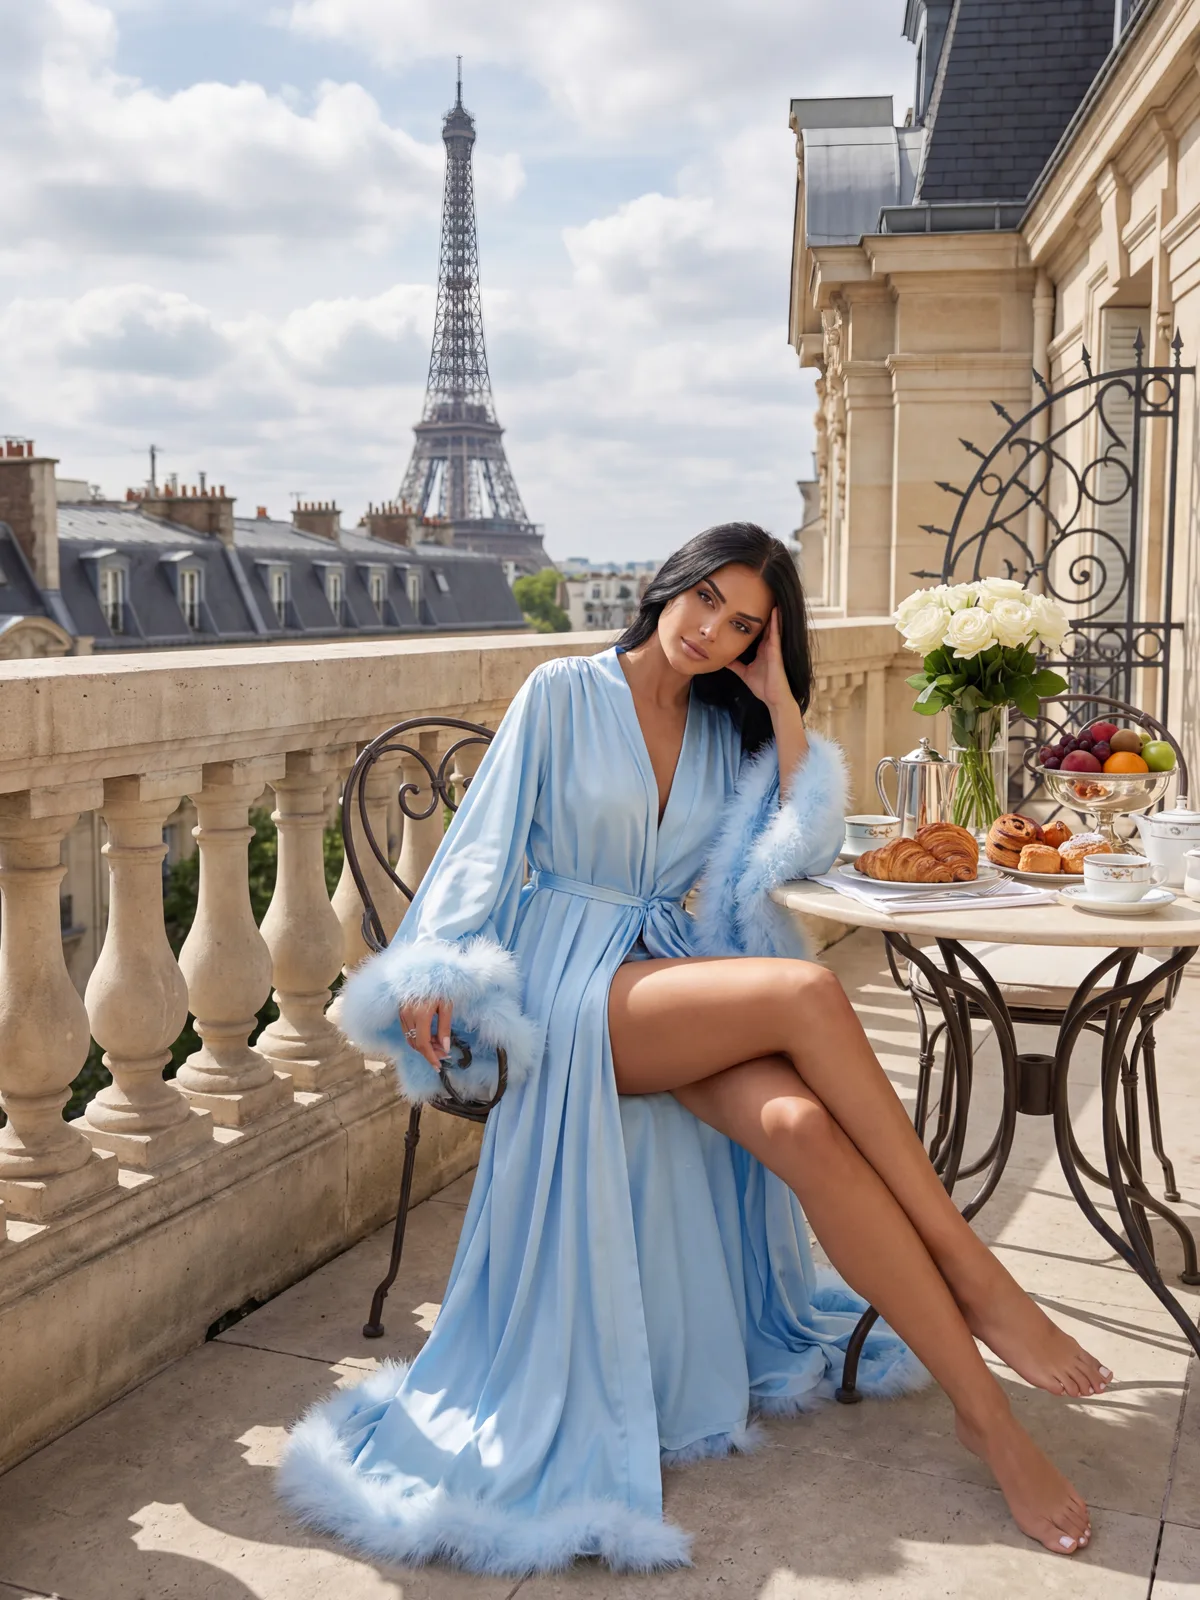
How to swap outfits using AI
Upload your character, define the new garment via text, and let the AI handle the complex blending and lighting.
The process is simple: import your AI character or a photo you own, specify the new clothing, and export the result. The AI automatically handles the garment detection and region regeneration.
Note that the AI does not 'reveal' hidden layers; it synthesizes new pixels based on the surrounding body shape and lighting to create a seamless look.
This tool is strictly for fictional characters or images where you hold full legal rights. Never use this for non-consensual imagery.
Best practices
- Use only AI-generated characters or rights-cleared images
- Select high-resolution, well-lit source files
- Provide detailed prompts covering fabric, color, and style
- Verify output quality before further processing
- Adhere to all legal and ethical guidelines regarding consent
This guide focuses on creative AI manipulation, not the generation of non-consensual content.
Background
Why traditional editing falls short
Manual garment replacement involves tedious masking, shadow matching, and texture blending that rarely looks natural.
Editing clothes manually requires hours of Photoshop work to ensure the new fabric matches the subject's body geometry and environmental lighting.
AI inpainting simplifies this by analyzing the surrounding pixels to generate a new garment that inherits the original scene's lighting and shadow cues.
Success depends on your input quality and how clearly you describe your vision to the model.
Key requirements for success
- Clear, unobstructed garment view
- Uniform lighting conditions
- High-resolution source files
- Simple, non-cluttered backgrounds
- Specific, descriptive prompts
The AI creates new content; it does not uncover what was originally hidden.
Workflow
Three-step transformation process
Follow this sequence to achieve professional results from still image to animation.
| Step | Action | Pro Tip |
|---|---|---|
| 1. Upload | Import your AI character or authorized photo. | Use full-body or 3/4 shots at 1000px+ resolution. |
| 2. Describe | Input a detailed prompt for the new outfit. | Include fabric type, color, and lighting style. |
| 3. Export | Review, download, or animate your result. | Fix source photo issues before adjusting prompts. |
Once you have a high-quality still, you can transition directly into VideoAny's animation tools.
Troubleshooting
Common pitfalls in AI editing
Most issues stem from poor source quality or vague instructions.
Low-resolution images provide insufficient data for the AI, leading to blurry or distorted results.
Harsh, uneven lighting can confuse the model, making it difficult to blend the new garment effectively.
Vague prompts like 'dress' provide too little context. Be specific about the cut, material, and color for better accuracy.
Quick fixes
- Start with a high-quality, sharp source image
- Avoid images with heavy shadows or compression
- Adjust one parameter at a time to isolate issues
- Compare multiple variations before final selection
- Ensure you maintain full rights to all source material
A clean source image is more impactful than a complex prompt.
FAQ
Frequently Asked Questions
Does the AI reveal what is under the clothing?
No. It generates completely new, synthetic pixels based on the surrounding context and your prompt.
How long does the process take?
The generation is near-instant, though upscaling and animation will add a few minutes to your total production time.
Do I need design software experience?
Not at all. The AI handles the technical masking and blending, allowing you to focus on the creative prompt.
Is this legal?
It is legal when used on fictional characters or images you own. Using these tools on real people without their consent is illegal and strictly prohibited.
Next step
Animate your creations
Once your image is ready, use VideoAny to animate your character into a professional-grade video clip.
- Use only authorized, rights-cleared images
- Review all stills before starting animation
- Select motion settings that fit your character's look