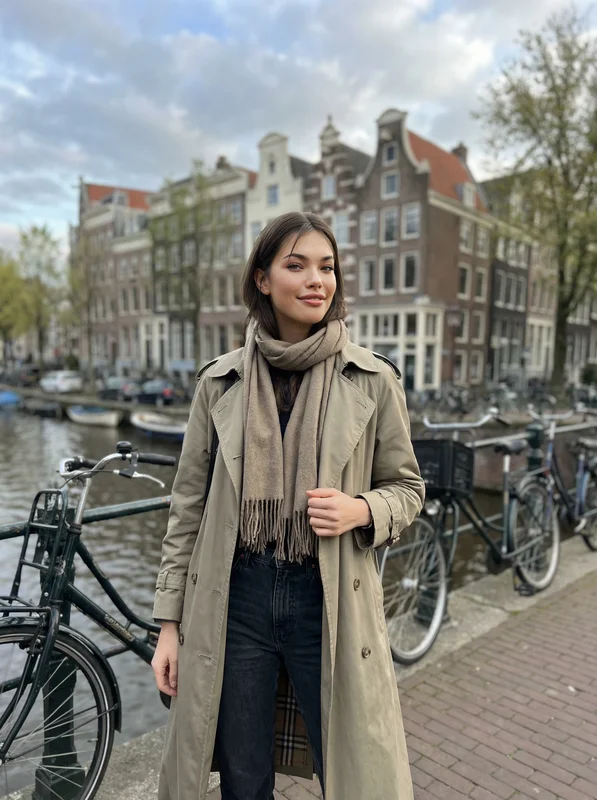
The basics
What is an AI head swap with hair, and how is it different from face swap?
Standard face swapping focuses on the facial oval, whereas a full head swap preserves the entire silhouette.
Most face-swapping tools identify landmarks like the eyes, nose, and mouth to replace only the inner facial region. This leaves the target's original hair, ears, and jawline untouched. While efficient for minor adjustments, this approach fails if your character requires a specific hairstyle or hairline that defines their look.
A full head swap goes beyond the facial mask. It replaces the entire head area—including hair, hairline, and jawline—ensuring the character's identity remains consistent regardless of the target image's original features. By carefully selecting your source, the AI treats the hair as a core part of the identity rather than background noise.
A full-head workflow treats face, hair shape, hairline, ears, and jaw contour as one identity region, then blends that region into the target pose and lighting. Source preparation matters because loose strands on a busy background can be misread as scenery rather than hair.
When to choose a full head swap
- Your character has a signature haircut (e.g., a sharp bob or specific waves).
- The hair color is unique and must be preserved.
- The scene features movement, wind, or angles where the hairline is clearly visible.
- You are building a consistent AI influencer across multiple assets.
If the target already matches your character's hairstyle, a standard face swap is often faster and sufficient.
Decision table
When should you swap the whole head instead of just the face?
Choose your swap intensity based on how much of the original character's silhouette needs to be preserved.
| Scenario | Face-only swap | Full head swap |
|---|---|---|
| Primary focus | Facial features only | Face, hair, and jawline |
| Hairstyle | Keeps target's hair | Preserves source's hair |
| Best for | Quick, casual edits | Consistent character branding |
| Complexity | Low | Moderate (requires clean crop) |
| Good use case | Quick fashion portrait with compatible target hair | Character consistency, signature cuts, vivid colors, and hair-dependent scenes |
Many face-swap systems track roughly 68–106 facial landmarks; hair outside that landmark boundary is why default swaps often leave the target hairstyle untouched.
Step by step
How to do an AI head swap with hair in four steps
Adapt this roughly 90-second source workflow to a hair-aware swap tool, then continue editing or animating the finished result in VideoAny.
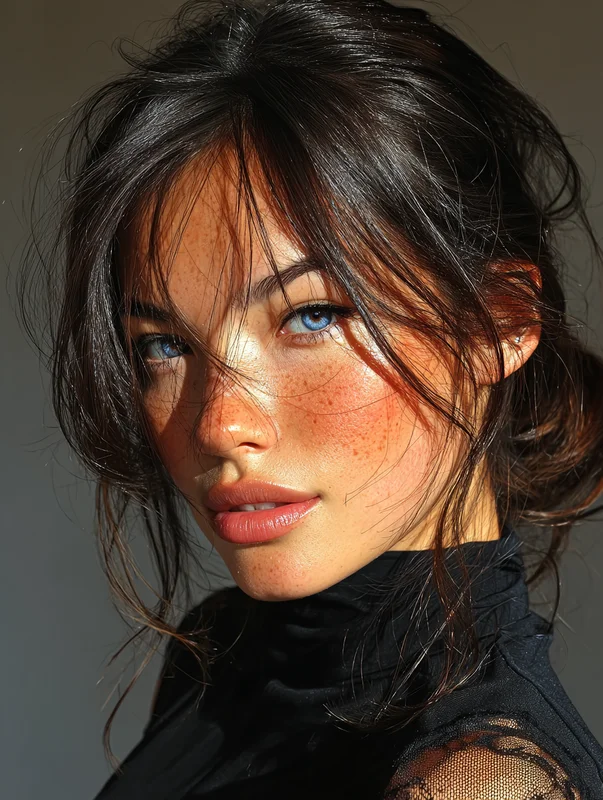
Clean source portrait with the full dark hairstyle visible
Prepare your source
Use a clear portrait where the head occupies 60–80% of the frame.
Source requirements
- Ensure hair is fully visible
- Use a neutral, uncluttered background
- Maintain 10-15% headroom above the hair
- Prefer neutral white balance and an uncluttered background
- Pricing model
- Uses one source image; generation cost depends on the selected swap model.
- Trade-offs
- Busy backgrounds can cause the model to drop hair details.
- Best fit
- Establishing a consistent character identity.
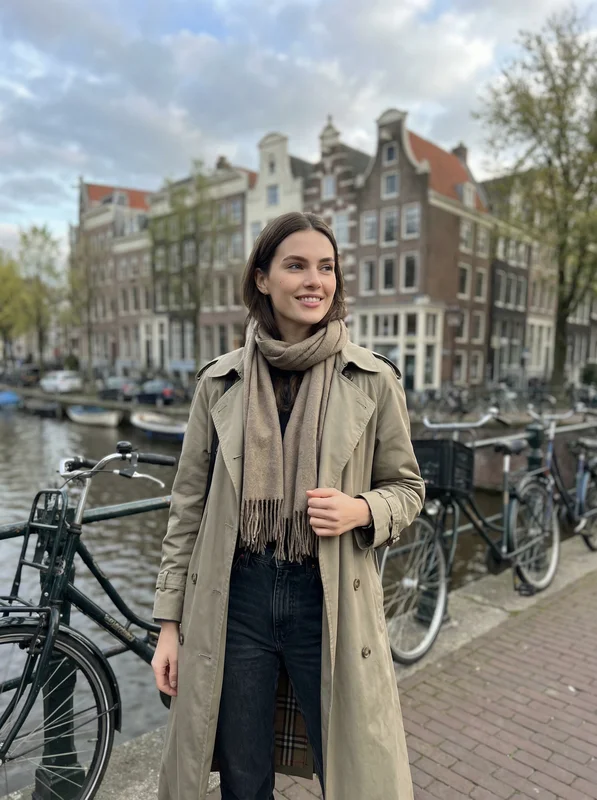
Three-quarter target portrait beside an Amsterdam canal
Match the target
Select a target scene with a head angle within 20° of your source.
Target selection
- Match the dominant lighting direction within roughly 45°
- Ensure similar head orientation
- Start with static images
- Avoid hands, hats, and heavy occlusion on the first attempt
- Pricing model
- Target preparation itself adds no generation step; the eventual swap uses model-based credits.
- Trade-offs
- Extreme angle differences lead to warping.
- Best fit
- Natural, seamless blending.
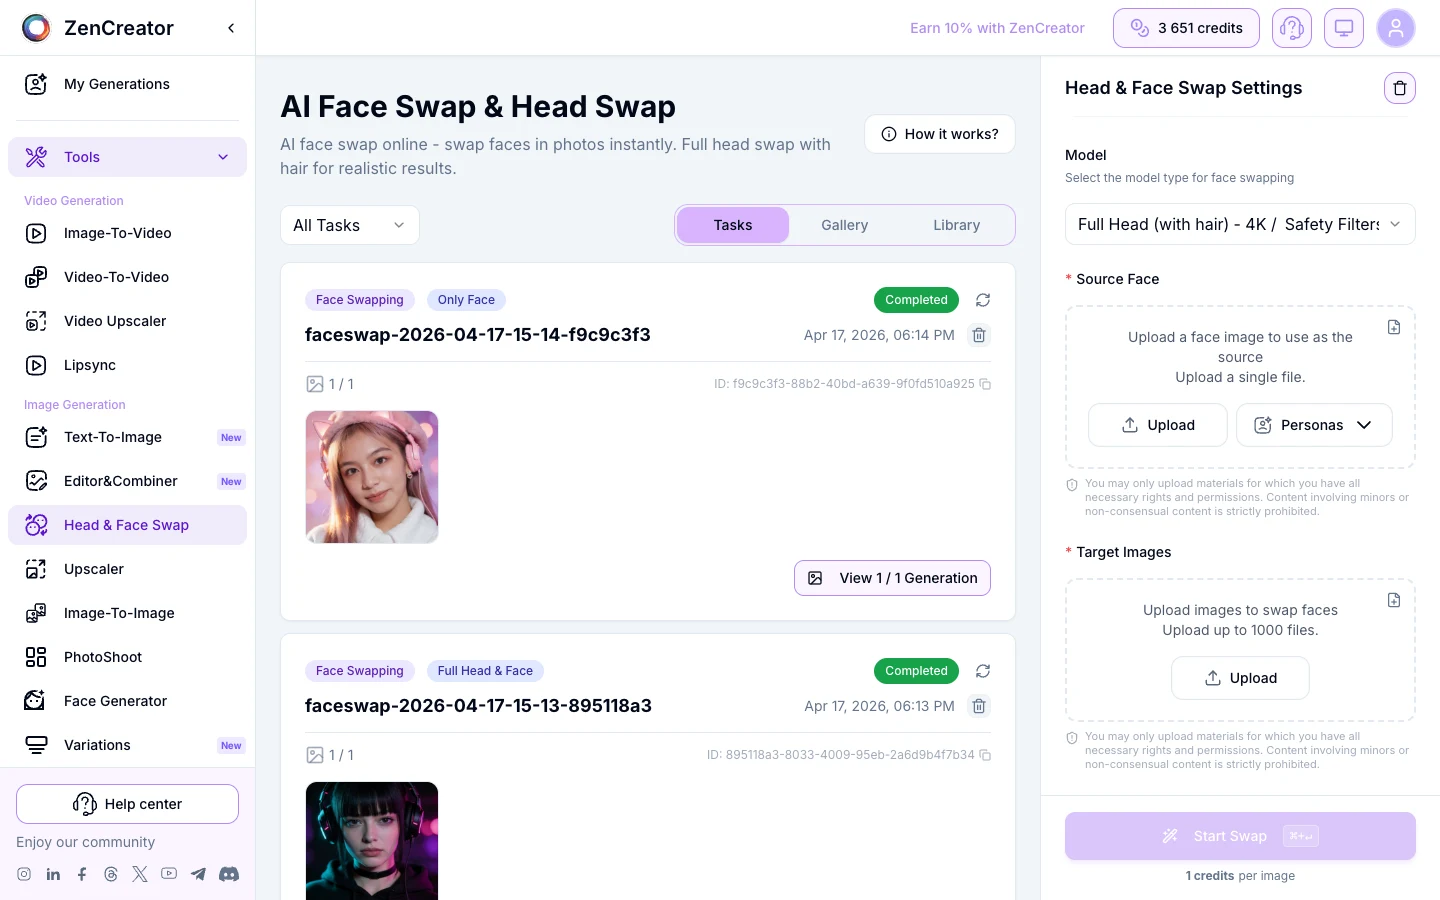
Source-page Head and Face Swap interface with the Full Head with hair model selected
Run the swap
If the chosen tool exposes a hair-aware mode, select its 'Full Head (with hair)' option instead of the default face-only mask.
Execution
- Upload source and target
- Select the tool's full-head or hair-aware model when available
- Start the swap process
- Expect a still-image generation to take roughly 8–15 seconds in the source workflow
- Pricing model
- Credit cost and timing depend on the selected image-swap model.
- Trade-offs
- Default settings may only swap the face.
- Best fit
- Full identity transfer.
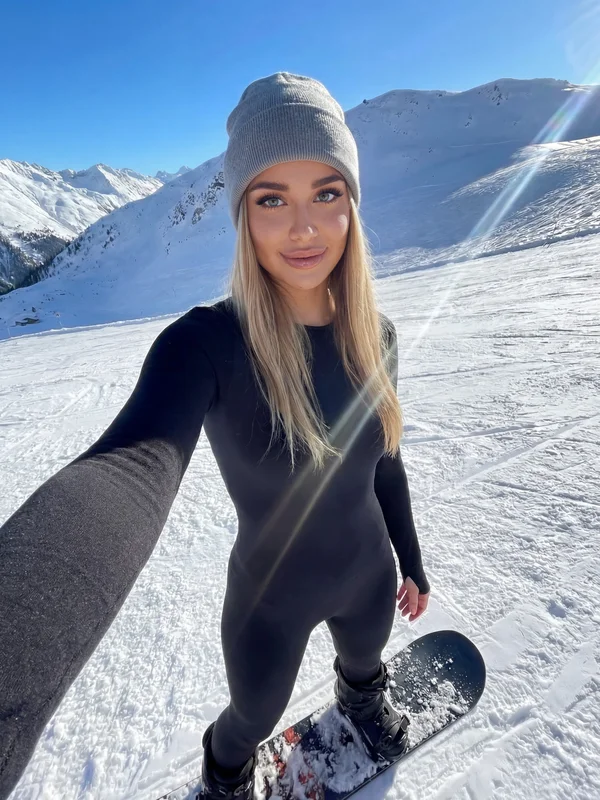
Snowy mountain result ready for hair-detail upscaling
Upscale for detail
Use texture-preserving upscaling only after the hairline, visible ears, color, and silhouette pass inspection.
Final polish
- Sharpen individual strands
- Verify hairline edges
- Check for color consistency
- Use a texture-preserving upscale toward 2K or 4K for strand detail
- Pricing model
- Upscaling is a separate generation step with model-dependent credit cost.
- Trade-offs
- Upscaling won't fix poor initial swaps.
- Best fit
- High-resolution professional assets.
Troubleshooting
Common mistakes when swapping the whole head with hair
Avoid these pitfalls to ensure your character remains consistent.
The most frequent errors occur during source preparation. If you crop too tightly, the model lacks enough data to reconstruct the hair silhouette. Similarly, mismatched lighting between your source and target will result in unnatural shadows that break the illusion.
Finally, avoid trying to change the haircut during the swap. The tool is designed to transfer the identity as it exists in the source. If you need a new look, generate a new source image first.
Do not ask a swap to invent a new haircut at the same time. Establish the desired haircut or color in the source reference first, then transfer that finished identity into the target.
Quick fixes
- Feathered hairline? Use a cleaner background for your source.
- Color drift? Ensure your source has neutral, consistent lighting.
- Warped results? Reduce the angle difference between source and target.
- Video flicker? Start with a simple talking-head clip.
A five-second video can contain 120 or more frames, so motion exposes hair-occlusion problems that never appear in a single still.
Production pipeline
Frequently asked questions
The swap works best as one controlled stage in a repeatable image and video pipeline.
Begin with one canonical face-and-hair reference, then generate or collect target scenes separately. Apply the same full-head identity to each selected scene, sharpen the accepted results, and animate only the final stills that need motion.
This order separates identity, scene design, detail finishing, and animation. When something fails, you can replace one stage instead of regenerating the entire project.
For high-volume character work, consistency matters more than one spectacular frame. A stable hairline, color, length, and silhouette across hundreds of scenes makes the character read as the same person.
Recommended order
- Create and save the canonical face plus hairstyle reference once
- Generate target scenes for the campaign or story
- Apply the full head and hair to each approved scene
- Upscale accepted images for strand and fabric detail
- Convert finished images to video only when motion is required
For batch work, validate one source-target pair at full resolution before processing dozens of files.
FAQ
AI head swap with hair questions
Does an AI face swap move the hair too?
Not always. A default face-only mask generally replaces the facial oval while retaining the target hairstyle. To preserve hair, use a full-head or hair-aware mode and provide a clean source where the hairstyle is clearly part of the foreground identity.
Can I swap a full head onto a video instead of an image?
Yes, but video is harder because the identity must remain stable across every frame. Start with a simple talking-head clip, then progress to larger head turns, wind, and hand occlusions after the still-image result is reliable.
Why does the result keep the target's hair color?
The usual causes are ambiguous source lighting or hair blended into a complex background. Use a neutral, evenly lit reference against a plain wall or soft gradient and keep the full hairstyle visible.
Can I change the haircut during the head swap?
Treat these as separate edits. First create the desired haircut and color in the canonical reference, then run the swap. Asking one generation to change style and transfer identity makes both tasks less predictable.
How long does one full-head swap take?
The source workflow reports about 8–15 seconds for a still, roughly 60–90 seconds for a five-second video, and around 6–8 minutes for a 50-image batch. Actual time varies with resolution, model, and service load.
What source resolution is enough for a 4K result?
Start with at least a 1024×1024 crop around the head. A 1664×1664 or larger reference gives an upscaler more real strand detail to preserve instead of forcing it to invent texture.
Create now
Test the identity on one still before scaling up
Choose a clean head-and-hair reference, match the target angle, inspect the hairline at full size, and keep only the result that is ready for the rest of your pipeline.
- Begin with a 1024×1024 or larger reference
- Keep the source and target angles within roughly 20 degrees
- Move to video after the still-image blend is stable