Introduction
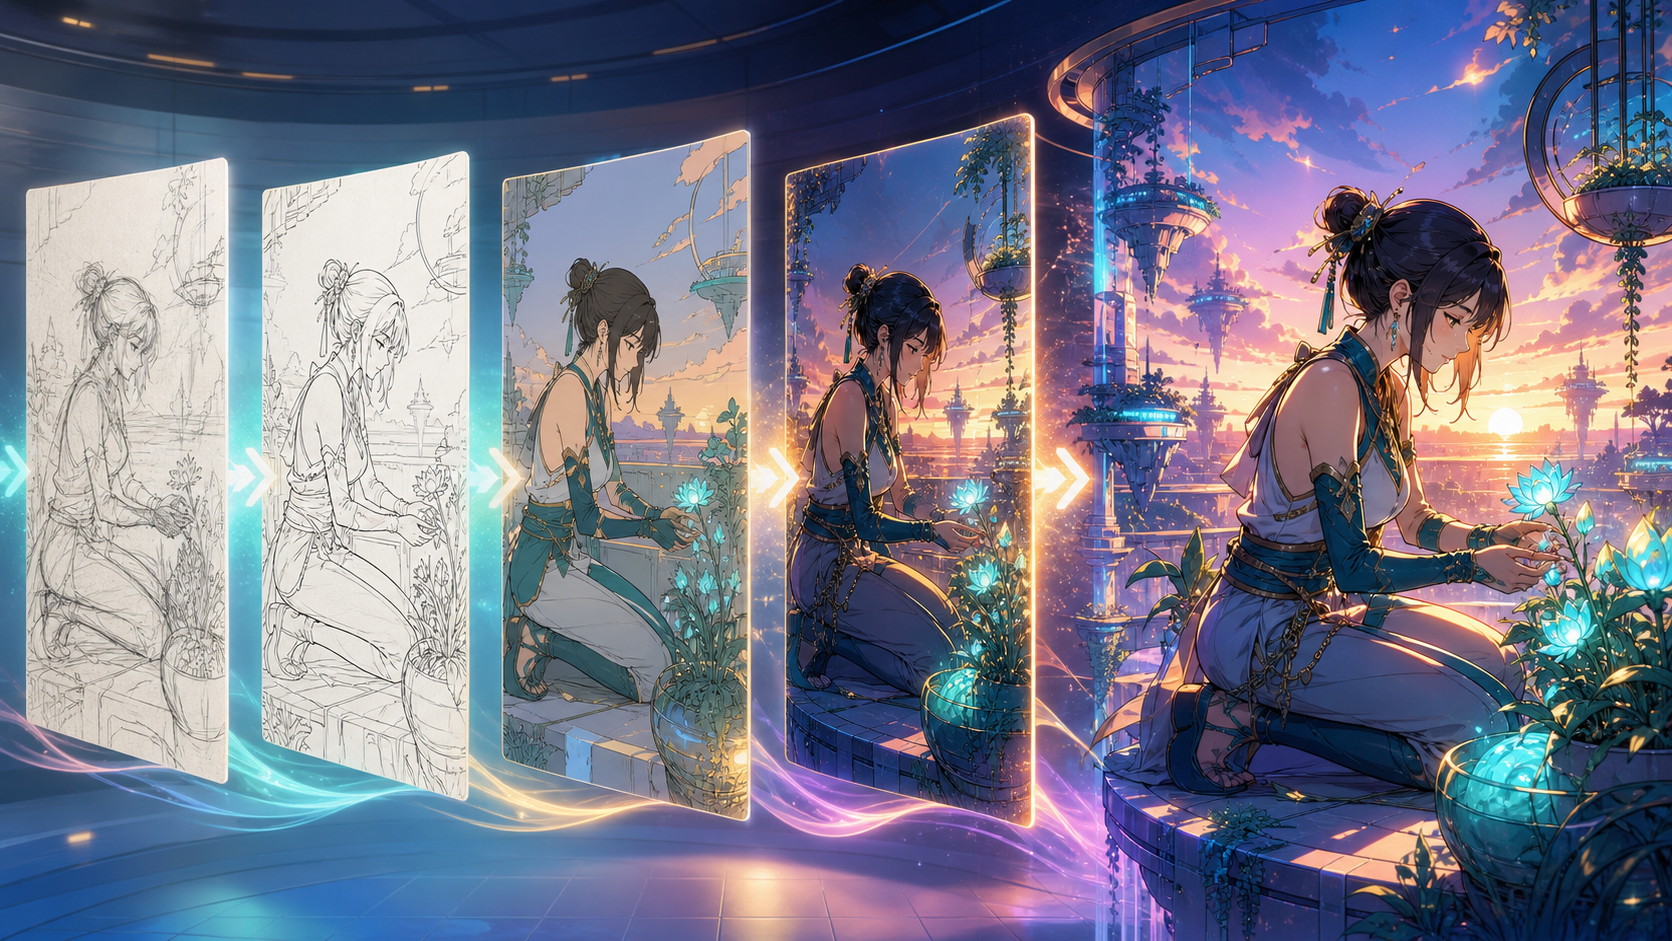
Creating high-quality anime-style art with AI is less about luck and more about disciplined production. By treating your creative process as a series of controlled steps—from initial brief to final refinement—you can achieve consistent, professional results. This guide outlines a workflow designed to help you move from a vague idea to a polished asset using VideoAny.
The Foundation: Planning Your Production
Before you generate a single image, you must define the scope of your project. Beginners often fail by attempting to create an entire universe in one prompt. Instead, start with a one-sentence brief that specifies the audience, subject, action, mood, and delivery format.
Treat this brief as a "miniature acceptance test." If you cannot describe what a successful result looks like, the AI will struggle to provide it. Define your delivery specifications—such as aspect ratio, resolution, and framing—before you focus on style. A well-defined canvas is the first piece of creative direction you provide to the model.
Establishing Identity and Visual Anchors
Continuity is the hallmark of professional anime art. To maintain a consistent look, establish "identity anchors" early. These are the non-negotiable elements of your character or scene:
- Physical Traits: Hair shape, eye color, and proportions.
- Signature Details: Specific accessories, clothing textures, or recurring color palettes.
- Visual Hierarchy: Determine what the viewer should see first. Use concrete nouns (e.g., "navy field jacket" instead of "cool clothes") to minimize ambiguity.
By building a neutral reference asset first, you create a stable foundation. If your results begin to drift during later iterations, you can always return to this base asset rather than trying to fix a corrupted version.
Iterative Refinement
Avoid the temptation to regenerate the entire frame when only one element is incorrect. If a character’s face is perfect but the background is off, use local editing tools to fix the specific region. Whole-frame regeneration should be reserved for the exploration phase; once you have a strong composition, focus on surgical improvements.
When evaluating your candidates, inspect them in two modes:
- Full Size: Check for anatomy, texture consistency, and potential artifacts.
- Publishing Size: Assess whether the subject and action are immediately readable to your audience.
Responsible AI Creation
Creative speed does not replace the need for professional responsibility. As you build your anime-style portfolio, keep these ethical considerations in mind:
- Rights and Licensing: Always ensure you have the rights to any reference images or source materials you upload.
- Authenticity: Distinguish clearly between fan-made work and official material. Avoid deceptive edits that misrepresent real people.
- Documentation: Keep a record of your prompts, source assets, and the human oversight involved in your final output. This is especially important for client-facing work.
A Practical Workflow for Creators
To keep your production efficient, follow this repeatable system:
- Define the Goal: Are you creating a static character sheet, a story scene, or an animated sequence?
- Create a Reference: Generate a high-quality still image first. Use this as your anchor for all future variations.
- Test in Batches: Change only one variable at a time—such as lighting or pose—to understand how your prompts affect the output.
- Final Review: Check for continuity and technical artifacts before finalizing your project.
For those ready to begin, VideoAny provides the tools to turn these concepts into reality. By focusing on structural correctness and maintaining a clear, repeatable process, you can produce anime-style art that is both creative and technically sound.
FAQs
1) Can this workflow work for a solo creator? Yes. By focusing on one repeatable format and keeping your asset list small, you can maintain high quality without needing a large team.
2) Should I generate first or write the plan first? Always write the plan first. A simple outline helps you verify that your AI generations align with your final creative vision.
3) What should I check before publishing? Verify continuity, motion quality, aspect ratio, and whether the visual clearly communicates your intended message without requiring external explanation.
4) How does VideoAny fit into this workflow? Use VideoAny to generate your initial stills, refine them through iterative prompting, and eventually transition your stable designs into motion or enhanced media.