Categories: AI Anime, Image to Video, Creator Workflow
Tags: turn anime images into videos, image to video anime, animate anime art, ai anime video, videoany
Introduction
If you already have strong anime images, image-to-video is one of the fastest ways to create publishable anime clips in 2026. You can start with a character portrait, a concept frame, a manga-style panel, or a finished illustration, then use AI to add motion.
This approach works because the still image already solves design, color, style, and composition. The video tool does not need to invent everything from text. It only needs to extend a strong frame through time.
Why Animate Existing Anime Images?
Animating a finished image gives the AI a visual anchor. That helps preserve:
- character identity
- outfit details
- art style
- color palette
- composition
- mood
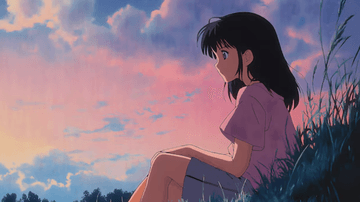
This is often more reliable than generating a full video from text alone. If the still frame is already beautiful, you are starting from a stronger place.
How Image-to-Video Works
Modern image-to-video tools infer depth, subject structure, camera direction, and motion from the input image. The image becomes the first frame or reference. The model generates the next frames.
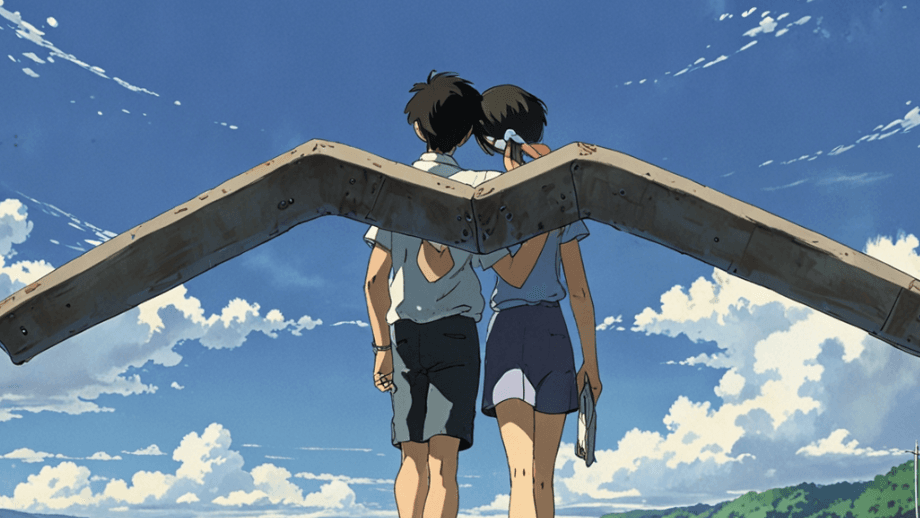
Different tools are better at different motion types:
- subtle motion: blinking, breathing, hair, clothing
- camera motion: pan, zoom, push-in, dolly
- character motion: turning, walking, reaching, reacting
- reference-to-video: several images of the same character
- audio-supported video: sound effects, ambience, or dialogue
The more complex the movement, the more references and iteration you should expect.
Choose the Right Tool
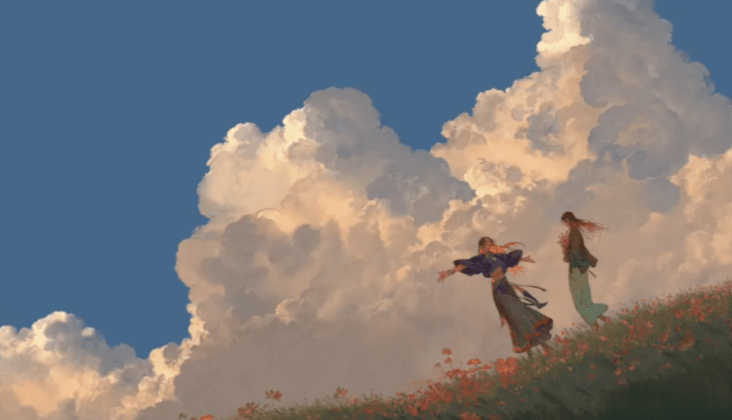
Use VideoAny Image to Video when you want a direct path from still frame to motion. Use Text to Image first if you need to create the source image, then animate the strongest frame.
Other tools can be useful for specialized needs. Kling-style workflows are strong for larger character motion. Seedance-style reference workflows help when you have multiple character angles. Veo-style tools are useful when synchronized audio matters. Pika-style tools can work well for subtle movement.
Choose by motion need, not by hype.
Step 1: Prepare the Source Image
Your image should be clear, high-resolution, and readable. A good baseline is at least 1024x1024.
Strong candidates have:
- a clear foreground subject
- visible character features
- simple or readable background
- strong composition
- no confusing overlapping limbs
- a natural sense of possible motion
If you have multiple angles of the same character, save them. They can help preserve identity during complex motion.
Step 2: Choose the Motion Type
Do not animate every image the same way. Match motion to the frame.
Use subtle motion when the art is already strong:
- blinking
- breathing
- hair in wind
- clothing flutter
- light shift
- rain or particles
Use camera motion when you want energy without redesigning the character:
- slow push-in
- pan across background
- vertical reveal
- cinematic zoom
Use full character motion only when the pose supports it:
- turning toward camera
- raising a weapon
- walking
- speaking
- reaching forward
Trying to force a stiff portrait into complex action often causes distortion.
Step 3: Write the Motion Prompt
The prompt should describe what changes over time. Do not repeat every detail already visible in the image.
Example:
The character slowly turns their head toward the camera. Hair moves gently in the wind. Subtle breathing motion, cinematic lighting, smooth anime animation, no change to outfit or face.Keep the prompt focused on motion, camera, and continuity.
Step 4: Generate and Iterate
The first output is rarely final. Review for face drift, body distortion, background warping, unnatural motion, and overly aggressive camera movement.
Common fixes:
- lower motion strength
- use shorter duration
- add more references
- simplify the background
- ask for subtle or natural motion
- keep the camera locked
Most good results come after two or three passes.
Step 5: Add Audio When Needed
Some tools generate audio with video. Others need a separate editing step. Either way, sound should match the motion.
Useful layers include wind, rain, footsteps, cloth movement, sword effects, music, short voice lines, or silence for dramatic timing.
For TikTok, Reels, and Shorts, test the clip muted. The visual hook should still work.
Multi-Scene Continuity
For a multi-scene short:
- Create 3-5 references of the character.
- Generate Scene 1.
- Save a strong end frame.
- Use that frame as reference for Scene 2.
- Repeat with stable prompt language.
This creates smoother transitions and helps the character stay recognizable.
Not Every Image Should Move
Some stills are already complete. A beautiful composition can become worse if forced into motion.
The best candidates have clear subjects, readable backgrounds, and natural motion potential: hair that could move, clothing that could flutter, eyes that could blink, or a camera that could push in.
Animate images that want to move. Leave the rest as strong stills.
Conclusion
Turning anime images into videos works best when you start with a strong frame, choose the right motion type, generate in short passes, and iterate carefully. Image-to-video is not about making everything move. It is about adding the right motion to the right image.
Next Step
Animate your next anime image with VideoAny.
FAQs
1) What image works best?
A clear high-resolution image with a strong subject and readable background.
2) Should I start with subtle motion?
Yes. Subtle motion is safer unless the frame clearly supports complex action.
3) How do I keep characters consistent?
Use multiple references, stable prompt language, and strong frames from earlier clips.