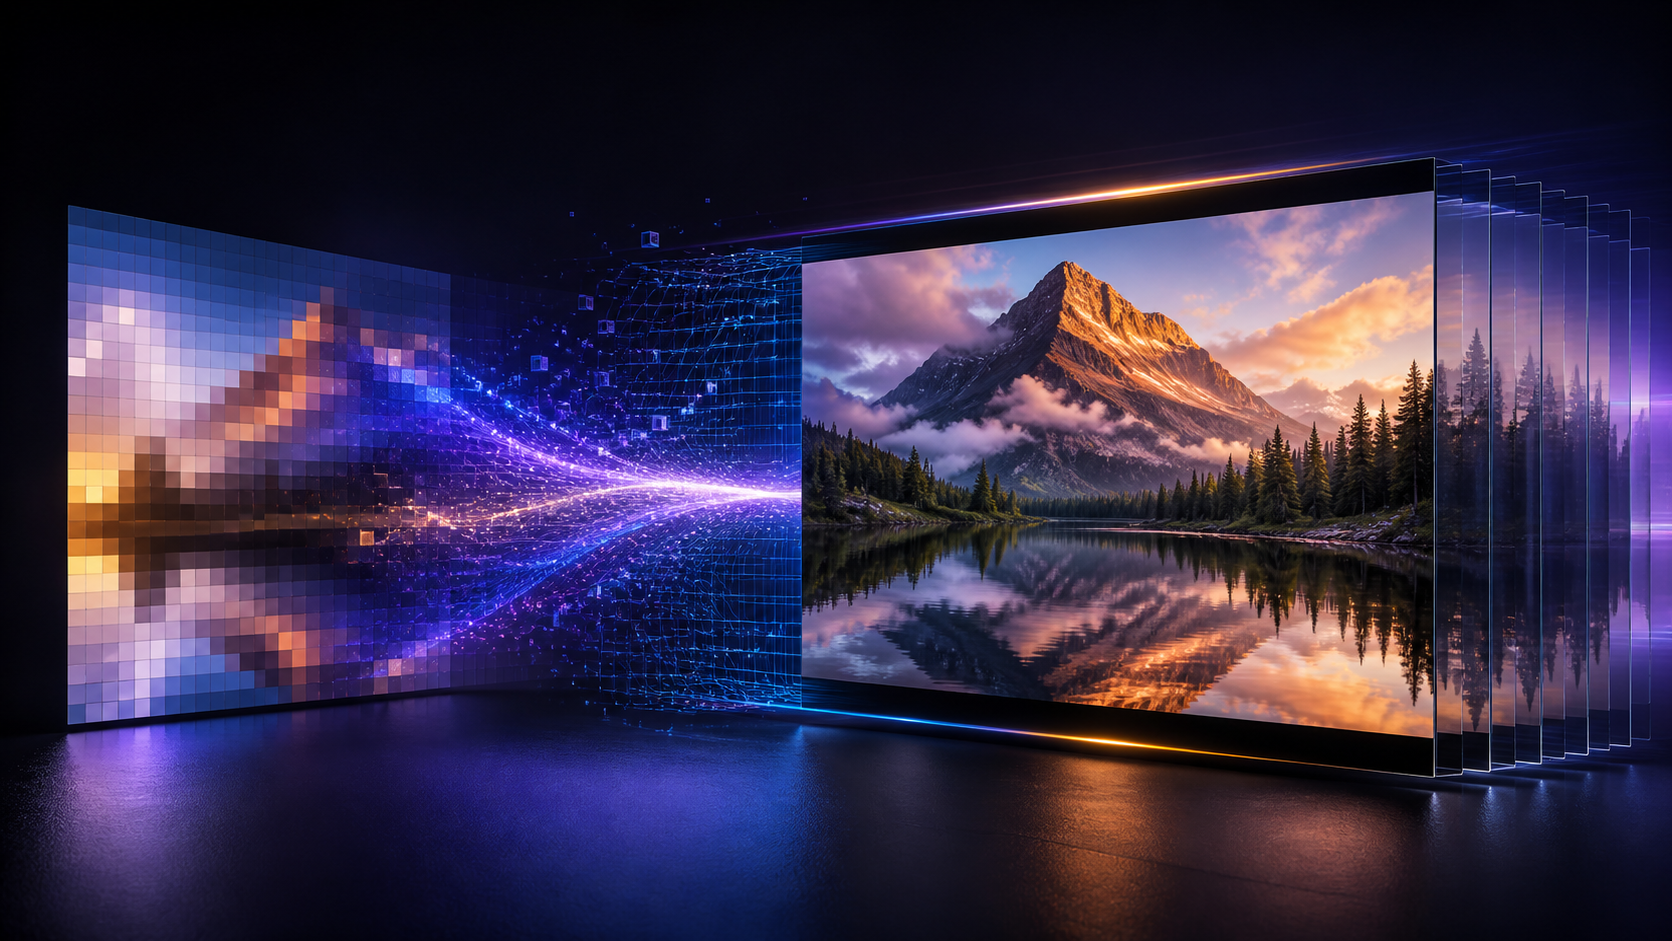
An image-to-1080p video AI workflow can turn one strong frame into a polished motion clip—but only when the source image, model, motion prompt, aspect ratio, and final quality check all support the same goal. Selecting “1080p” cannot recover a badly compressed face, invent detail hidden outside the frame, or guarantee stable motion.
The practical route is to design for HD from the beginning. Prepare an image that will survive animation, choose a VideoAny model whose current controls include 1080p, describe a small and readable movement, then review the generated clip at full size. The resolution claim needs to stay precise: 1080p is available on supported models, not automatically on every generation option.
Responsible-use baseline: Upload only material you own or are authorized to transform. Mature content must involve consenting adults. Never create or share material involving minors, non-consensual imagery, exploitation, or an unauthorized likeness.
What “Image to 1080p Video” Actually Means
Three different operations are often confused:
- Image animation creates new frames and movement from a still.
- Generation at 1080p asks a supported model to render a high-definition video frame size.
- Upscaling enlarges an existing lower-resolution result after generation.
They are not interchangeable. Native or model-supported 1080p generation gives the system a chance to synthesize motion and detail together. Upscaling can make a smaller clip fit a larger frame, but it cannot reliably fix temporal flicker, warped hands, changing facial features, or an unstable background. A clean 1080p file can still look poor if the motion is inconsistent.
For delivery, judge both spatial quality—sharpness, texture, edges—and temporal quality—how those details behave from frame to frame.
Choose Image to Video When the First Frame Matters
Image to Video is a useful choice when you already have:
- an original illustration with a settled character design;
- an authorized portrait with intentional framing;
- a licensed product image that should remain recognizable;
- a designed social post that needs subtle movement;
- a concept frame that defines lighting, wardrobe, or environment.
If you do not have a source visual, Text to Video offers more freedom to invent the scene. If timing and movement are already captured in footage you control, Video to Video may provide a better motion reference. Reference-led workflows can guide style across several clips, while authorized face tools address identity-specific work.
These modes form a connected creation studio, but they solve different problems. For this workflow, keep the focus on one image becoming one HD-ready shot.
Prepare the Source Image for Motion
The source frame is not merely an inspiration. It establishes the subject, crop, depth cues, edges, and much of the visual detail the model must carry through time.
Start With Useful Detail
Use the cleanest lawful version available. Avoid repeated social-media compression, heavy sharpening halos, tiny faces, and pre-existing motion blur. A high pixel count helps only when the image also contains real detail; enlarging a small JPEG before upload does not restore lost texture.
Inspect the still at 100 percent magnification. Look for damaged eyes, hands hidden at awkward boundaries, doubled edges, illegible micro-text, or background patterns likely to shimmer. Correct obvious defects before animation when you have the rights and tools to do so.
Compose for the Destination Ratio
Choose the destination before cropping:
- 16:9 suits widescreen players, landscape stories, and many presentation or video platforms.
- 9:16 suits vertical mobile feeds and full-screen stories.
- 1:1 suits a square placement where a centered composition matters.
These ratios are common in VideoAny, but the available set depends on the selected model. Do not place the subject against the edge and expect the model to invent perfect surroundings after a major crop. Leave room in the direction of movement and keep essential detail inside a safe central area.
Remove Conflicting Motion Cues
A still can imply movement through posture, hair, fabric, smoke, water, or camera angle. Make those cues agree with the planned prompt. A subject leaning left while the prompt requests a fast rightward turn creates unnecessary ambiguity. Likewise, a perfectly frozen product shot usually benefits from restrained camera motion rather than a complex physical action.
Verify Rights and Identity
Record who created the image, what license applies, and whether AI transformation and distribution are permitted. For a recognizable adult, obtain specific consent for animation and the intended context. A public photograph, celebrity image, or former partner's portrait is not an acceptable shortcut.
Five Steps From Still Image to 1080p Clip
The practical process moves from the creation studio through upload, prompting, settings, generation, and review.
Step 1: Open the Image-to-Video Studio
Enter the image-to-video workflow and review the available models. Capabilities vary: ratio, duration, resolution, and credit use can change with the model. Confirm that the option you plan to use exposes 1080p before building the delivery plan around it.
Step 2: Upload the Prepared Image
Choose the approved, correctly cropped source. Preview it in the studio and confirm that no unexpected rotation, stretch, or crop has occurred. If the destination is vertical, it is usually better to prepare a deliberate vertical composition than to force a landscape image into a narrow frame.
Step 3: Write a Motion-First Prompt
The image already communicates appearance. Use the prompt to specify:
- the primary subject movement;
- environmental motion;
- camera behavior;
- pace and intensity;
- what should remain stable.
For example: “The fictional explorer slowly raises the lantern; mist drifts behind them; subtle push-in; restrained natural movement; maintain the painted facial design and background architecture.” One main action, one camera cue, and one stability instruction are easier to evaluate than a paragraph of simultaneous events.
Avoid unsupported negative wording as a substitute for clear direction. Describe the desired state positively: “locked camera,” “subtle motion,” “stable composition,” or “gentle fabric movement.”
Step 4: Select Ratio, Duration, and 1080p Where Supported
Match ratio to the prepared frame. Use a short duration for the first test so motion problems appear before you spend credits on a longer clip. Then select 1080p only on a model that offers it.
Some VideoAny models support higher output, including up to 4K, while others have lower maximums. Higher resolution can consume more credits and processing time depending on the model. The correct setting is the one your destination needs, not automatically the highest number in the menu.
Step 5: Generate, Review, and Export
Generate a small set of controlled variants. Change one element between attempts—camera motion, subject action, or intended motion intensity in the prompt or an available model control—so you can identify what improved the result. Review the clip at native size before downloading the approved version.
Do not judge only the thumbnail. A motion artifact that is invisible in a small preview can become obvious in a 1080p export.
Three Aspect-Ratio Prompt Examples
Landscape, portrait, and square examples make the relationship between composition and motion easier to see. These originals avoid relying on a real person's likeness.
Landscape 16:9
An original gothic observatory interior at night, tall windows showing gentle rain, brass instruments catching warm candlelight, curtains moving subtly, slow cinematic push-in, stable architecture, restrained realistic motion.
This prompt gives a widescreen scene depth, environmental movement, and one camera instruction.
Portrait 9:16
A fictional masked stage dancer under cobalt and amber spotlights, fabric ribbons lifting slowly, centered full-body composition, gentle upward camera tilt, energetic atmosphere, stable costume design.
The vertical composition reserves height for the subject and uses movement that reads on a phone screen. The mask is a fictional design, not a real identity.
Square 1:1
A luminous clockwork creature in an enchanted greenhouse, small playful head movement, floating dust in sunbeams, locked camera, seamless short-loop feeling, detailed fantasy illustration.
The centered subject and locked camera suit a square crop. “Loop feeling” guides the action but does not guarantee a mathematically seamless endpoint; inspect the transition in editing.
The 1080p Quality-Control Pass
Pause on representative frames and inspect five zones:
1. Subject Integrity
Check face, eyes, fingers, clothing edges, product geometry, or character markings. Look for details that appear in one frame and vanish in the next. For a recognizable adult, verify that the generated action and identity remain within the approved context.
2. Edge Stability
High-contrast boundaries reveal temporal problems quickly. Watch hair against a bright window, a dark object against the sky, architectural lines, jewelry, and thin straps. Crawling edges can make an otherwise sharp clip feel low quality.
3. Texture Continuity
Patterns on fabric, foliage, water, skin, and repeating backgrounds can shimmer. Judge them while the clip plays at normal speed and while scrubbing. A still frame may look excellent even when the texture changes unnaturally over time.
4. Motion and Camera Logic
Confirm that the subject action, background movement, and camera cue agree. If a “locked” shot floats or a slow push-in becomes a sideways swing, simplify the prompt rather than trying to hide the error with resolution.
5. Delivery Frame
Open the exported file at full size. Confirm the intended aspect ratio, visible crop, readable focal point, and absence of unwanted borders. Then test it in the destination's preview, where interface overlays or automatic cropping may cover important detail.
1080p Planning for Different Creators
- Digital artists can animate an illustration while preserving its palette and key silhouette, then use the HD review to catch texture shimmer.
- Social creators can prepare separate vertical and landscape source frames instead of relying on one aggressive crop for every channel.
- Marketers can add restrained motion to licensed product imagery and inspect logos, labels, and geometry carefully before use.
- Filmmakers can turn a concept frame into a previsualization shot, focusing on camera and atmosphere rather than final continuity.
- Adult creators can animate authorized material involving consenting adults, with specific approval for the transformation and distribution context.
- Hobbyists and storytellers can give an original fantasy frame a short action without building a full animation rig.
Each use case benefits from the same principle: the source frame controls appearance, the prompt controls change, and the quality pass determines whether the result is ready.
Credit and Iteration Strategy
VideoAny uses credits, but cost is model-dependent. Many video models calculate usage from duration and quality; some configurations use a fixed per-generation amount. Do not import a third-party claim such as “one credit equals one second” or assume a universal dollar-per-second rate.
Use a short draft to validate movement and crop. Once the motion works, generate the required 1080p version with the same disciplined prompt and supported model settings. Preserve the selected source image, prompt, model, ratio, duration, and resolution in a project note so you can reproduce or revise the shot.
Frequently Asked Questions
Does selecting 1080p guarantee a professional-looking video?
No. It defines output dimensions on supported models. Source quality, temporal stability, motion, composition, and encoding all affect perceived quality.
Can a low-resolution image become a detailed 1080p clip?
The model may synthesize additional detail, but missing source information cannot be recovered with certainty. Start with the cleanest authorized image available and inspect invented detail closely.
Which aspect ratio should I choose?
Use 16:9 for a landscape destination, 9:16 for vertical mobile delivery, and 1:1 for a square placement when the selected model supports it. Prepare the source composition for that ratio.
Can every VideoAny image-to-video model generate 1080p?
No. Resolution support varies by model. Check the current model controls; select models also offer output up to 4K.
Should I upscale a weak generation?
Not before fixing motion and continuity. Upscaling cannot reliably repair temporal artifacts. Regenerate with a clearer source or prompt, then enlarge only a clip that already moves well.
Build HD Quality Into the Workflow
The best image-to-1080p video AI result is not simply a larger file. It begins with a detailed, rights-cleared source frame; adds one controlled subject or camera movement; uses a model that supports the required resolution; and ends with a full-size temporal review.
Prepare the frame for its real aspect ratio, test motion at a practical setting, and reserve the 1080p pass for a concept that already works. That process converts resolution from a marketing number into a usable delivery standard.