Introduction
In 2026, the gap between a generic AI clip and a professional-grade cinematic sequence is no longer about the underlying model's raw capability—it is about the creator's direction. While AI tools can generate high-resolution photorealism, achieving a "cinematic" look requires intentionality in framing, lighting, and pacing. This guide outlines how to move beyond default outputs and apply traditional filmmaking principles to your VideoAny workflow.
What "Cinematic" Means in AI Animation
A cinematic clip is defined by four pillars: deliberate camera positioning, motivated lighting, controlled motion, and precise timing. Default AI outputs often default to a flat, eye-level mid-shot. To break this pattern, you must explicitly prompt for specific cinematic anchors.
Instead of generic requests, define your scene using technical language:
- Camera Language: Specify the lens and angle. Use terms like "35mm low-angle" for drama, "85mm portrait shoulder" for intimacy, or "handheld over-the-shoulder" to add a sense of realism and movement.
- Motion Control: Describe the camera's behavior. Is it a static tripod shot, a slow pan, or a dynamic tracking shot? Defining the movement prevents the "stock loop" feel.
Mastering Lighting Recipes
Lighting is the most effective way to establish mood. Rather than relying on default lighting, apply one of these three proven recipes to your prompts:
- Practical Neon: Use a single, saturated colored light source. This creates high-contrast, hard shadows that define the subject's form.
- Window Key: Utilize a single, soft side light. This mimics natural daylight and creates a deep falloff, adding depth and dimension to the scene.
- Blue-Hour Ambient: Focus on cool, low-contrast tones. This is a forgiving lighting style that works well for atmospheric, moody, or contemplative scenes.
Pick one lighting scheme per scene to maintain visual consistency throughout your project.
The Five-Step Cinematic Workflow
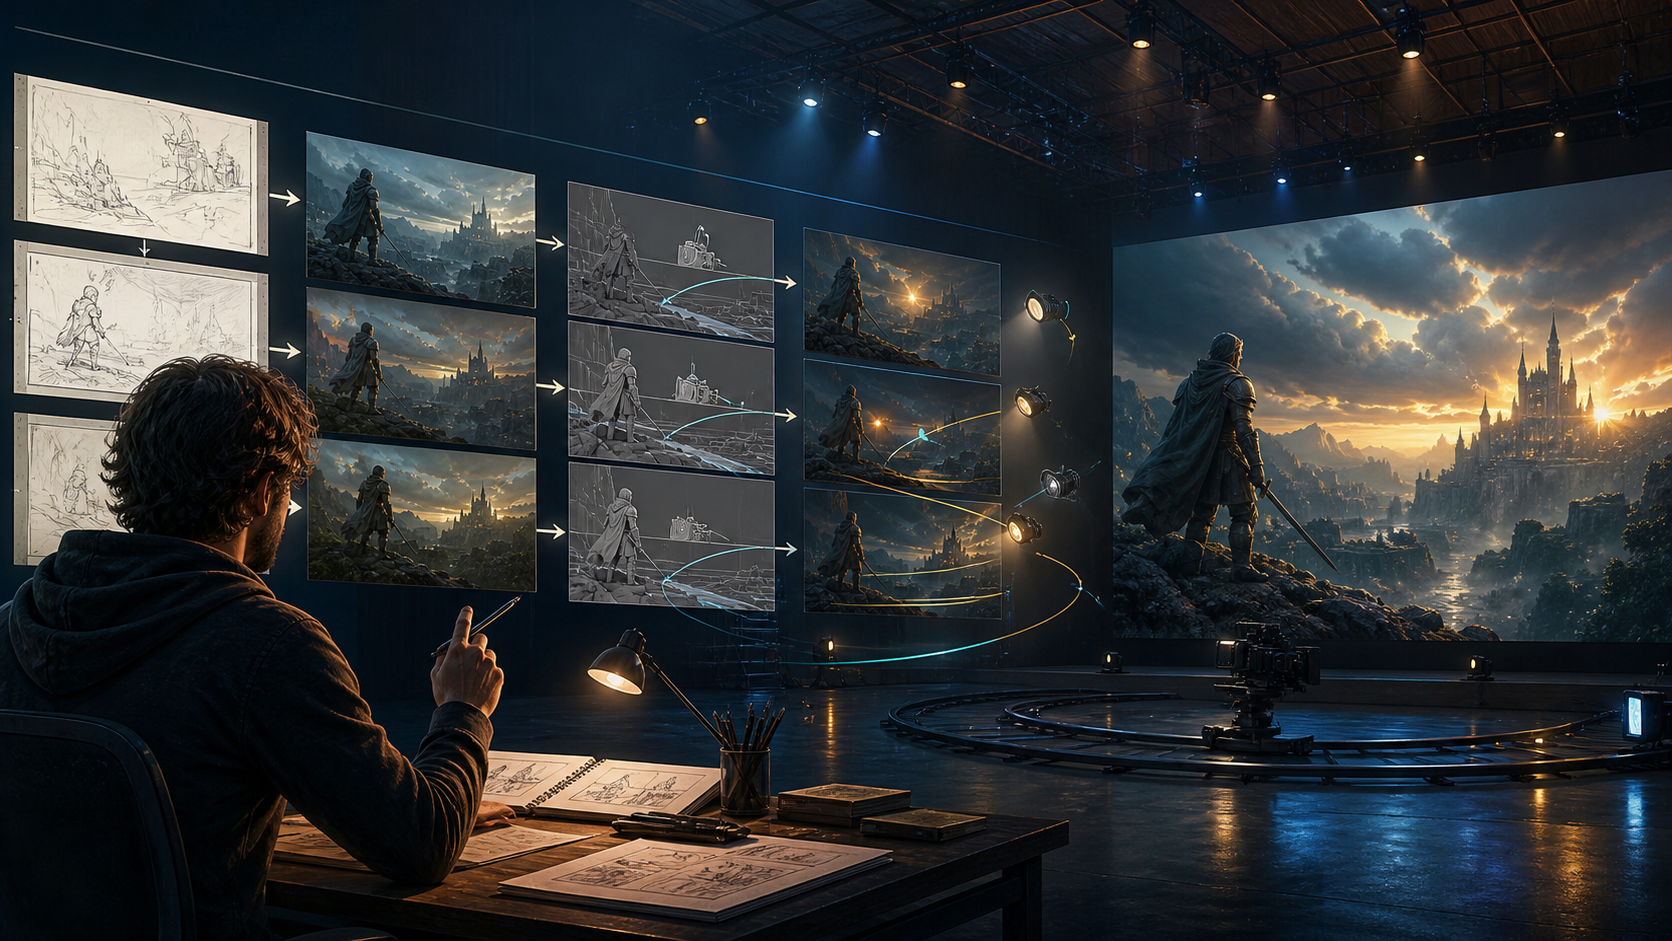
To produce high-quality results, treat your animation process as a structured pipeline. You can explore these capabilities through VideoAny's generation tools to begin your project:
- Define the Goal: Determine if your clip is a story scene, a character study, or a visual mood piece.
- Storyboard with Stills: Use image-to-video workflows to test your framing and lighting before committing to a full animation.
- Iterative Generation: Generate in small, 4-second segments. This allows for better control over motion and pacing.
- Review and Refine: Check for continuity between clips. Ensure the lighting and character consistency hold up across the sequence.
- Final Polish: Assemble your clips and adjust the timing to match your narrative flow.
Responsible Creation
When working with AI-generated human subjects, always prioritize responsible and consent-based creation. Whether you are crafting stylized characters or photoreal human figures, ensure your content adheres to platform terms and legal standards. Cinematic storytelling is most effective when it respects the audience and the subjects involved.
Common Mistakes to Avoid
- Over-prompting: Don't clutter your prompt with too many conflicting style descriptors. Stick to one lens, one lighting style, and one clear motion.
- Ignoring Pacing: A common error is making every clip too fast. Allow the scene to breathe by controlling the motion speed in your generation settings.
- Inconsistent Framing: If your character shifts position drastically between cuts, the scene loses its cinematic weight. Use consistent reference images to anchor your character's appearance.
Where to Go Next
The leap from raw AI output to cinematic storytelling is a matter of practice and direction. Start by experimenting with VideoAny to see how specific lens and lighting prompts change the character of your output. By treating your AI workflow as a repeatable production system, you can consistently produce high-quality, professional video content.
FAQs
1) Can this workflow work for a solo creator? Yes. By focusing on one repeatable format and keeping your asset list organized, a solo creator can manage a complex cinematic project efficiently.
2) Should I generate first or write the edit plan first? Always write a plan first. Even a simple outline helps you determine if the AI output supports the final narrative, saving you time and resources.
3) What should I check before publishing an AI video? Check for visual continuity, motion quality, pacing, and whether the video clearly communicates the intended mood without needing external explanation.
4) How does VideoAny fit into this workflow? Use VideoAny for the generation and variation phases, then combine your clips with external editing software to add sound, captions, and final platform-specific formatting.