Categories: AI Video, AI Image, Creator Guides
Tags: videoany, ai video, ai video generator, ai content creation, creator guide
Introduction
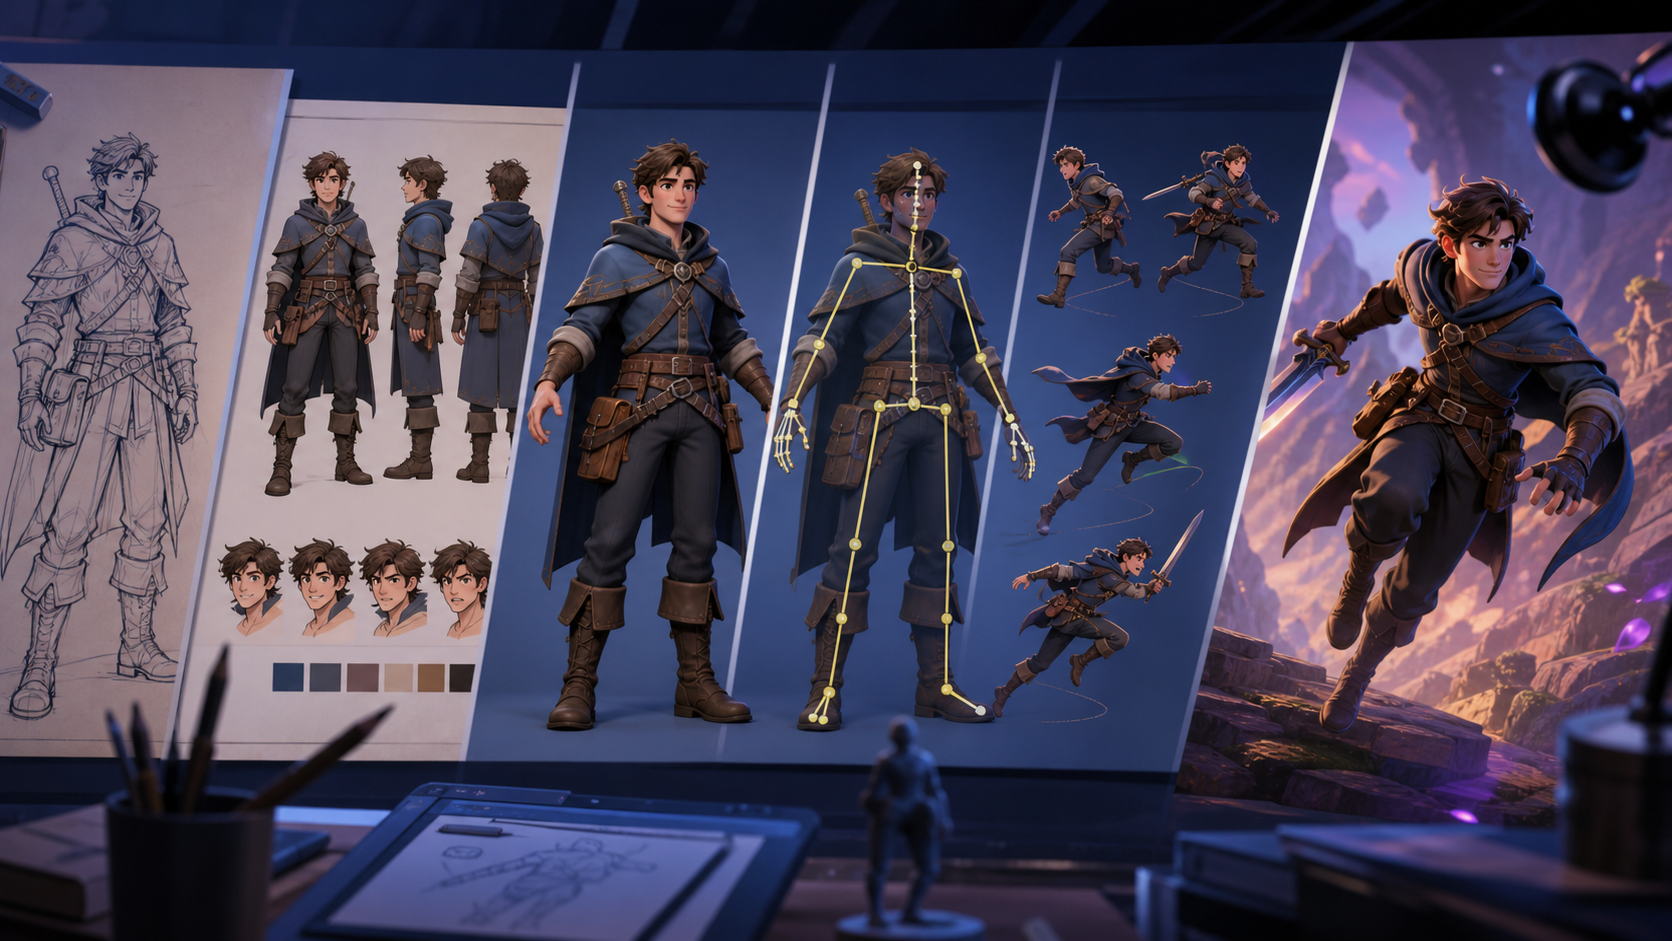
Creating consistent AI characters is one of the most sought-after skills in modern digital production. Whether you are building a virtual presenter or a narrative lead, the key to success lies in a structured, repeatable workflow. This guide breaks down the process of moving from a static character concept to a polished, 4-second animated clip using VideoAny.
Note: When creating AI media, always ensure you have the necessary rights and consent for the content you generate. Responsible AI usage involves respecting privacy and adhering to platform safety guidelines regarding the creation of realistic human likenesses.
1. Build the Character Once
Efficiency in AI production starts with consistency. Instead of re-describing your character in every prompt, utilize a character creation flow to define their core traits—gender, body shape, ethnicity, attire, and overall style. By saving these profiles, you create a "source of truth" that ensures your character remains recognizable across different scenes and movements.
2. Generate a Strong Reference Still
Before animating, you need a high-quality anchor image. Generate a full-body or three-quarter shot in neutral lighting. This image serves as the foundation for your animation.
Pro Tip: Inspect your reference image closely for artifacts like warped hands or inconsistent clothing details. Video generation often amplifies minor flaws present in the source image, so it is significantly easier to fix these issues at the still-image stage than to correct them in motion.
3. Write the Motion Brief
Complexity is the enemy of consistency in short-form AI animation. Keep your motion brief focused:
- Subject: Identify the character clearly.
- Action: Limit the movement to one or two specific verbs (e.g., "walking," "waving").
- Camera Intent: Define one clear camera movement.
4. Pick the Camera
For those new to AI animation, start with a locked, eye-level camera. This provides the most stable base for your character’s movement. Once you are comfortable with the results, you can experiment with more dynamic movements like a slow drift or a handheld effect to add cinematic flair.
5. Generate, Trim, and Ship
Once your brief is ready, generate your clip. For initial ideation, use standard settings, and reserve higher-fidelity tiers for your "hero" shots. Once generated, trim approximately 6 frames from the beginning and end of the clip to ensure the motion starts and ends cleanly. Save your final result to your gallery for future use.
Troubleshooting and Best Practices
If your animation isn't hitting the mark, treat it as a production checkpoint.
- Define the goal: What is the specific movement you need?
- Test small: Create a short, low-stakes clip to verify the motion before committing to a longer sequence.
- Review: Check for visual clarity and continuity. If the motion is jittery, simplify the prompt or adjust the camera settings.
Practical Weekly Workflow
- Define the outcome: Are you creating a social media clip, a product demo, or a story scene?
- Gather inputs: Collect your character reference, script, and any necessary audio assets.
- Iterate: Work in small passes. It is better to generate several 4-second clips and stitch them together than to attempt a long, complex generation in one go.
- Review: Evaluate pacing and continuity before final export.
- Archive: Save your successful prompts and settings to make future variations faster to produce.
Conclusion
AI-assisted video production is most effective when treated as a systematic process. By focusing on character consistency, clear motion briefs, and iterative testing, you can produce professional-grade animation.
Ready to start your project? Explore the tools available at VideoAny to bring your characters to life.
FAQs
1) Can this workflow work for a solo creator? Absolutely. By keeping your asset list small and focusing on repeatable formats, a single creator can manage a high-quality production pipeline.
2) Should I generate first or write the edit plan first? Always write a plan first. A simple outline helps you determine if your AI-generated assets will actually serve the final narrative.
3) What should I check before publishing an AI video? Check for visual continuity, motion quality, and pacing. Ensure the video clearly communicates your intended message without requiring external explanation.
4) How does VideoAny fit into this workflow? VideoAny provides the generation engine for your visual assets. Use it to create your base characters and motion clips, then integrate them into your broader editing workflow for final polish.