Categories: AI Image, Creator Guides
Tags: videoany, ai image generator, character design, creative workflow
Introduction
Effective AI-assisted design is less about speed and more about building a repeatable production system. Whether you are creating characters for a comic, a short animation, or a social media series, the transition from a vague idea to a polished, reusable asset requires a disciplined approach. This guide outlines how to move from narrative intent to a finished design using VideoAny, focusing on maintaining character identity and visual consistency.
The Strategic Workflow
1. Separate Exploration from Production
Exploration is about discovery—asking what feels right. Production is about stability—asking if the design can survive different crops, angles, and animation sequences. Mixing these phases leads to "prompt drift," where your character loses their identity. Solve your design problem first, and treat decorative flourishes as optional additions.
2. Define Your Acceptance Criteria
Before generating, write a miniature "acceptance test." Define what a successful character looks like in terms of role, personality, and visual hierarchy. If you cannot describe the character in one sentence, the AI will struggle to maintain consistency across multiple outputs.
3. Work Backward from the Final Use
Consider your output format early. A vertical social media image requires different composition than a wide-screen animation frame. By choosing your format before you begin, you prevent later crops from destroying the character's silhouette or reading order.
4. Turn Taste into Instructions
Avoid vague descriptors like "premium" or "high quality." Instead, use concrete nouns and specific relationships. Define the silhouette, the color palette, the material of the clothing, and the lighting source. The more specific your instructions, the less room there is for the model to misinterpret your creative intent.
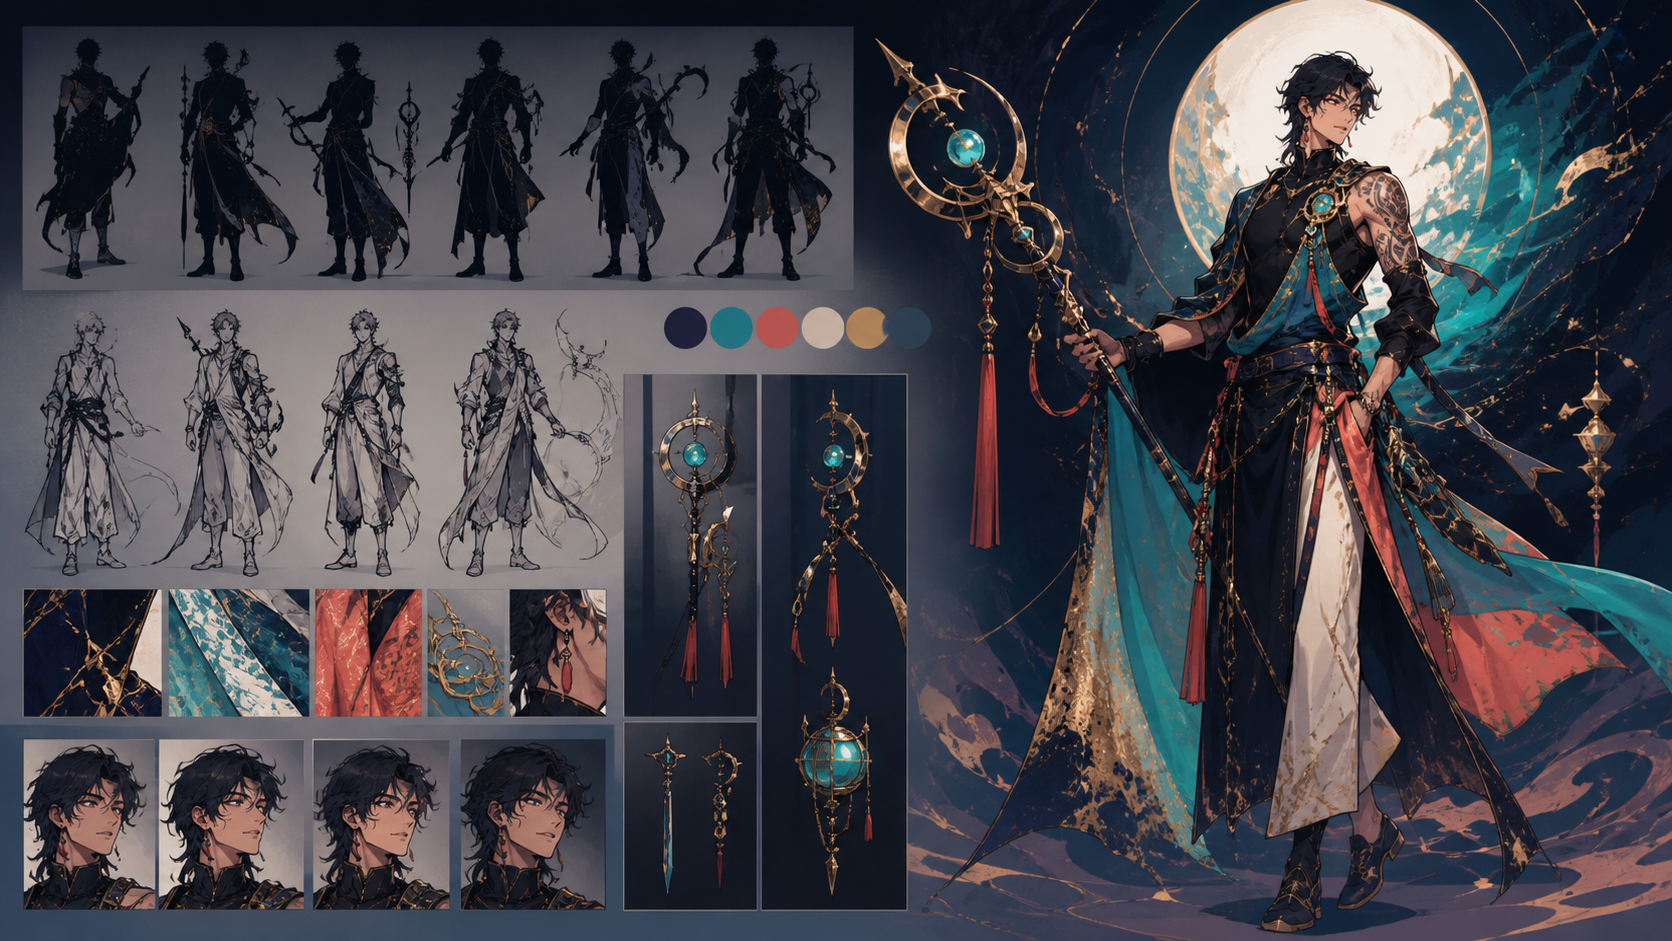
5. Build a Master Reference
Once you generate a result that matches your vision, treat it as your "Master Reference." Identify the core traits—such as a specific hairstyle, a signature accessory, or a distinct color scheme—and document them. When iterating, compare new results against this master. If a new generation drifts too far from the established identity, discard it rather than trying to fix it.
Practical Production Steps
- Batching with Purpose: Generate small batches where you change only one variable at a time. Focus on structure—anatomy, perspective, and garment fit—before worrying about surface textures.
- The Two-Mode Inspection: Inspect your candidates at two levels: at full resolution to check for anatomy and artifacts, and at the intended publishing size to ensure the character's personality and action are immediately readable.
- Targeted Corrections: If an image has a defect, name it specifically (e.g., "anatomy," "continuity," or "composition"). Correct the defect at the smallest possible scale. If a local fix fails, revert to your last approved reference rather than working from a degraded version.
A Realistic Example: The Junior Astronomer
Imagine a character who is calm in public but animated when discussing discoveries. Instead of relying on generic "beauty" tags, build the character through visible, narrative-driven anchors:
- Visual Anchors: Short, asymmetrical hair, a crescent-shaped hairpin, ink-stained fingertips, and a navy field jacket.
- The Process: Create a neutral, static reference image first. Only after this base design is stable should you move on to more dynamic scenes, such as an observatory setting or specific emotional expressions. This ensures the character remains recognizable regardless of the context.
Responsible Creation
Creative speed does not waive the need for responsibility. Always confirm the rights to any images or references you upload. Avoid creating deceptive content, and clearly distinguish fan-made work from official material. When working with clients, document your sources, prompts, and the human approval process for every deliverable. Ensure all content remains lawful and respects the rights of others.
Getting Started with VideoAny
The most effective path is to create a strong, stable still image first. Once your character design is locked, you can use VideoAny to bring that character into motion, ensuring that the visual foundation remains consistent throughout your project.
FAQs
1) Can this workflow work for a solo creator? Absolutely. Start with one repeatable format and keep your asset list small. Refine your workflow after each successful project.
2) Should I generate first or write the plan first? Always write a plan first. Even a simple outline helps you determine if the AI output will actually serve the needs of your final video or story.
3) What should I check before publishing? Verify continuity, motion quality, aspect ratio, and whether the video clearly communicates the intended idea without requiring external explanation.
4) How does VideoAny fit into this workflow? Use VideoAny to animate your approved character designs, then combine those clips with audio and editing to finalize your production.