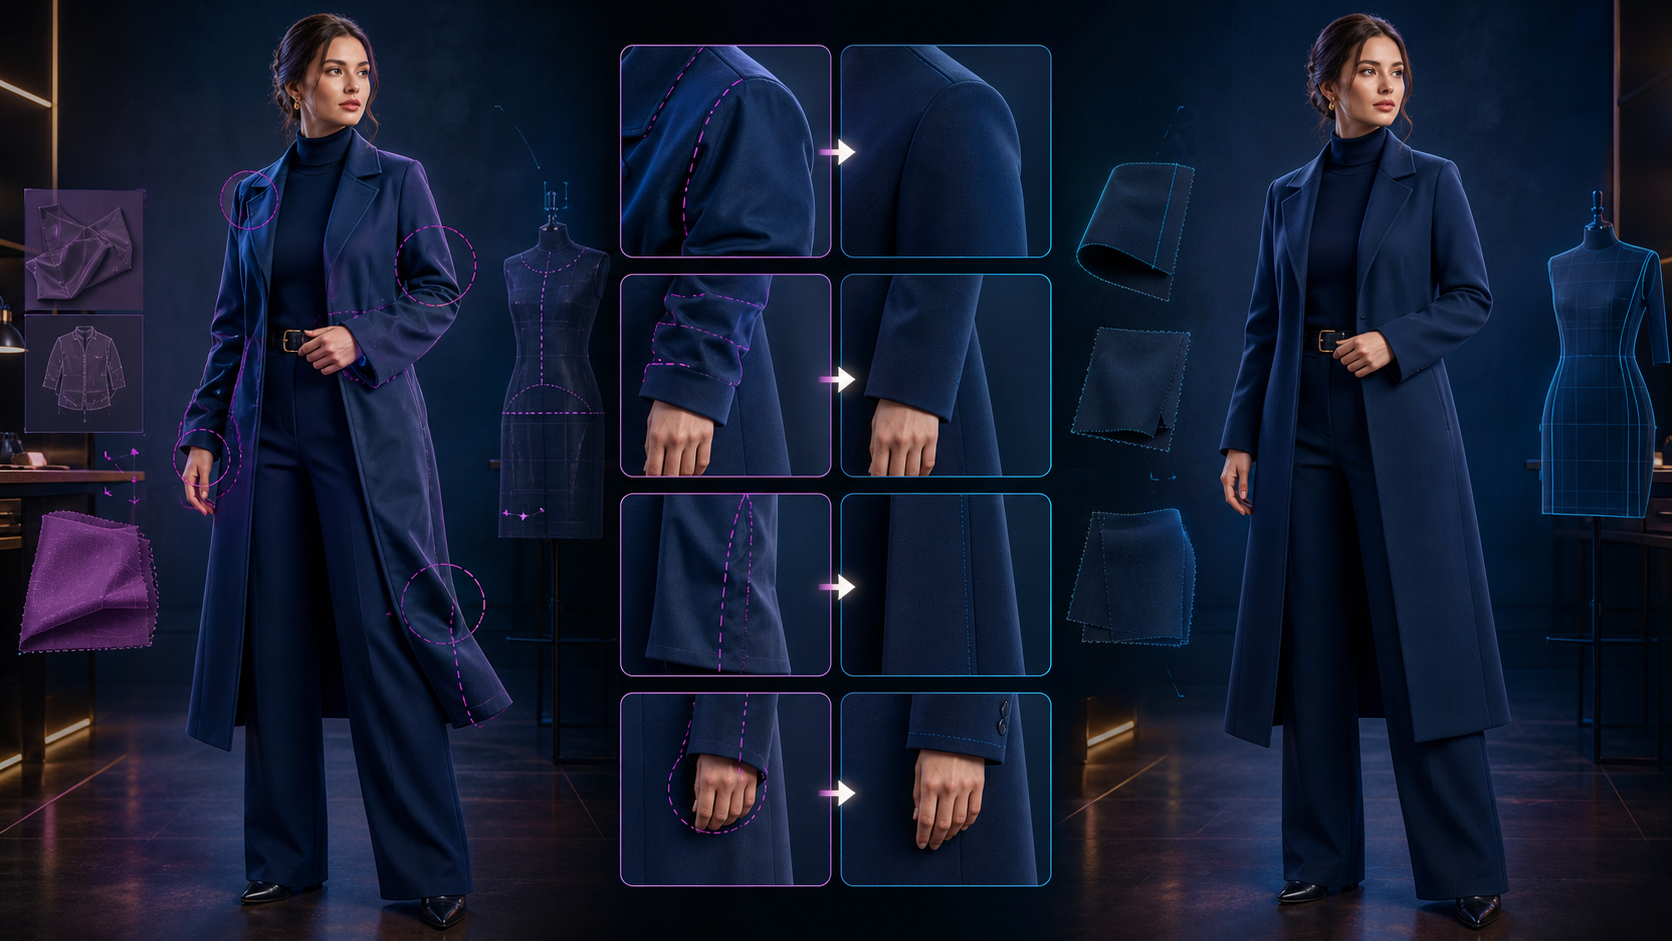
Introduction
AI-driven wardrobe editing is a powerful tool for creators, but it is only as effective as the workflow supporting it. When AI clothes changers distort anatomy or fabric, it is often a result of over-broad instructions or a lack of structural constraints. This guide outlines how to move beyond trial-and-error, using a systematic approach to maintain identity, anatomical integrity, and material realism in your edits.
Establishing Your Production Constraints
Before you begin, define your project with a clear, single-sentence summary that includes the audience, subject, action, and delivery format. Treat the garment change as a controlled production unit rather than an invitation for the AI to regenerate the entire frame.
The Acceptance Test: Before opening your generator, define what a successful result looks like. A strong result should:
- Preserve the original subject’s identity and facial features.
- Maintain correct anatomical proportions, especially for hands and limbs.
- Ensure the new garment follows the natural physics of the body.
Strategic Planning for Better Results
Define the Canvas First Your delivery specification—platform, orientation, resolution, and crop—should be established before you generate. These constraints act as your primary creative direction, preventing the model from making assumptions about framing that might lead to distortion.
Replace Taste with Observable Instructions Avoid subjective adjectives like "premium" or "high-quality," which are often misinterpreted. Instead, use concrete nouns and relationships. Describe the silhouette, the specific material (e.g., "heavy wool," "silk," "denim"), the weave, and the motivated light source. The more specific your description of the garment’s construction, the less room there is for the model to hallucinate incorrect shapes.
Managing Continuity and Identity
Identity drift occurs when the AI loses track of the original subject’s proportions. To prevent this:
- Use Stable Anchors: Consistently reuse the same reference for face, hair, and body proportions.
- Limit Variable Testing: Change only one element at a time. If you alter the wardrobe, camera angle, and lighting simultaneously, you cannot isolate the cause of a distortion.
- Narrow the Boundary: If the face is drifting, your edit region is likely too broad. Return to the source and restrict the mask to the garment area only.
Repairing Common Distortions
Anatomy and Hands When a new garment changes the occlusion relationships—such as how sleeves interact with hands or pockets—the AI may struggle to render anatomy correctly. If hands appear broken or distorted, do not regenerate the entire frame. Use local repair tools to fix only the affected area while protecting the rest of the image.
Fabric Realism "Plastic-looking" fabric is usually the result of missing information regarding material weight and light interaction. Describe the fold scale, roughness, and how the material catches light. If the fabric fails to look authentic, inspect it against your reference and perform a local repair on the smallest affected region.
The Realistic Workflow
A controlled project is always more successful than a spectacular but unmanageable prompt.
- Start with a clean, high-resolution source.
- Define the wardrobe goal as a set of construction details (e.g., "structured coat, high collar, fitted trousers").
- Generate several candidates and reject any with broken overlaps at wrists, waist, or seams.
- Inspect at two levels: At full resolution for anatomy and texture, and at the final publishing size to ensure the subject and action remain clear.
Responsible AI Creation
Creative speed does not replace the need for professional responsibility. Always confirm you have the rights to edit the images you upload. Avoid creating deceptive content, and clearly distinguish between fan-made work and official material. When working with clients, document your prompts, material edits, and the human approval process for every deliverable.
FAQs
1) Can this workflow work for a solo creator? Yes. By focusing on a repeatable format and keeping your asset list organized, you can build a system that improves with every published clip.
2) Should I generate first or write the plan first? Always write the plan first. A simple outline helps you evaluate whether the AI output will actually support your final video goals.
3) What should I check before publishing an AI video? Check for continuity, motion quality, caption placement, sound, aspect ratio, and whether the video effectively communicates your intended message.
4) How does VideoAny fit into this workflow? Use VideoAny to handle the generation and variation of your assets, then integrate those clips into your broader editing pipeline for final production.