Introduction
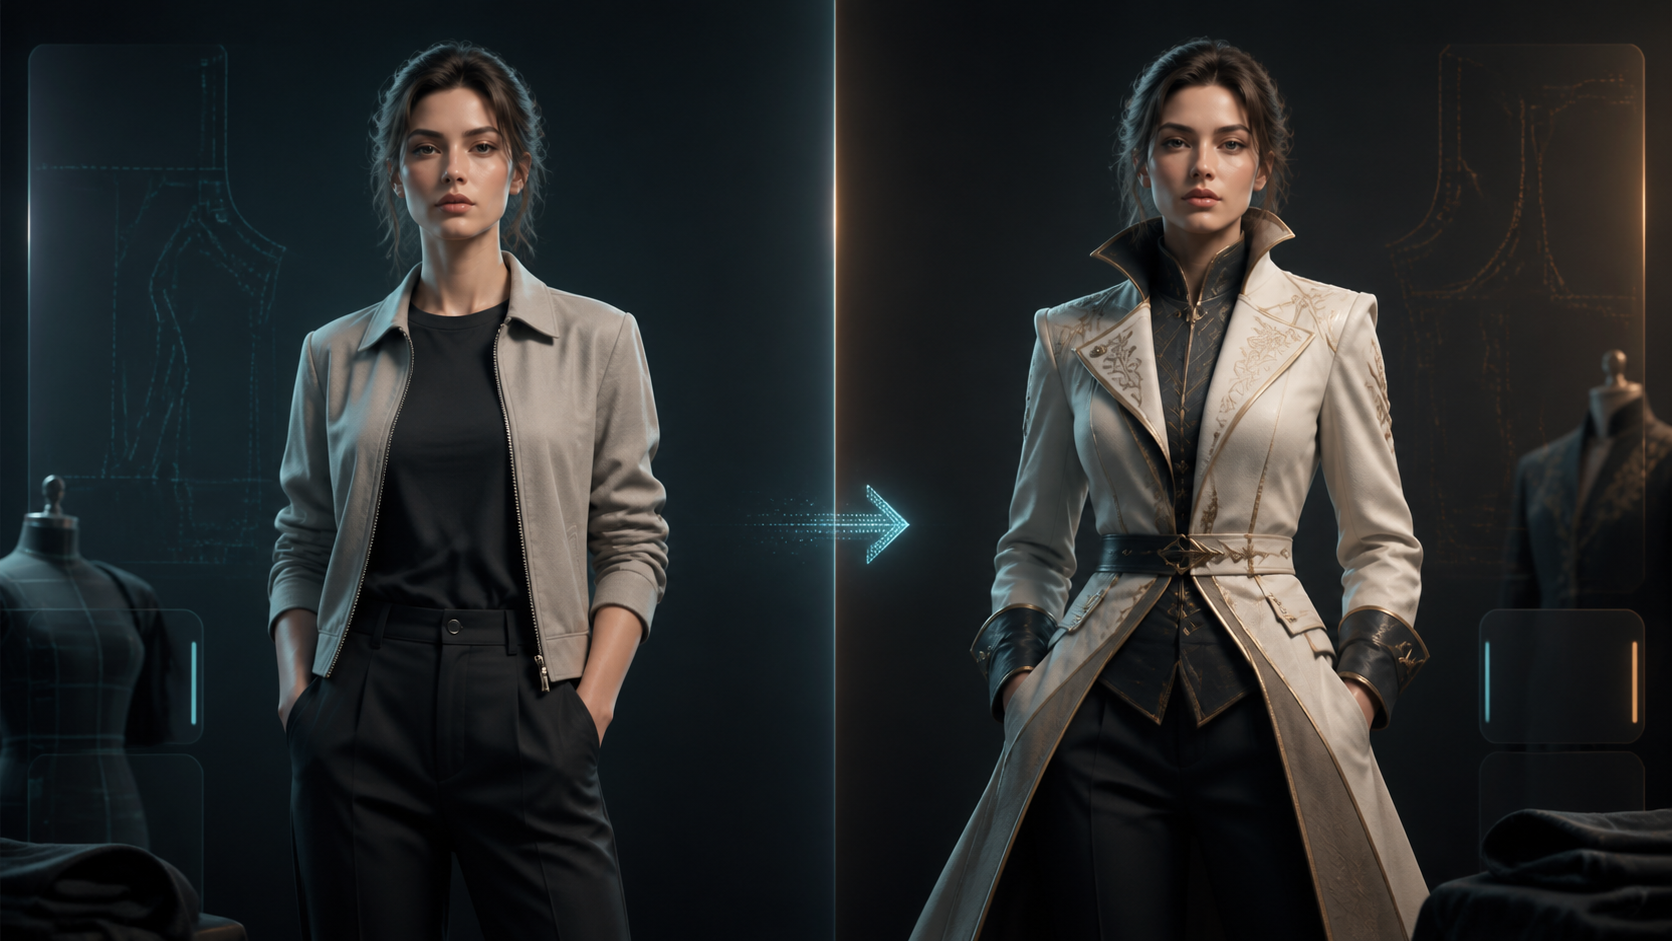
AI-driven image manipulation is only as effective as the production pipeline supporting it. Replacing an outfit in a photograph—whether for a cosplay concept, a character design, or a social media reveal—requires more than a prompt. The new garment must follow the existing pose and light while the person, camera, crop, and scene remain stable. This guide turns that constraint into a repeatable production workflow.
1. Define Your Production Goal
Before you begin, establish exactly what you need the final image to achieve. Are you creating a high-resolution print, a mobile-optimized social post, or a concept board? Defining the destination allows you to lock in the necessary aspect ratio and composition early, preventing the need for corrective cropping later. Treat the outfit change as the primary task and any additional flourishes as secondary.
2. Prepare Your Source Assets
Success starts with a clean, sufficiently large source image. Avoid photos where most of the clothing is hidden by crossed limbs, props, or heavy hair unless those occlusions are part of the required shot. The face, neckline, shoulders, wrists, waist, and visible hems should contain enough information to review after editing.
- Identity anchors: Record the face shape, expression, hair silhouette, body proportions, pose, hand position, camera angle, crop, lighting direction, and background.
- Wardrobe target: List the pieces that may change, their construction, layer order, fit, materials, and coverage.
- Acceptance test: State what must pass at full resolution and delivery size. Include identity, anatomy, edges, fabric behavior, contact shadows, and final framing.
Treat everything outside the wardrobe target as fixed. A candidate with a stronger jacket but a reshaped face or shifted hand is not a partial success; it fails the acceptance test.
3. Controlled Iteration vs. Random Generation
Treat your generation process as a controlled experiment rather than a slot machine. Keep the approved source, core brief, aspect ratio, and major settings fixed. Generate three or four candidates and vary only one meaningful element—such as material or color—at a time.
Describe construction instead of relying on a style label. “Structured charcoal coat, standing collar behind the hair, fitted sleeves ending at the wrist, single-breasted closure, knee-length hem, matte wool, narrow silver trim” gives the model a buildable relationship between garment and body. “Beautiful fantasy clothes” does not.
Rank the small batch by foundation first: identity, silhouette, anatomy, perspective, and layer order. Compare decorative finish only after those conditions pass. If every candidate fails at the same contact point, revise the source or instruction rather than paying for more random attempts.
4. Protecting Continuity
To maintain the subject's identity, protect the regions that should not change. Compare every candidate with the approved source—not with the last generated image—so small errors do not accumulate through a generation chain. If a new version shifts the eyes, jaw, hairline, anatomy, pose, crop, or background, revert rather than trying to rescue a drifted copy.
Once the overall edit passes, reduce the scope of later changes. Work locally on one cuff, collar, pocket, or hem instead of reopening the entire frame. Save each accepted checkpoint with the prompt and source that produced it.
5. Troubleshooting Common Pitfalls
- Perspective mismatch: Ensure the replacement outfit follows the camera angle and stance in the original photo. Forcing a catalog-front garment onto a three-quarter portrait creates contradictory geometry.
- Broken junctions: Inspect collars beneath hair, cuffs around wrists, waistbands beneath tops, pockets around hands, and hems between the legs. These contact points reveal incorrect layer order quickly.
- Wrong material behavior: Denim, silk, wool, leather, and chiffon should not share the same folds or highlights. Pair each material with a weight and drape description.
- Old or missing shadows: A wider silhouette changes where light is blocked. Check shadows under sleeves and hems, then confirm that footwear still meets the ground plane.
- Over-regenerating: If only one bounded region fails, repair that region. Broad regeneration can destroy the face, hands, background, and garment areas that already passed.
6. Inspect at Two Scales
Review at 100% to find facial drift, merged fingers, broken seams, noisy textures, false edges, and fabric that leaks into skin or background. Then review at the exact delivery size. A fine pattern that looks impressive when enlarged may become visual noise on a phone, while a confusing silhouette remains obvious.
Use a consistent scan order: face and hair, neckline and shoulders, hands and cuffs, waist and layers, hems and footwear, ground contact and shadows, then background and crop. A side-by-side comparison with the source helps prevent attention from being captured only by the new outfit.
7. Responsible AI Creation
Creative speed does not absolve the creator of responsibility. Always confirm you have the rights to the images you are editing. Avoid deceptive edits of real people, and clearly distinguish fan-made or AI-assisted work from official material. Document your process—including prompts and source licenses—especially if you are working on client deliverables.
Practical Weekly Workflow
- Define: Set the final format, fixed attributes, wardrobe target, and acceptance test.
- Prepare: Select one approved source and write a construction-aware instruction.
- Iterate: Use an image-to-image workflow to create three or four comparable variations.
- Review: Scan identity, anatomy, intersections, material, shadows, and crop at two scales.
- Repair: Correct a bounded defect locally, or revert when the foundation has drifted.
- Finalize: Save the source, accepted version, prompt, permissions, and export settings together.
Conclusion
AI-assisted editing is most powerful when treated as a repeatable system. Clear boundaries, controlled iteration, and a fixed review sequence turn a plausible outfit swap into a dependable asset.
Explore the VideoAny model library when you are ready to test a wardrobe variation from an approved source.
FAQs
1) How many candidates should I generate?
Start with three or four under the same conditions. If they share a structural failure, improve the input or brief instead of expanding the batch.
2) Should I repair a changed face after approving the outfit?
No. Face reshaping means the candidate failed the identity test. Return to the approved source and generate within a narrower wardrobe boundary.
3) What should I check before publishing?
Check identity, edge artifacts, anatomy, garment intersections, material behavior, contact shadows, final crop, and the permissions attached to the source.
4) When is a local repair appropriate?
Use it for one limited defect such as a cuff, collar, seam, or shadow. Revert when the face, anatomy, pose, camera, or overall silhouette has drifted.