Introduction
Modern AI video workflows are most effective when they serve as a structured production pipeline rather than a simple "one-click" solution. For creators looking to bridge the gap between static visuals and motion media, the process of turning an image into video requires a blend of intentional prompting, asset preparation, and iterative refinement.
This guide outlines a professional approach to utilizing AI-assisted generation, ensuring that your final output is polished, purposeful, and ready for publication.
Responsible use: Creators should ensure all content is produced ethically. When working with human likenesses, prioritize consent and transparency. Never create or share content involving minors, non-consensual imagery, or material that violates platform terms or applicable law.
Responsible use: Mature-content workflows must be limited to lawful material involving consenting adults. Never create or share content involving minors, non-consensual imagery, unauthorized likenesses, or material that violates platform terms or applicable law.
Establishing a Production Workflow
To move beyond experimental generation, creators should treat AI tools as part of a repeatable system. Whether you are creating social media content, narrative sequences, or product demonstrations, the following stages help maintain quality control:
- Define the Outcome: Determine the specific format—such as a short-form social clip or a narrative scene—before generating assets.
- Asset Preparation: Gather your reference images, character designs, or storyboards. High-quality inputs typically yield more predictable motion results.
- Iterative Generation: Rather than attempting to generate a long sequence in one pass, break your project into smaller, manageable clips. This allows for better control over motion and visual consistency.
- Review and Refine: Evaluate each clip for pacing, continuity, and clarity. Use this stage to identify where additional edits or audio overlays are needed.
Key Creative Formats for AI Video
Integrating image-to-video tools into your content strategy can be achieved through several proven formats:
- UGC Remake Series: Take existing user-generated content and use AI to reimagine the visual style or setting, providing a fresh perspective on familiar themes.
- Narrative Mini-Series: Use a consistent character design across multiple image-to-video generations to build a cohesive story over several short clips.
- Seasonal Campaign Variants: Adapt a single product image for different seasonal contexts or marketing themes by adjusting your prompts to reflect new environments.
- Data-Backed Performance Recaps: Visualize abstract data or performance metrics by transforming static charts or infographics into dynamic, motion-heavy video summaries.
Practical Weekly Workflow
- Plan: Write a short outline or storyboard. Even a simple plan helps you judge whether the AI output aligns with your creative vision.
- Generate: Use VideoAny to transform your base images into motion. Focus on small, high-quality segments.
- Edit: Combine your generated clips with external editing software to add captions, sound design, and pacing adjustments.
- Archive: Save your successful prompts and source assets. Building a library of proven prompts makes future variations significantly faster to produce.
Choose an Image That Can Support Motion
A clear subject, coherent lighting, and space around moving elements give the model more useful visual structure. Landscapes work well with clouds, water, mist, foliage, and a slow camera push. Product images need restrained motion and strict preservation of shape, materials, and labels. Portraits should begin with subtle movement and require the subject's permission.
Before generation, crop near the target aspect ratio, remove accidental borders, and list the details that must remain fixed. Text-heavy graphics and dense collages are more difficult because small letters and overlapping elements tend to change across frames.
Write and Test the Motion Brief
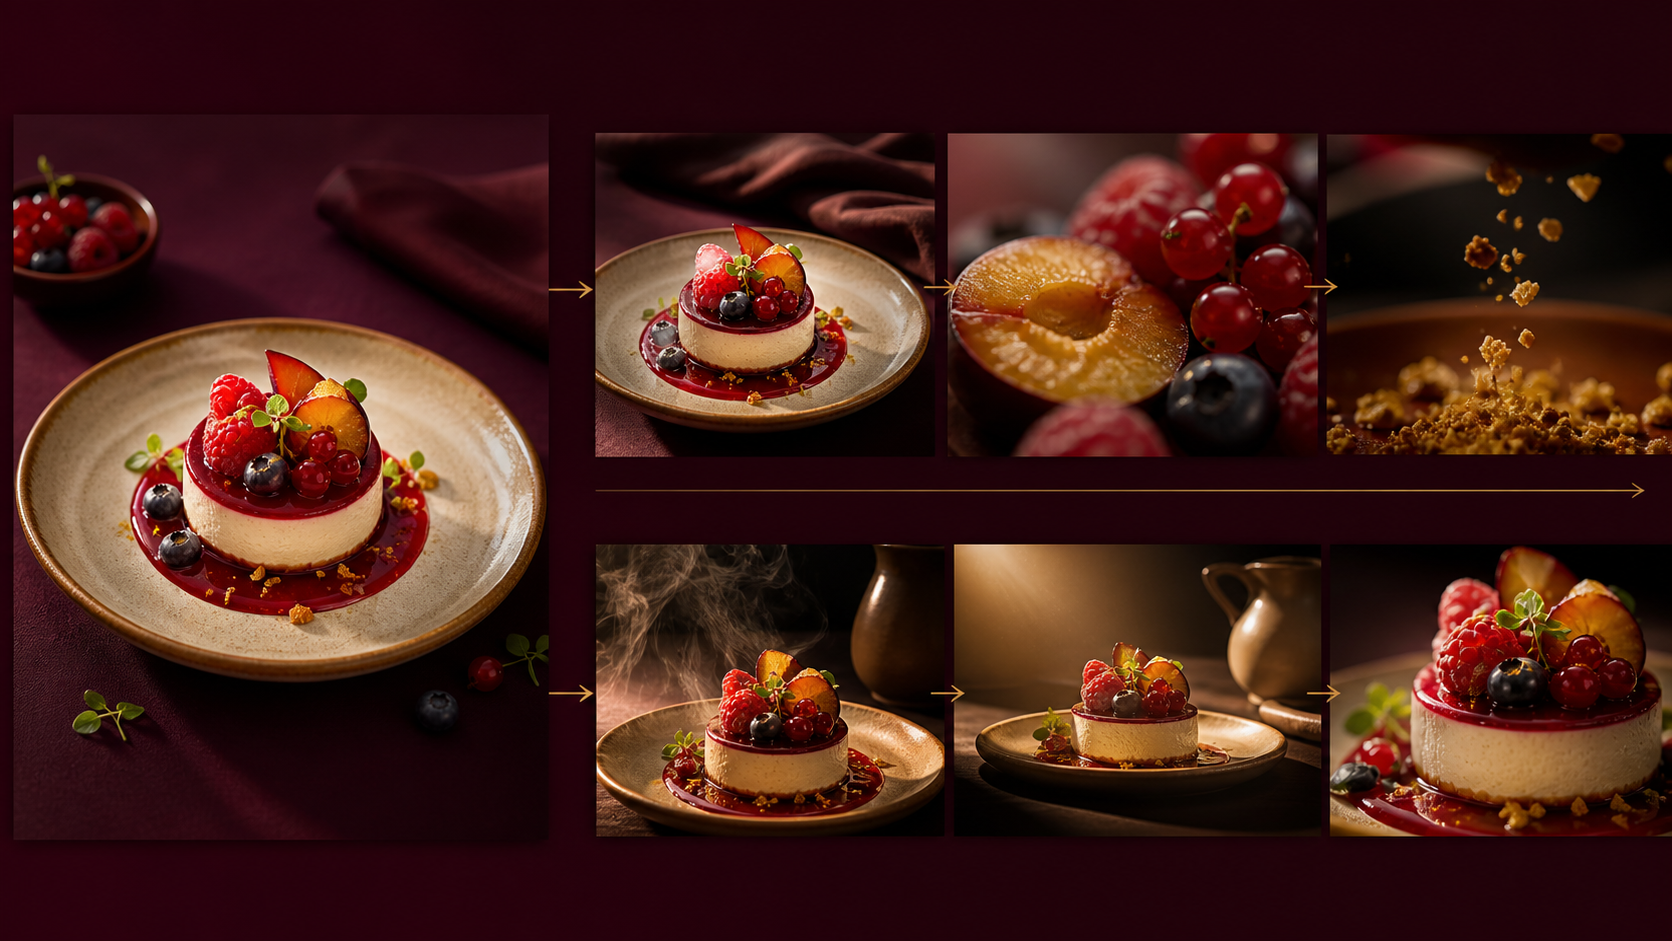
Separate subject action, environmental movement, camera behavior, and invariants. “Steam rises slowly; berries remain fixed; gentle orbit; preserve plate shape, food arrangement, colors, and table lighting” is easier to evaluate than “make it cinematic.” Start with one action and one camera move, then add complexity only after the base clip stays stable.
Review the result frame by frame for warping, duplication, flicker, changing object count, broken text, and inconsistent lighting. Finish in an editor: trim weak frames, add sound and captions, confirm the export ratio, and archive the source image, prompt, settings, rights record, and accepted clip together.
Conclusion
AI-assisted video production is most powerful when treated as a repeatable system. By focusing on clear inputs, controlled iteration, and a rigorous review process, you can transform raw AI generations into professional-grade communication.
Next Steps
- Explore Image-to-Video Tools
- View All AI Models
- Check Pricing and Plans
FAQs
1) Can this workflow work for a solo creator? Yes. By focusing on one repeatable format and keeping your asset list organized, you can produce high-quality content efficiently without a large team.
2) Should I generate first or write the edit plan first? Always write a plan first. A clear outline helps you determine if the AI output effectively supports your final video goals.
3) What should I check before publishing an AI video? Review for motion consistency, pacing, visual clarity, and whether the video effectively communicates your intended message. Ensure all captions and audio are synced correctly.
4) How does VideoAny fit into this workflow? VideoAny serves as the engine for your visual generation and variation. Once you have generated your clips, you can combine them with your preferred editing, audio, and formatting tools to finalize your project.