Categories: Animation Workflow, AI Video, Storyboarding
Tags: how to make an animatic, AI animatic, storyboard timing, image to video, VideoAny
Introduction
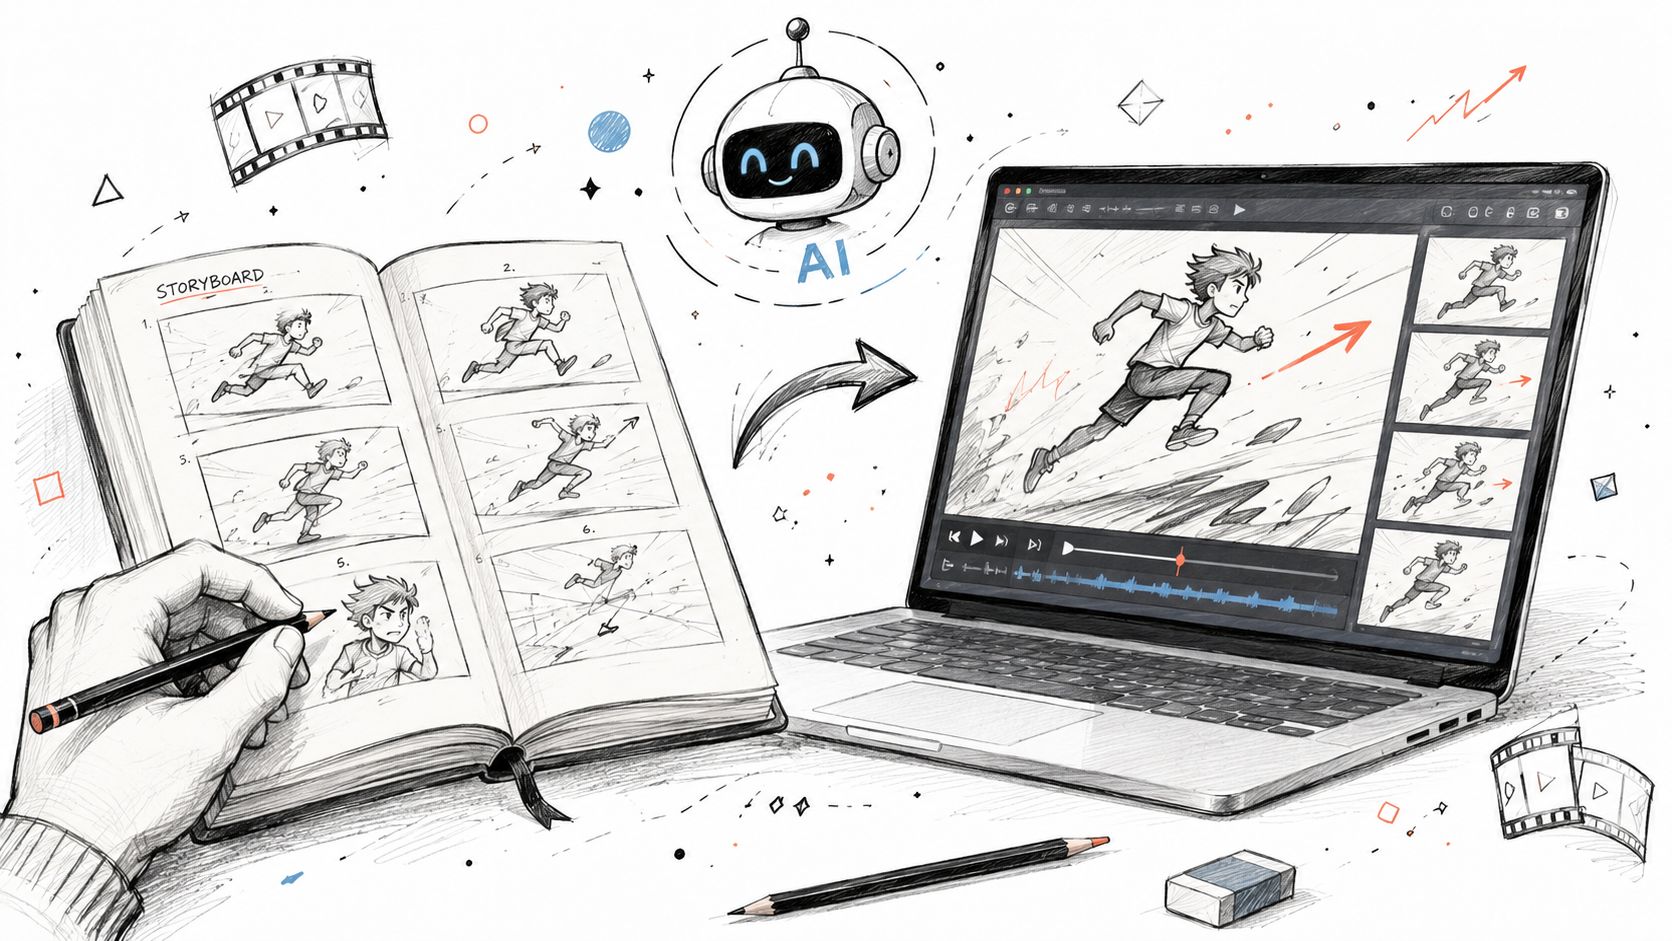
A storyboard shows what each shot might look like. An animatic shows whether those shots work together in time.
That difference matters. A frame can look strong on its own and still fail between the shots before and after it. The pause may feel too long. The reveal may happen too fast. The reaction shot may need more space. An animatic helps you find those problems before final animation, motion design, or editing becomes expensive.
What an Animatic Is
An animatic is a rough moving draft of a sequence. It does not need final art, finished lip-sync, polished transitions, or perfect continuity. Its job is to test story flow, shot order, pacing, and emotional rhythm.
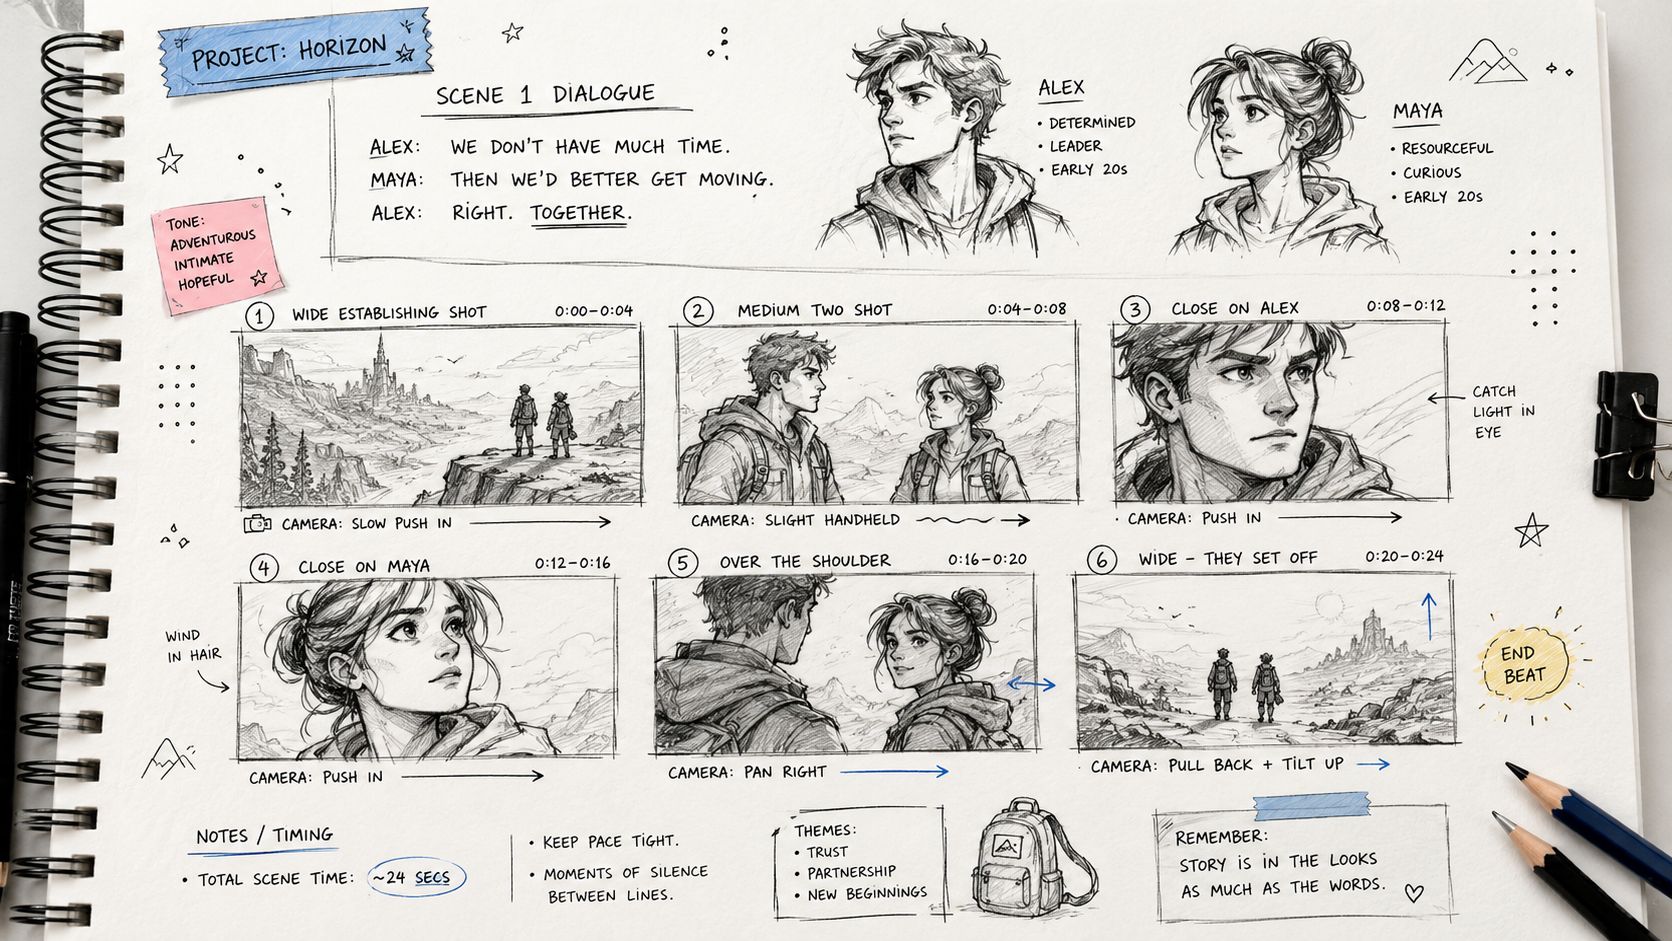
Use an animatic to test:
- shot order
- timing
- camera intent
- dialogue rhythm
- reveal placement
- emotional beats
- whether the audience understands the sequence
If you cannot press play and judge pacing yet, you are still planning. Once you can watch the sequence and feel where it drags or rushes, you are making an animatic.
Step 1: Start With Story Beats
Do not start with random cool images. Start with intent. Break the project into shots, not broad scenes.
Example scene:
The founder enters the office and notices a problem.Animatic-ready shot list:
- Wide shot of the quiet office.
- Medium shot of the founder entering.
- Close-up of the cluttered desk.
- Insert of a phone notification.
- Reaction shot as the founder understands the problem.
If you cannot describe the beat of a shot in one sentence, the shot is probably not ready.
Step 2: Make Rough Boards
Your boards do not need to be beautiful. Stick figures, rough shapes, screenshots, reference photos, simple AI images, and arrows can all work.
Each panel should answer:
- who or what is in the shot
- what action happens
- where the camera is
- what changes during the shot
- what the audience should notice
Name files clearly. A folder full of "final-new-final" files creates confusion once you start assembling clips.
Step 3: Use Camera Language
Animatics improve when creators stop thinking only in images and start thinking in shots.
Useful language includes:
- wide shot
- medium shot
- close-up
- insert shot
- low angle
- overhead
- slow push-in
- pan
- zoom
- static camera
Use close-ups when the audience must read emotion or detail. Use wide shots when the space matters. Do not choose shot types just because they seem cinematic.
Step 4: Write Notes That Can Become Prompts
Each board should include a short note for motion, mood, and camera behavior.
Weak note:
Camera moves dramatically.Better note:
Slow push-in as the character realizes the message is wrong, tense silence, cold office light.The second note gives direction. It can become a useful AI prompt later.
Step 5: Generate Rough Motion One Shot at a Time
Once boards are planned, create motion one shot at a time. Do not ask AI to generate the entire animatic in one prompt. It may look flashy, but the clips probably will not cut together.
Use Text to Video when you have a clear shot note but no finished image. Use Image to Video when the board already solves composition and you only need motion.
The more finished the board is, the less you should ask AI to invent. Let it animate the shot, not redesign it.
Step 6: Keep It Rough
An animatic should be useful, not polished. It should communicate:
- story beat
- camera direction
- basic action
- timing
- emotional intent
If the shot communicates those things, it is doing its job. A beautiful clip that does not support the sequence is not helping.
Step 7: Build the Timeline
Import boards or rough clips into the editor you already know. Premiere Pro, DaVinci Resolve, Final Cut Pro, CapCut, or simpler editors can all work.
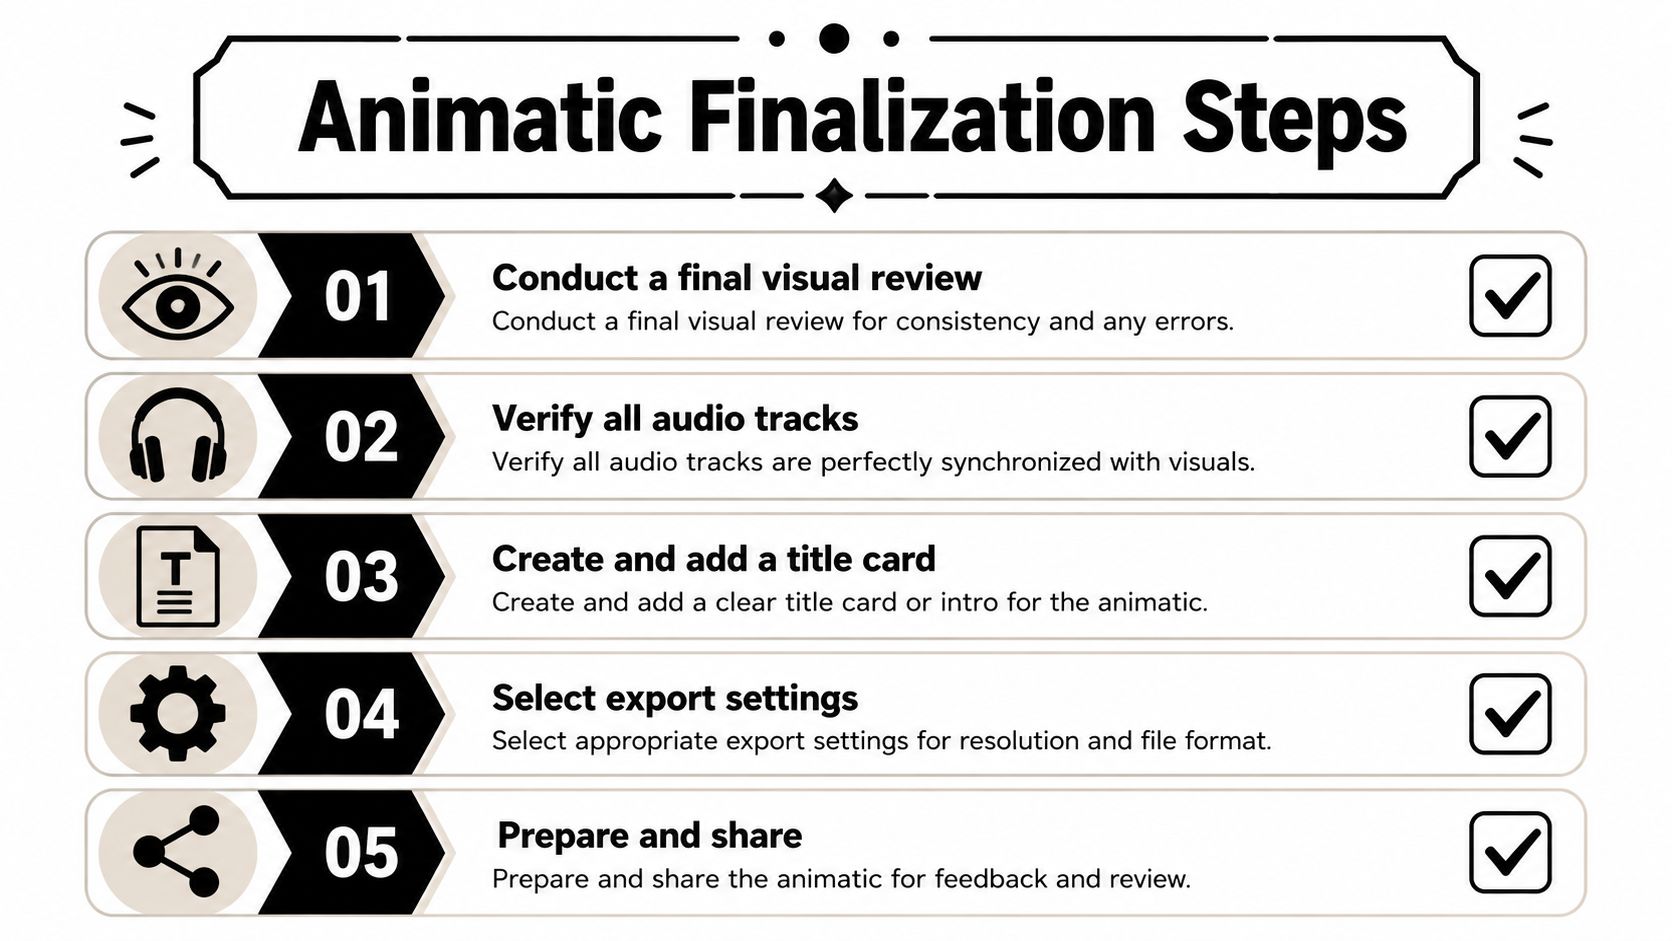
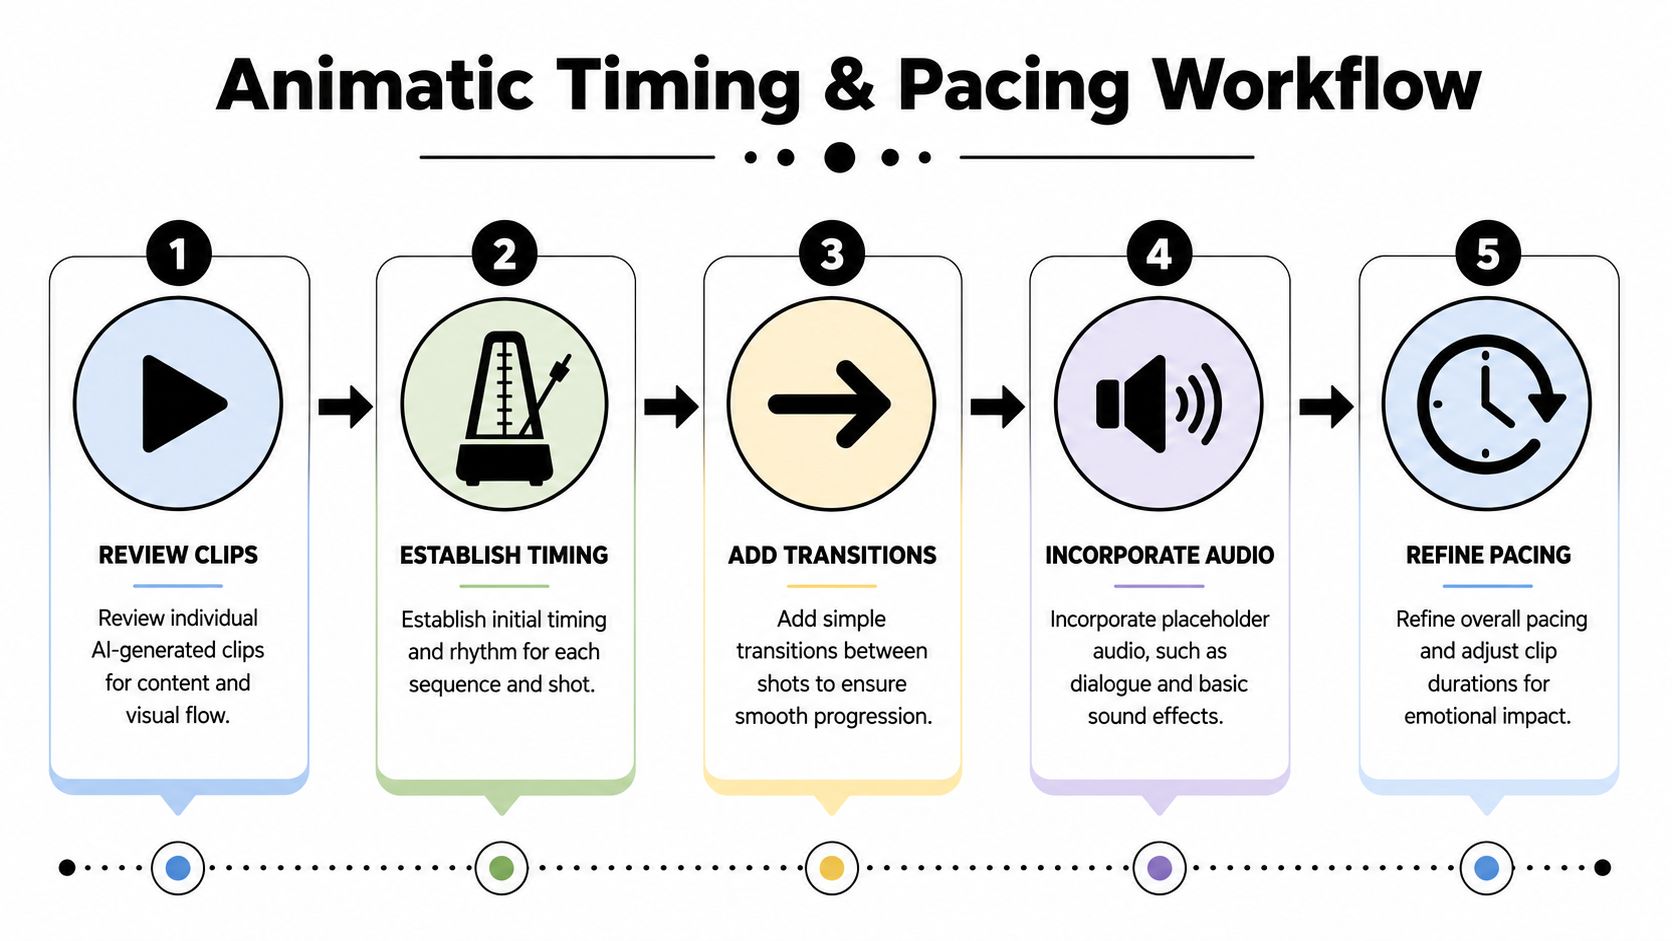
Place shots in order first. Do not polish transitions yet. Ask whether the sequence reads. Then adjust duration. Timing is the point of the animatic.
Step 8: Add Scratch Audio Early
If there is dialogue, record rough audio now. A phone recording is enough. You are testing rhythm, not final sound quality.
Scratch audio helps you discover:
- whether a line needs a pause
- whether a reaction shot is too short
- whether the reveal arrives too early
- whether the scene drags after the voice stops
Audio often reveals pacing problems faster than picture does.
Step 9: Review the Right Things
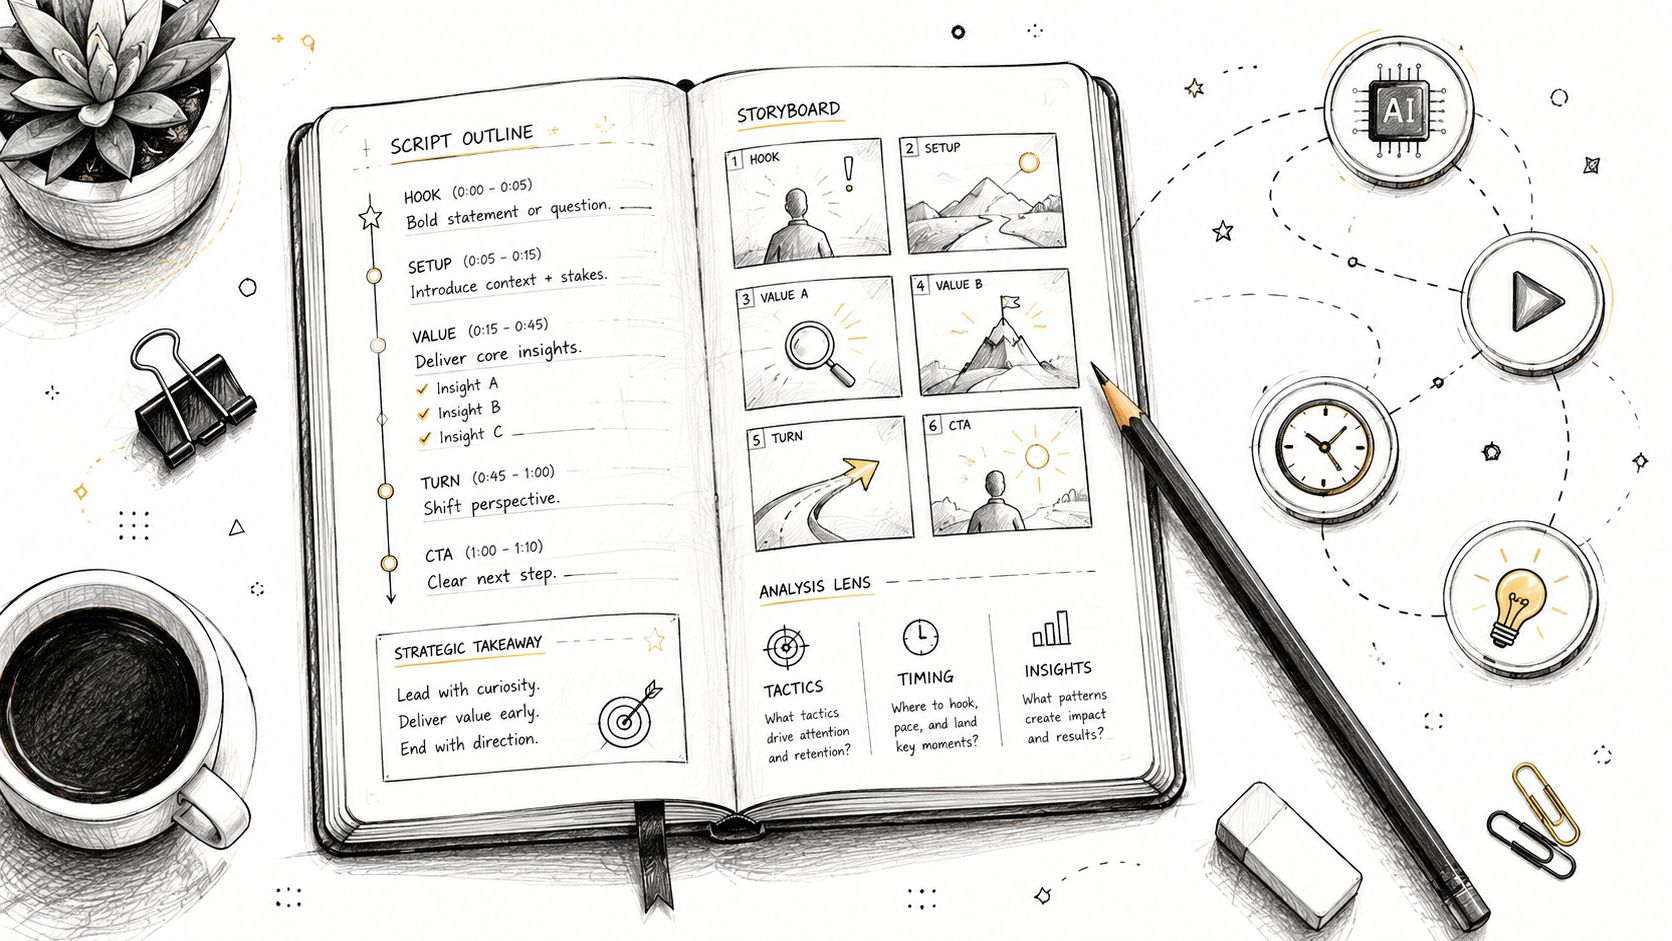
Ask reviewers:
- Is the sequence clear?
- Does the pacing feel right?
- Is any shot missing?
- Does any shot stay too long?
- Does the emotional beat land?
- Is the camera direction understandable?
If someone comments on polish before timing, bring them back to the purpose of the animatic.
Step 10: Export Simply
Export a standard MP4 that everyone can open. Use clear version names:
project-name_animatic_v01_2026-06-15.mp4
project-name_animatic_v02_review.mp4
If the final project is widescreen, keep the animatic widescreen. If the final project is vertical, test vertical early. The animatic becomes the timing map for the next production stage.
Conclusion
Making an animatic is less about mastering software and more about testing decisions early. Break the story into shots. Keep boards rough. Write useful motion notes. Generate rough movement one shot at a time. Build the timeline. Add scratch audio. Review pacing honestly.
AI makes the middle stage faster, but it does not replace planning. A clear shot produces useful motion. A vague shot produces confusion.
Next Step
Turn rough boards into moving clips with VideoAny.
FAQs
1) What is the difference between a storyboard and an animatic?
A storyboard shows still shot ideas. An animatic places those shots in time.
2) Does an animatic need polished art?
No. Rough boards are enough if the sequence is readable.
3) Where does AI help?
AI can turn text notes or storyboard images into rough moving clips for timing tests.