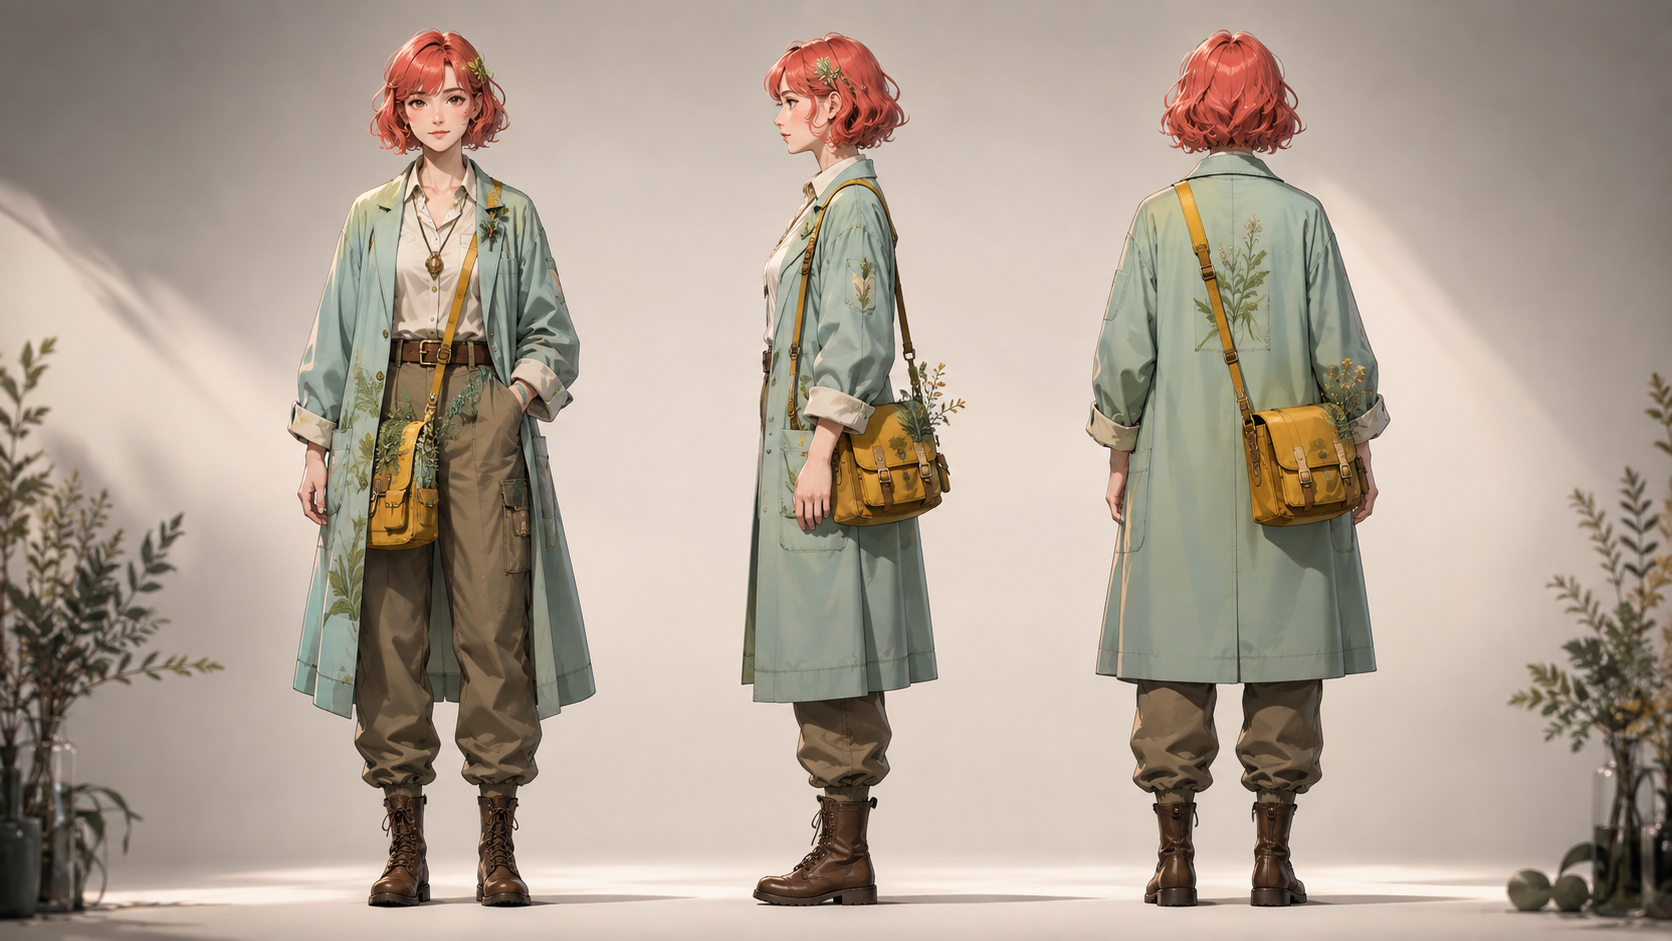
A character turnaround serves as a critical design document, answering specific visual questions about a character's construction from various angles. It clarifies details such as how a collar meets the hair, which shoulder bears a specific accessory, or the precise design of footwear. A collection of individual character portraits, however attractive, cannot reliably provide this consistent information unless each angle adheres to a single, agreed-upon design.
To build a robust reference set, establish a canonical character, resolve any construction details not immediately apparent from initial images, and meticulously review each angle before compiling the final sheet. The examples in this article use an original character, Mira, an orchard surveyor, to provide concrete details for prompt construction and consistency checks.
Documenting Character Construction
Mira is an adult surveyor tasked with identifying diseased trees before the spring harvest. Her distinctive visual elements include a broad cream sun visor, a brick-red sleeveless work coat, and a square measuring pouch positioned on her left hip. Her short, rounded hairstyle ensures a clear space above her collar. The coat features a split rear hem, designed to maintain its structural clarity even when she kneels.
Documenting these specific details is crucial for reproducibility. This record should outline key decisions for each part of the character's design and specify what evidence the turnaround sheet must provide to confirm these details.
| Part | Approved Decision | Evidence the Sheet Must Provide |
|---|---|---|
| Head | Broad cheek shape, small rounded chin, straight fringe | Front and profile head studies |
| Visor | Fabric band around the head, short wide peak | Side view and small rear detail |
| Coat | Two front patch pockets, center back seam, split rear hem | Front and unobstructed back |
| Pouch | One square flap on character-left; narrow strap around waist | Front, left profile, and back |
| Footwear | Low work shoes with a dark continuous sole | Full-body profile and foot detail |
This table serves as an editorial design example. When creating your own characters, replace these specifics with your approved artwork and design choices. If multiple artists are involved in a project, it is essential to record who approves revisions and which image or document is considered the authoritative reference.
Managing Character and Page Coordinates
The instruction "Put the pouch on the left" can be ambiguous. When a viewer looks at Mira, her left side appears on the opposite side of the image. To avoid confusion, define directions relative to the character's body in the design record and maintain a temporary diagram alongside your references.
For this project, the initial profile view depicts Mira's left side, with her face oriented towards the right edge of the page. If a generated image faces the opposite direction, examine the actual costume anatomy before accepting it. Simply flipping the entire image might correct the face's orientation but could inadvertently move the pouch to the incorrect hip.
When generating individual views, requesting one view per output can offer greater control. Labels can be added later using standard image editing software, ensuring that "left profile" remains legible and editable. Generated text should not be the sole authority for determining a character's orientation.
Crafting Prompts for Consistent Views
To maintain consistency across different views, use a stable design block in your prompts. This block contains the core description of Mira's approved appearance. The specific view instruction is then appended, while the design block remains constant. These examples are adaptable starting points, not guarantees of specific model accuracy.
Core Identity Prompt (for all views): "An adult orchard surveyor, Mira, with a broad cream sun visor, short rounded hair, a brick-red sleeveless work coat, a square measuring pouch on her left hip, and low work shoes. Use even illumination and a plain pale background. One character, one view, no scene props or writing."
Front View Specifics: "Show the referenced character facing the viewer, full body, relaxed neutral stance, hands clear of the coat pockets. Keep the figure upright and centered."
Left Profile View Specifics: "Show Mira's left side, with her nose pointing toward the right edge of the image. Match the approved front design and height. Make the visor peak, clear hair-to-collar gap, coat thickness, left-hip pouch, and continuous shoe sole visible. Use a neutral posture and minimal perspective. Do not change her expression or introduce a walking pose."
Rear Construction View Specifics: "Show the same surveyor directly from behind. Follow the approved rear-construction sketch: fabric visor band, short rounded hair, center coat seam, divided rear hem, and waist strap passing toward the pouch on her left hip. Keep the arms slightly clear of the torso. Match the front study's scale and flat color treatment."
Three-Quarter Check View Specifics: "Rotate the approved surveyor to a front three-quarter view showing her left cheek and pouch. Reconcile the front and profile references without adding costume details. Maintain her cheek width, visor depth, coat length, and shoe shape. Neutral expression, steady stance, simple background, one figure."
The rear prompt specifically references an "approved rear-construction sketch." If such a sketch does not exist, it is crucial to either draw a simple diagram or explicitly decide on the missing construction details beforehand. A lengthy prompt attempting to describe unseen details cannot substitute for a clear design decision.
Reviewing by Landmarks and Silhouette
Once the individual views are generated, import them into an image editor. Align their feet to a common horizontal guide. At this initial stage, only adjust overall placement and uniform scaling. Add temporary guides at key anatomical points such as the chin, shoulder line, waist, knee, and the top of the visor.
If aligning the head causes the knees to misalign, it indicates a change in body proportions. Avoid stretching the torso to conceal this discrepancy, as it would silently establish a distorted image as a new reference. Instead, revisit the design or intentionally correct the drawing.
Next, view the figures as small silhouettes. Mira should remain recognizable through her visor, coat shape, and pouch. Details that become indistinguishable at storyboard size should not be the sole identifiers. While a decorative stitch might be omitted in distant shots, the coat's large color block should remain consistent.
Strategic Detail Addition
Add new details to the turnaround sheet only when they address a specific production problem. For example, if rear views consistently misinterpret the visor as a hat, create a dedicated visor attachment study. If the pouch flap frequently transforms into a second pocket, generate a specific pouch diagram. A close-up of the shoes becomes useful if a future scene requires a character to step onto a measuring board.
Keep expression studies in a separate row, maintaining a consistent head angle. For Mira, examples might include concentration, mild alarm, and a satisfied smile. Verify that an open mouth does not alter the jawline or make the character appear younger. A separate pose sheet can then explore actions like reaching or kneeling without conflating these movements with the neutral proportion reference.
When using tools like VideoAny image-to-image to generate variations, treat each output as a candidate requiring careful review. The turnaround page functions as an image workflow, not an automatically maintained character database.
Handoff Tests for Production Readiness
Before finalizing the turnaround sheet, conduct two critical handoff tests.
First, provide the completed sheet to a new drawing or generation session, without the original concept paragraph. Request Mira carrying a measuring board in a modest three-quarter view. Observe what the recipient has to infer or guess. Any missing information, such as the precise attachment of a strap, the thickness of the visor, or the overlap of the coat, indicates a documentation gap that needs to be addressed directly.
Second, animate one approved image with a subtle action using an image-to-video workflow. For instance, a brief glance towards a tree followed by a return to a neutral pose. Pay close attention to the widest rotation and the moment an arm overlaps the pouch. These points represent useful stress tests, though a successful short test does not guarantee every future shot will be perfect.
Save the approved sheet with a version identifier and a concise change log. If the pouch moves or the coat design changes, update all affected views simultaneously. A reliable turnaround sheet serves as a consistent set of design decisions that your subsequent production work can depend on.
* Consent and Rights: When creating or modifying character designs, ensure you have the necessary rights or permissions for any source material used. Be mindful of ethical considerations, especially when generating content that might depict real individuals or copyrighted works. Always prioritize consent and respect intellectual property.