Categories: AI Video Workflow, Creator Strategy, Production Process
Tags: videoany, ai creation studio, ai video workflow, content strategy, creator toolkit
Introduction
Creating AI-generated videos of people playing musical instruments can be a complex task, but with the right workflow, it becomes achievable. This guide will walk you through a practical framework using VideoAny to produce realistic and engaging AI instrument-playing videos. We'll cover everything from initial concept to final output, ensuring a smooth and efficient production process.
Core Content Blocks: A VideoAny Workflow
1) Initial Setup: The Foundation
Before diving into video generation, it's crucial to prepare your assets. This involves selecting your desired instrument, the musical piece, and a reference video or image of a person playing.
Steps:
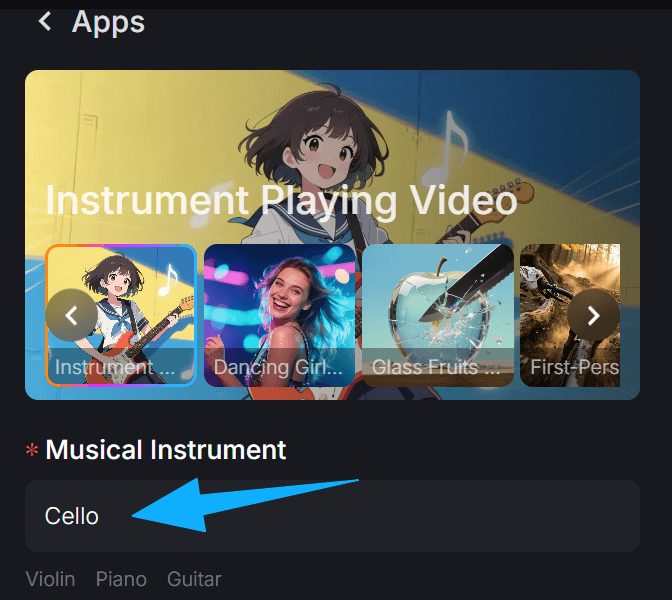
- Choose your instrument: Decide which instrument you want your AI character to play (e.g., guitar, piano, violin).
- Select your music: Have the audio track ready. This will guide the AI's movements.
- Find a reference: Locate a video or image of someone playing the chosen instrument. This visual reference is key for realistic hand and body movements.
2) Generating the Base Video with VideoAny
VideoAny offers powerful tools to transform your ideas into initial video drafts. The goal here is to create a foundational video that captures the essence of the performance.
Tools to Use:
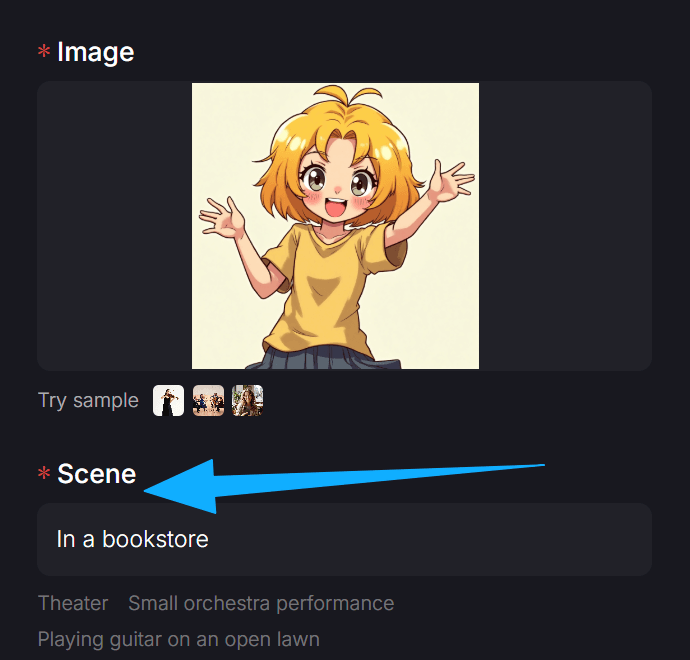
- Text-to-Video: Describe the scene, the instrument, and the desired action. For example, "A person playing an acoustic guitar on a stage."
- Image-to-Video: If you have a strong static image, use it as a starting point to animate the scene.
- Video-to-Video: If you have a basic video, you can enhance it or change its style.
Workflow Tip: Focus on generating a clear, albeit simple, video that shows the instrument and a person in a playing posture. Don't worry about perfect synchronization yet.
3) Refining Movements: The ControlNet Advantage
Achieving realistic hand and body movements is critical for believable instrument playing. VideoAny's integration with ControlNet models allows for precise control over these details.
Steps:
- Extract Poses: Use a pose estimation tool to extract the skeletal movements from your reference video. This provides a detailed map of how the body and hands move.
- Apply ControlNet: In VideoAny, upload the extracted pose data. Use ControlNet to guide the AI generation, ensuring the character in your video mimics the reference movements.
- Iterate and Adjust: Generate several versions, adjusting the strength of the ControlNet influence and other parameters until the movements look natural and match the instrument.
4) Synchronizing Audio and Visuals
The most challenging aspect is often synchronizing the AI's movements with the audio track. This requires careful attention to detail.
Steps:
- Audio Alignment: Import your generated video and the musical audio track into a video editing software.
- Fine-tuning: Manually adjust the video's timing to match the beats and notes of the music. This might involve speeding up or slowing down certain sections of the AI video.
- Micro-Adjustments: Pay close attention to finger movements and strumming/bowing actions. Small adjustments here can make a big difference in realism.
5) Enhancing Realism: Post-Production in VideoAny
Once the core video and audio are synchronized, use VideoAny's post-production features to add polish and realism.
Features to Utilize:
- Style Transfer: Experiment with different artistic styles to give your video a unique look.
- Upscaling: Improve the resolution and clarity of your video.
- Color Grading: Adjust colors and tones to enhance the mood and visual appeal.
- Adding Effects: Consider subtle effects like lighting changes or camera movements to make the video more dynamic.
Practical Weekly Workflow
- Concept & Reference (Day 1): Choose your instrument, music, and gather reference videos/images.
- Base Video Generation (Day 2): Use VideoAny's Text-to-Video or Image-to-Video to create a foundational video.
- Movement Refinement (Day 3-4): Extract poses from your reference and apply ControlNet in VideoAny to guide realistic movements. Iterate until satisfied.
- Audio Synchronization (Day 5): Align the generated video with your audio track in an editing software.
- Post-Production & Polish (Day 6): Use VideoAny's enhancement features to finalize the video.
- Review & Publish (Day 7): Get feedback, make final tweaks, and publish your AI instrument-playing video!
Conclusion
By following this structured workflow with VideoAny, you can systematically create compelling AI-generated videos of musical performances. The key is to break down the complex task into manageable steps, leveraging VideoAny's powerful tools for generation, control, and refinement.
Next Step
Explore VideoAny workflow templates and start creating your own AI instrument-playing videos today: https://videoany.io
FAQs
1) Can I use this workflow for any instrument? Yes, the principles apply to various instruments. The quality of your reference video/image for pose extraction will be crucial.
2) How long does it take to create one video? The time varies based on complexity and desired realism. A basic video might take a few hours, while a highly polished one could take several days of iteration.
3) What if my AI character's hands look unnatural? This is a common challenge. Focus on improving your ControlNet input (more detailed pose extraction) and experiment with different ControlNet weights in VideoAny. Sometimes, generating multiple versions and selecting the best one is also effective.